


- 27 -
¾
Remote Device Settings (
Press [OK] to show the following settings:
Remote Device Operation
Enable to start Network Service on this unit
by using another device such as Smartphone,
etc.
Enable to operate the unit by DMC.
Device Name Entry
Set the name of this unit to be displayed on
the connected equipment.
Registration Type
Remote Device List
Registering/deregistering of the displayed
equipment can be performed when “Manual”
in “Registration Type” is selected.
¾
BD-Live Internet Access (
You can restrict Internet access when BD-Live
functions are used.
≥
If “Limit” is selected, Internet access is
permitted only for BD-Live contents which
have content owner certificates.
The following items use the same password.
Don’t forget your password.
∫
DVD-Video Ratings
Set a ratings level to limit DVD-Video play.
∫
BD-Video Ratings
Set an age limit of BD-Video play.
∫
Easy Settings
You can execute basic settings.
∫
TV Settings
Press [OK] to show the following settings:
¾
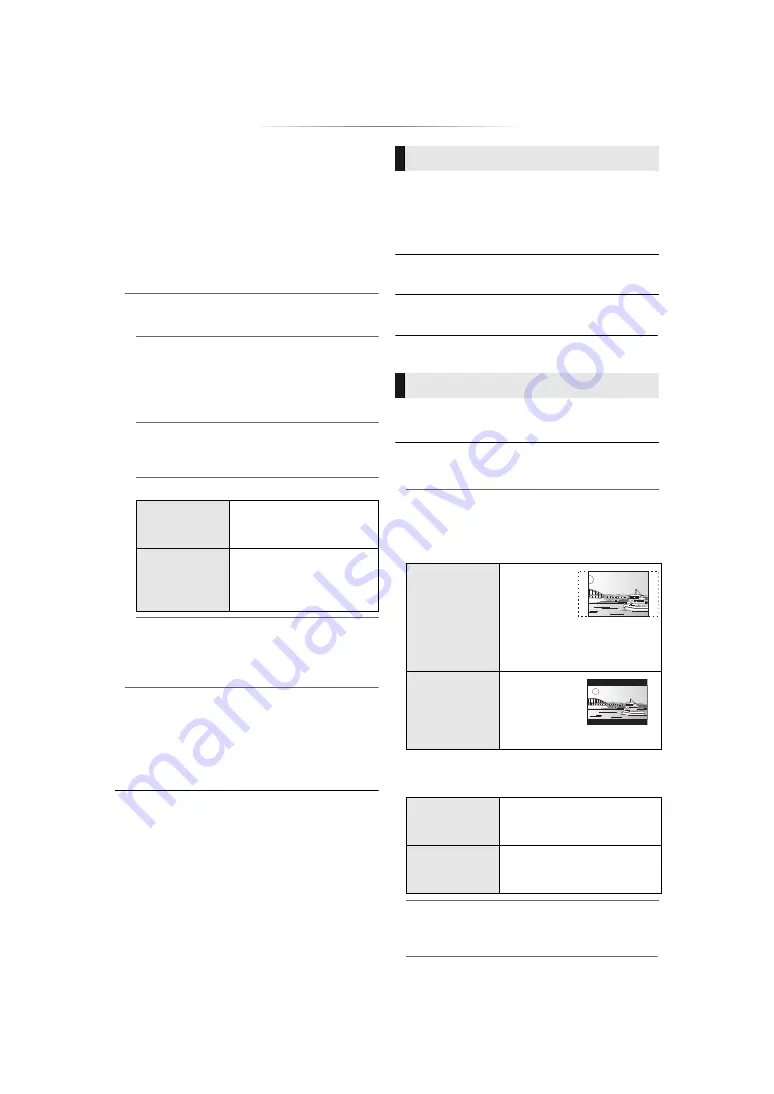
TV Aspect
Set to match the type of TV connected.
When connected to a 4:3 aspect TV and playing
16:9 ratio image:
When connected to a 16:9 widescreen TV and
playing 4:3 ratio image:
¾
Network Drive Connection
This unit can access a hard disk shared folder
on a network and play back videos, still
pictures, and music.
For the setting and operation method of
connected equipment, refer to the following
website.
http://panasonic.jp/support/global/cs/
(This site is in English only.)
Automatic
Allow connections to all
the equipment accessing
this unit.
Manual
Set the permission for
individual equipment
connections accessing this
unit.
Ratings
∫
Network Service Lock
You can restrict the usage of Network Service.
System
4:3 Pan & Scan
The sides are
cut off so the
picture fills
the screen.
When playing BD-Video,
video is output as “4:3
Letterbox”.
4:3 Letterbox
Black bands
appear at
the top and
bottom of
the picture.
16:9
Video is displayed as a 4:3
ratio image in the centre of
the screen.
16:9 full
Video is displayed as a
horizontally stretched 16:9
image.
¾
TV System
Perform the setup so it matches the TV System
of the connected TV.


