– 115 –
Chapter 5 Playback — Thumbnail operations
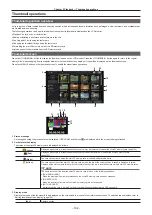
1) Start the camera, and insert the SD memory card into the SD card slot.
2)
Open the thumbnail screen and select [LOAD] in the main menu
→
[CLIP]
→
[PROPERTY]
→
[CPS PASSWORD].
The password file list is displayed.
3)
Select the file to be used and press the control stick.
f
When loading of the CPS password has succeeded, the message [LOADING PASSWORD COMPLETED!] is displayed.
f
@
@
NOTE
t
The CPS password file generated on the SD memory card is encrypted. If it is no longer used, format the SD memory card for security risk
management.
Setting CPS password using the menu of the camera
1
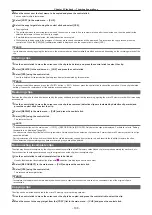
Open the thumbnail screen and select [SET] in the main menu
→
[CLIP]
→
[PROPERTY]
→
[CPS PASSWORD].
The software keyboard to enter the CPS password is displayed.
2
Enter the CPS password with the keyboard.
Enter [PASSWORD] and [RETRY PASSWORD] for verification, and select [OK] to set the CPS password.
f
When entry of the CPS password has succeeded, the message [SETTING PASSWORD COMPLETED!] is displayed.
f
@
@
NOTE
t
Up to 16 characters can be input.
t
The entered password cannot be displayed on the device. Do not forget the password.
Deleting CPS password
When the CPS function is no longer used, delete the CPS password.
1
Open the thumbnail screen and select [DELETE] in the main menu
→
[CLIP]
→
[PROPERTY]
→
[CPS PASSWORD].
[DELETING PASSWORD COMPLETED!] is displayed and the CPS password is deleted.
@
@
NOTE
t
When the CPS password is deleted, automatic authentication of the encrypted microP2 memory card and encryption format function are disabled.
Manual CPS authentication
An encrypted microP2 memory card is authenticated on the camera automatically, and can be used only if the authentication has succeeded.
Authentication fails if the CPS password set to device and the CPS password set to microP2 memory card differ. To temporarily use a microP2 memory
card whose authentication has failed, manually enter the CPS password authorized for the microP2 memory card in accordance with the following
procedures. If the code matches, you can use the card.
1
Confirm that authentication has failed.
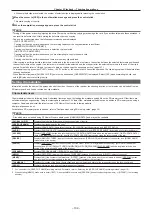
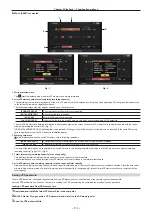
1) Open the thumbnail screen and select [CARD STATUS] in the main menu
→
[CLIP]
→
[PROPERTY].
For the card whose authentication has failed, the slot number frame at the top right of the screen turns red, and [AUTH NG CARD] is displayed on
the remaining capacity bar. Select the card by pushing the control stick upward/downward.
2
Perform manual authentication.
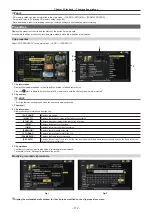
1) On the card status screen, select [AUTHENTICATE] in the main menu
→
[CLIP].
The software keyboard to enter the CPS password is displayed.
2)
Enter the password set on the microP2 memory card and select [OK].
f
When entry of the CPS password has succeeded, the message [AUTHENTICATED SUCCESSFULLY!] is displayed.
f
When entry of the CPS password has failed, the warning message (page 157) is displayed.
@
@
NOTE
t
Manual authentication is valid temporarily. If the target microP2 memory card is removed or power is turned off, the CPS password set manually is
disabled.
t
Visit the following website for conditions where manual authentication is valid.
http://pro-av.panasonic.net/
t
The encrypted microP2 memory card is not recognized on the SD card slot in a computer.
t
If the card is unable to be recognized, authenticate with the correct password, or format the card and use it as recording media, or remove it from the
camera. Do not perform any operation other than manual authentication and formatting with the failed card inserted.
Summary of Contents for AJ-PX230 Series
Page 12: ...Before using the camera read this chapter Chapter 1 Overview ...
Page 153: ...Maintenance of the camera or frequently asked questions are described Chapter 9 Maintenance ...
Page 161: ...This chapter describes the specifications of this product Chapter 10 Specification ...
Page 169: ...Web Site http www panasonic com Panasonic Corporation 2016 ...


