- 89 -
Refer to page
for how to set up the Menu.
Settings that are assigned to [SCENE1] in [CUSTOMIZE SCENE] by default are indicated with
underlined text.
Camera Setup
≥
Switch to Manual Mode. (
Preferred camera setting information can be saved to each scene file. Switch the scene file in
accordance with the recording conditions.
1
Touch [CUSTOMIZE SCENE].
2
Touch the scene file.
≥
The scene file will switch by touching [SCENE1] to [SCENE6].
≥
Touch [EXIT] to exit the menu screen.
3
(To change the setting of the scene file)
Change the setting of the camera setting menu.
≥
Following settings for camera setting menu can be stored. (
to
j
[DETAIL LEVEL]
j
[V DETAIL LEVEL]
j
[DETAIL CORING]
j
[CHROMA LEVEL]
j
[CHROMA PHASE]
j
[COLOR TEMP A ch]
j
[COLOR TEMP B ch]
j
[MASTER PED]
j
[AUTO IRIS LEVEL]
j
[DRS]
j
[DRS EFFECT]
j
[GAMMA]
j
[KNEE]
j
[MATRIX]
j
[SKIN TONE DTL]
≥
Changed settings of the camera setting menu are saved in the scene file.
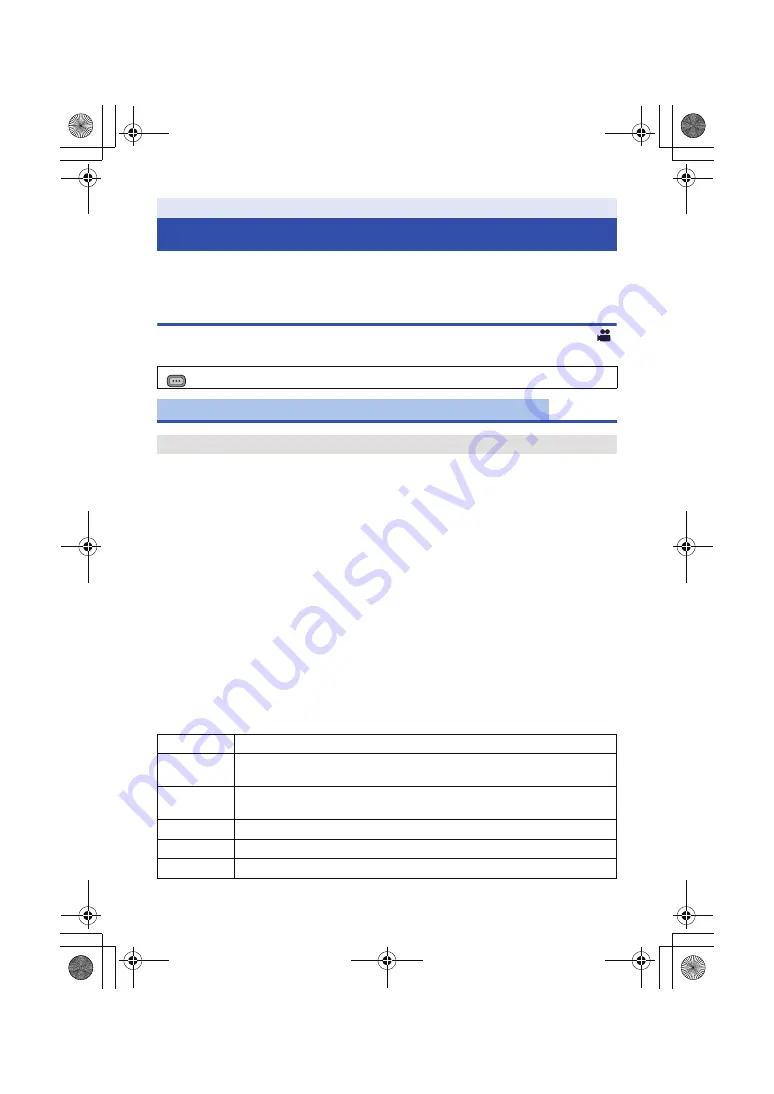
Default setting of the scene file
Menu
Using the Menu
: [CAMERA SETUP]
#
desired setting
[CUSTOMIZE SCENE]
[SCENE1]/[SCENE2]/[SCENE3]/[SCENE4]/[SCENE5]/[SCENE6]
MENU
[SCENE1]
Setting appropriate for standard recording
[SCENE2]
Setting appropriate for recording considering the characteristic of fluorescent
lamps (indoors, etc.)
[SCENE3]
Setting appropriate for recording with modulation in resolution, color shade, and
contrast
[SCENE4]
Setting appropriate for recording with wider gradation in dark area (dusk, etc.)
[SCENE5]
Setting appropriate for recording as a cinema with high contrast
[SCENE6]
Setting appropriate for recording as a cinema with high dynamic range
AG-AC90A-SQT0333_mst.book 89 ページ 2014年5月14日 水曜日 午前10時36分


