Chapter 3. Operation and General Programming
14
Aurora H2O User’s Manual
3.5.8 Trimming the Outputs (cont.)
Note:
Since you cannot trim 0 mA for negative offsets, trim for the lower end of the scale is at the 4 mA output
level.
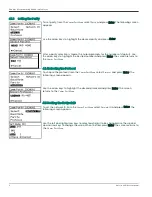
Use the left and right arrow keys to select each digit to be changed, and the up and
down arrow keys to increase or decrease its value. Press
Enter
to save (or
Cancel
to
keep the previous value).
The
Trim Menu
returns with
Trim Span
highlighted. To change the span value, press
Enter
.
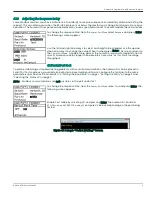
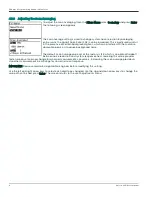
A screen similar to the following appears.
This will cause the
Aurora H2O
to output 20.000 mA on the output being trimmed. The
output value should then be read using the connected recorder, SCADA equipment, or
DVM. Enter the value read from the connected equipment as the
Span Trim
value.
Use the left and right arrow keys to select each digit to be changed, and the up and
down arrow keys to increase or decrease its value. Press
Enter
to save (or
Cancel
to
keep the previous value).
Trimming is complete. Accuracy can be verified using the
Test Menu
, above.
Example:
Trim
is reset, then
Trim Zero
is selected. The SCADA input reports 3.977 mA.
The operator enters “3.977” as the
Zero Trim
value.
Trim Span
is selected. The SCADA input reports 19.985 mA.
The operator enters “19.985” as the
Span Trim
value.
Aurora H2O
adjusts the output accordingly to true the output as read by the customer recorder, SCADA or DVM.
Using the
Test Menu
, the operator verifies that a test value of 0% now reads 4.000 mA at the SCADA equipment, and a
test value of 100% now reads 20.000 mA.
3.6 Setting Up the Alarms
Note:
The
Aurora H2O
is
not
equipped with alarm relays. Alarm status can be obtained via Modbus, or an Analog
Output can be configured as an alarm signal (see
“Selecting an Output Type” on page 11
).
3.6.1
Selecting an Alarm Output
To set up alarm outputs, on the
Main Menu
choose
Alarm
and press
Enter
. From the
Alarm
Menu
choose
Select
and press
Enter
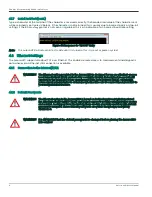
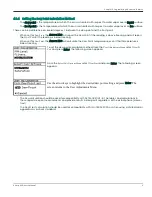
. A screen similar to the following appears.
Use the arrow keys to select the output (
A
,
B
or
C
) to be set up and press
Enter
. The
display returns to the
Alarm Menu
.
3.6.2Selecting Alarm Status
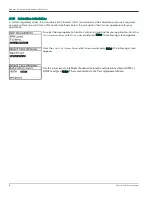
To select the alarm status, from the
Alarm Menu
select
Status
and press
Enter
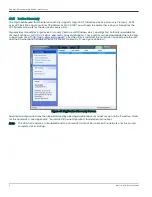
. The
following screen appears:
Summary of Contents for Aurora H2O
Page 1: ...panametrics com 910 317 B August 2022 Aurora H2O User s Manual...
Page 2: ......
Page 4: ...ii no content intended for this page...
Page 12: ...Chapter x Aurora H2O User s Manual no content intended for this page...
Page 24: ...Chapter 1 Features and Capabilities 12 Aurora H2O User s Manual...
Page 44: ...Chapter 2 Installation 20 Aurora H2O User s Manual...
Page 47: ...Aurora H2O User s Manual 28...
Page 65: ...Chapter 3 Operation and General Programming 18 Aurora H2O User s Manual...
Page 96: ...Aurora H2O User s Manual 36...
Page 120: ...Chapter 5 AuroraView Interface Software 24 Aurora H2O User s Manual...
Page 140: ...Chapter 7 Troubleshooting 6 Aurora H2O User s Manual...
Page 148: ...Appendix A MODBUS RTU TCP Communications 14 Aurora H2O User s Manual...
Page 166: ...4 Aurora H2O User s Manual...
Page 168: ...Warranty 6 Aurora H2O User s Manual no content intended for this page...
Page 169: ......


