Customizing HotSync application settings
105
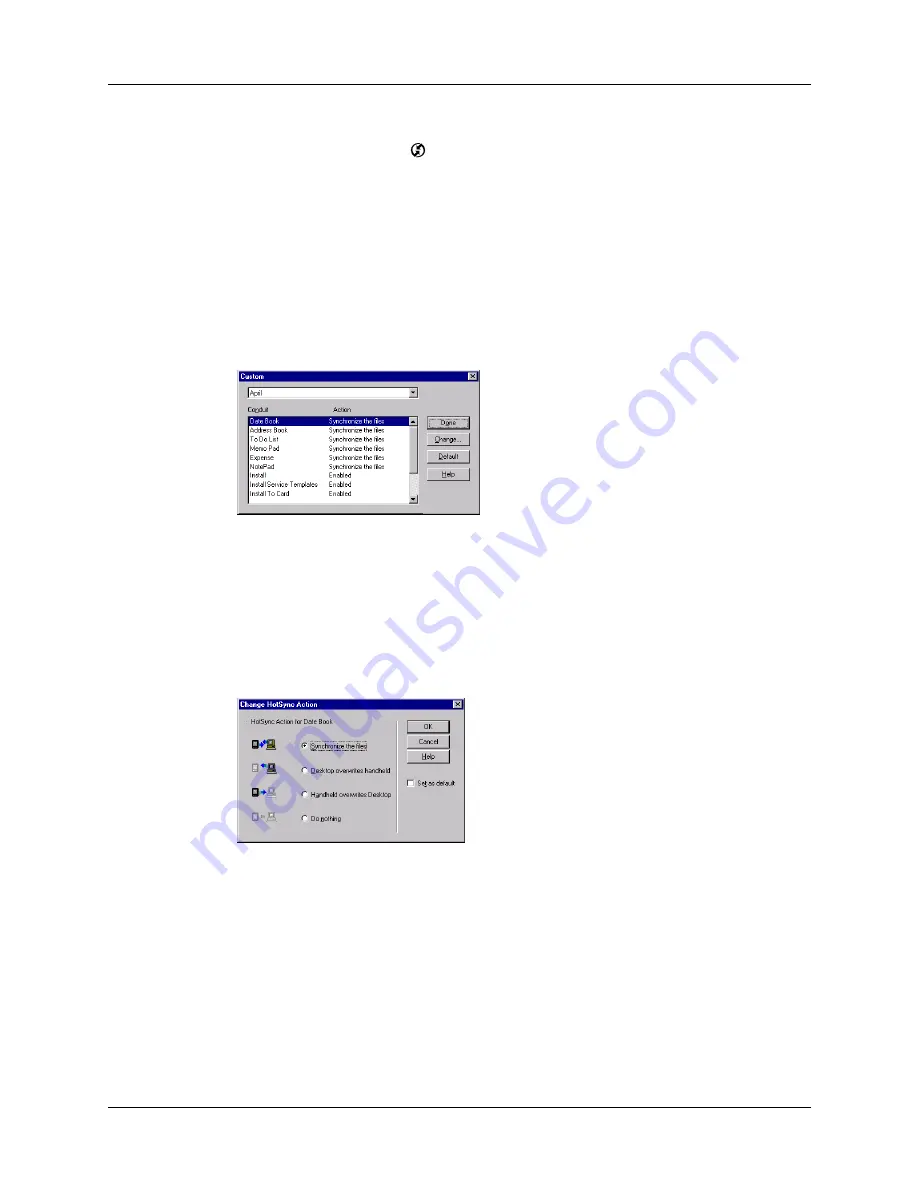
To customize HotSync application settings on a Windows computer:
1.
Click the HotSync icon
in the Windows system tray (lower-right corner of
the taskbar).
You can also click the HotSync command on the Palm Desktop software
menu bar.
2.
From the HotSync Manager menu, select Custom.
3.
Select the appropriate username from the list.
4.
Select an application in the Conduit list.
5.
Click Change.
6.
For each application, click the direction in which you want to write data, or click
Do Nothing to skip data transfer for an application.
Changing the HotSync setting from the default affects only the
next
HotSync
operation. Thereafter, the HotSync Actions revert to their default settings. To
use a new setting on an ongoing basis, select the Set As Default box. Thereafter,
whatever you selected as the default setting is used when you click the Default
button in the Custom dialog box.
7.
Click OK.
8.
Click Done to activate your settings.
To customize HotSync application settings on a Mac computer:
1.
Double-click the Palm Desktop icon in the Palm folder.
2.
From the HotSync menu, select Conduit Settings.
3.
From the User pop-up menu, select the appropriate username.
4.
Select an application in the Conduit list.
Summary of Contents for Zire 21
Page 1: ...Handbook for the Palm Zire 21 Handheld...
Page 10: ...About This Book 2...
Page 16: ...Chapter 1 Setting Up Your Palm Zire 21 Handheld 8...
Page 24: ...Chapter 2 Exploring Your Handheld 16...
Page 86: ...Chapter 7 Using Date Book 78...
Page 110: ...Chapter 12 Using World Clock 102...
Page 130: ...Chapter 13 Performing HotSync Operations 122...
Page 166: ...Chapter 14 Setting Preferences for Your Handheld 158...
Page 172: ...Appendix A Maintaining Your Handheld 164...
Page 184: ...Appendix B Frequently Asked Questions 176...
Page 196: ...Index 188...


