3
Product description
6062-en_V2.4_02/21
19
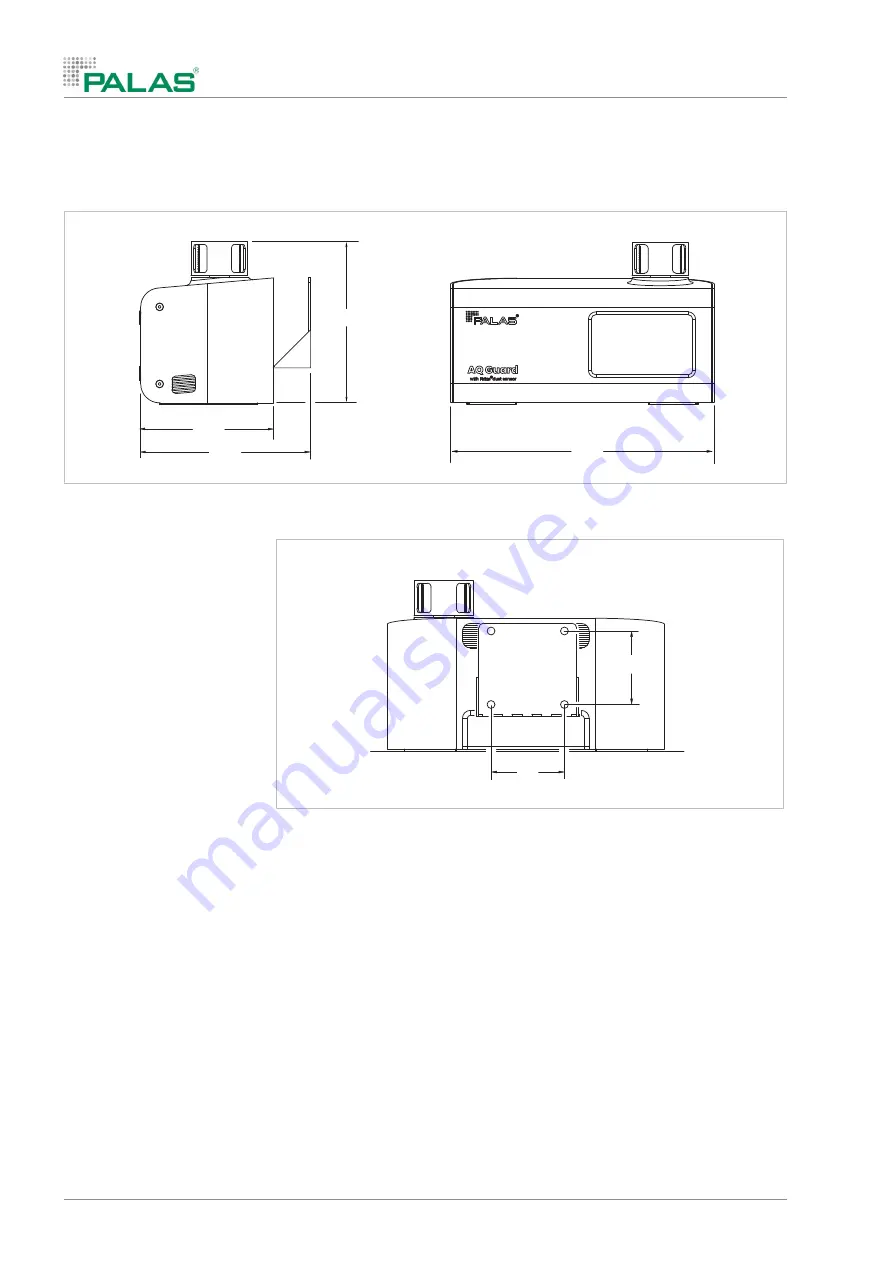
3.5
Dimensions
Main dimensions of model
AQ Guard
280
140
175
180
Main dimensions of model AQ Guard – all dimensions in millimeters
75
75
Hole spacing of wall bracket for model AQ Guard – all dimensions in millimeters


