


PowerPak Power Distribution Unit
8
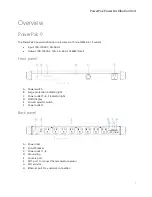
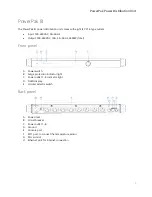
PowerPak
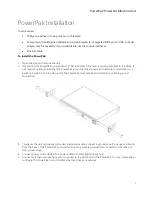
Installation
Tools required:
•
Phillips screwdriver (if using rack-mount brackets).
•
Computer with an Ethernet interface and a web browser (an integrated DB-9 port or USB-to-Serial
adapter may be necessary if you would like to use the console interface).
•
Ethernet cable.
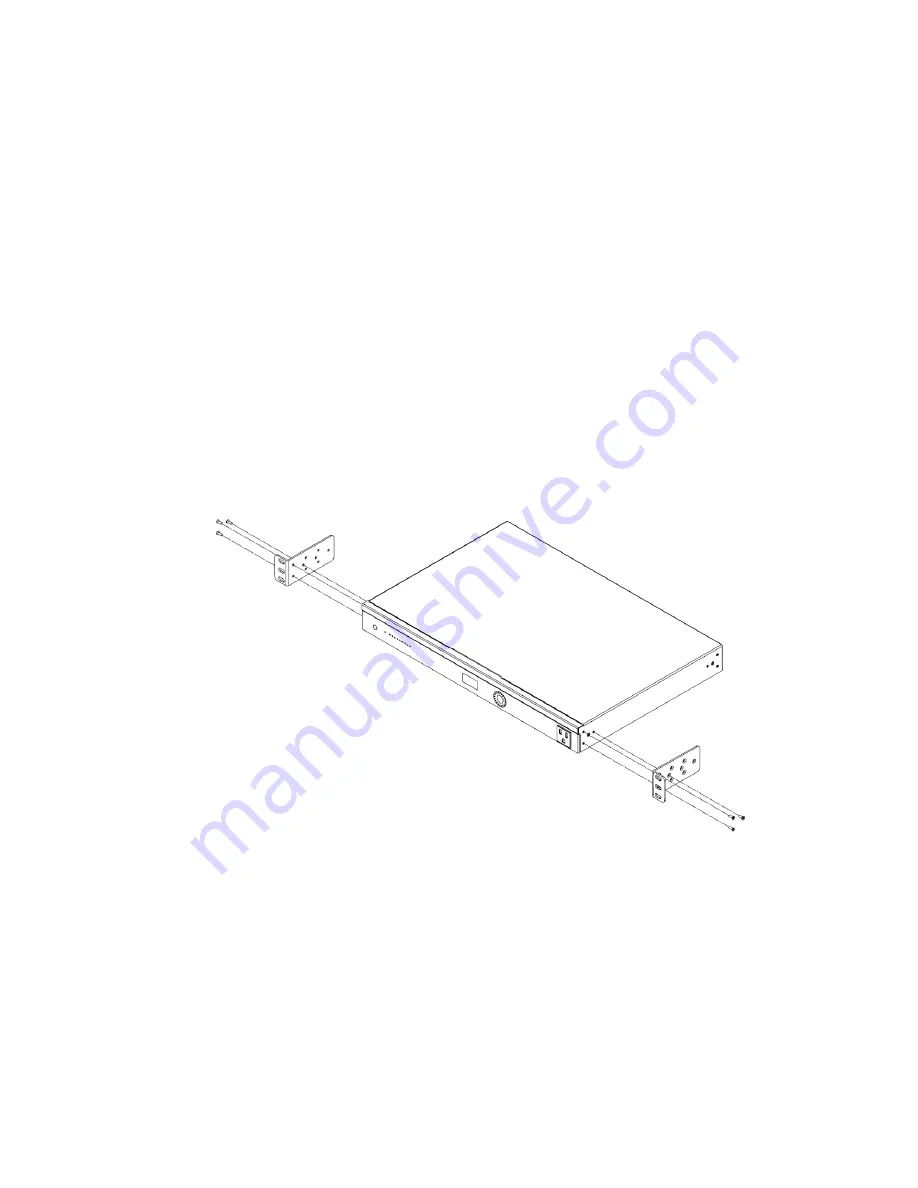
To install the PowerPak:
1.
Open the box and remove the unit.
2.
If mounting the PowerPak in a standard 19” AV rack, attach the rack-mounting brackets to the sides. If
not rack-mounting, ensure that the PowerPak is mounted near power and network connections (i.e, a
backbone switch or a firewall/router). The PowerPak must also be connected to a reliable ground
connection.
3.
To ensure the unit is properly grounded and remains safe, connect a ground wire (12 gauge minimum)
from the back of the PowerPak’s ground terminal to a reliable ground (such as metal on the rack or a
floor ground lug).
4.
Connect power to the device. The power outlet indicator light will light up.
5.
Connect an Ethernet cable from your computer to the LAN port on the PowerPak. You are now ready to
configure the PowerPak to an IP address that matches your network.


