

(10) RAID 1 Rebuild
If one of the drives fail, the D1 or D2 LED will turn RED while
connected to a computer.
A new HDD can be installed and will
automatically rebuild with data.
Note
: The replacement drive must be the same capacity as the original.
1. Power down the Mobius.
2. Remove the failed drive.
3. Install the new drive and power up the Mobius with it connected to
the computer.
4. The D1/D2 LED will blink about 2-3 times per second, which
indicates a rebuild in progress.
5.
You may disconnect the MiniPro from the computer during the
rebuild, if desired. This will not interrupt the rebuild.
Note
: To estimate the rebuild time, take the size of both drives and divide
by 2. For example, a 20TB RAID1 will take 10 hours (20TB divided by 2). This
can vary based on drive model and specs.
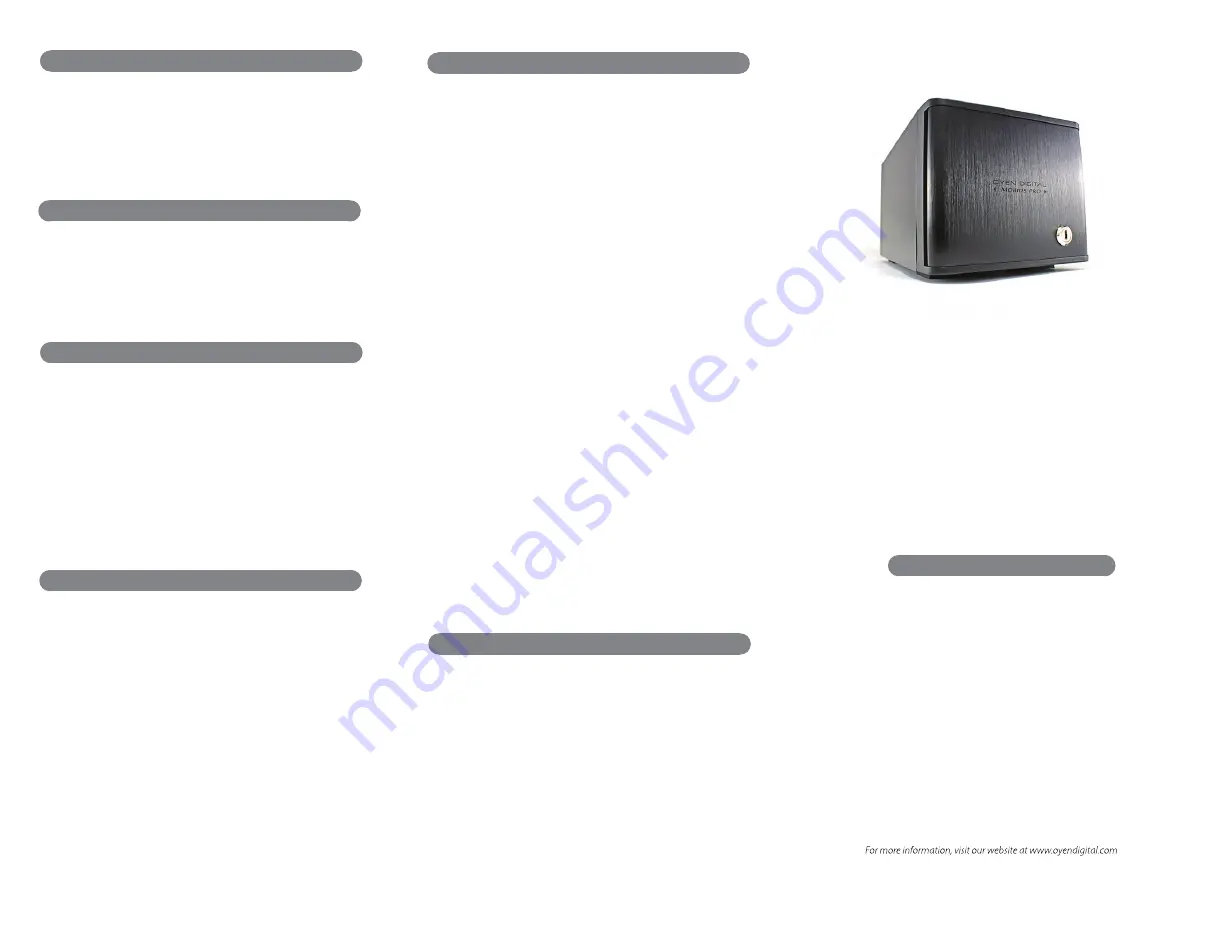
Mobius Pro 2C RAID System
User Guide
Table of Contents
1
Specifications
2
Detailed View
3
Inserting Drives
4
RAID Setup
5
RAID Modes
6
Connections
7
Formatting
8
Sleep
9
Ejecting the Drives
10
RAID 1 Rebuild
11
Frequently Asked Questions
12
Warranty Information
(7) Formatting
(8) Sleep
To prevent potential data corruption, it is important to properly eject
the storage volume(s).
Mac
: Close all windows and applications that are accessing the
drive. Drag the drive icon to the Trash/Eject icon to dismount it.
The activity LED will cycle on/off and the HDD will spin down.
Windows
: Close all applications that are accessing the Mobius.
Click the “Eject Hardware” (Safely Remove) icon in the system tray
and select the drive. The activity LED will cycle on/off and the drive
will spin down.
(9) Ejecting the Drives
I
f there is no HDD activity, the computer may put the Mobius to
sleep (LEDs off, HDDs spin down) depending on the energy
saver settings of the computer. The Mobius will wake up when
accessed.
(11) Frequently Asked Questions
1)
Is the Mobius Pro 2C compatible with Thunderbolt 2 using a
Thunderbolt 3 adapter?
No, the Mobius Pro 2C is not compatible with Thunderbolt 2 using an
adapter of any make or model.
2) Can a Thunderbolt 3 device be connected to the HUB port of the
Mobius Pro 2C?
No it cannot. If you desire to daisy-chain with other Thunderbolt 3
devices, simply place the 2C at the end of the chain and connect
the MAIN port to the Thunderbolt 3 device. Additional USB devices
can be connected to the HUB port on the Mobius.
3) Must it be connected to a Thunderbolt 3 port in order to daisy-
chain with additional devices?
The Mobius Pro 2C can daisy-chain with other devices while connected
to a USB or Thunderbolt 3 port.
4) How many Mobius Pro 2C can be connected in a chain?
A total of six devices may be connected in a chain.
5) Does a "Clear" procedure delete data from existing RAID 1 or
JBOD drive(s)?
No, if a Clear procedure is performed on RAID 1 or JBOD drives, the
existing data on the drives will not be deleted.
6) Can I remove a drive from the RAID and install it in another
enclosure for access to the files?
Yes, only if using RAID 1(Mirroring) or JBOD.
7) Can a bus-powered drive be connected to the HUB port?
Yes, a total of 15W is available for drives connected to the HUB port.
For other questions please contact tech support or visit the FAQ
section of our Web site (
www.oyendigital.com/support
).
Technical Support:
(12) Warranty Information
This product includes a three (3) year repair/replacement warranty
provided by Oyen Digital. This warranty is non-transferable and is
limited to the original purchaser.
Warranty service may be requested by completing the form at the
following link: www.oyendigital.com/support
For our complete warranty policy, visit:
www.oyendigital.com/warranty
After setting a new RAID mode, you must format the volume.
Note
: RAID 0/1 or Span will appear as a single drive.
For instructions, visit:
http://oyendigital.com/format


