


*10400
858
001*
10400858-001
©2018 Overland Storage, Inc.
Page 1 of 7
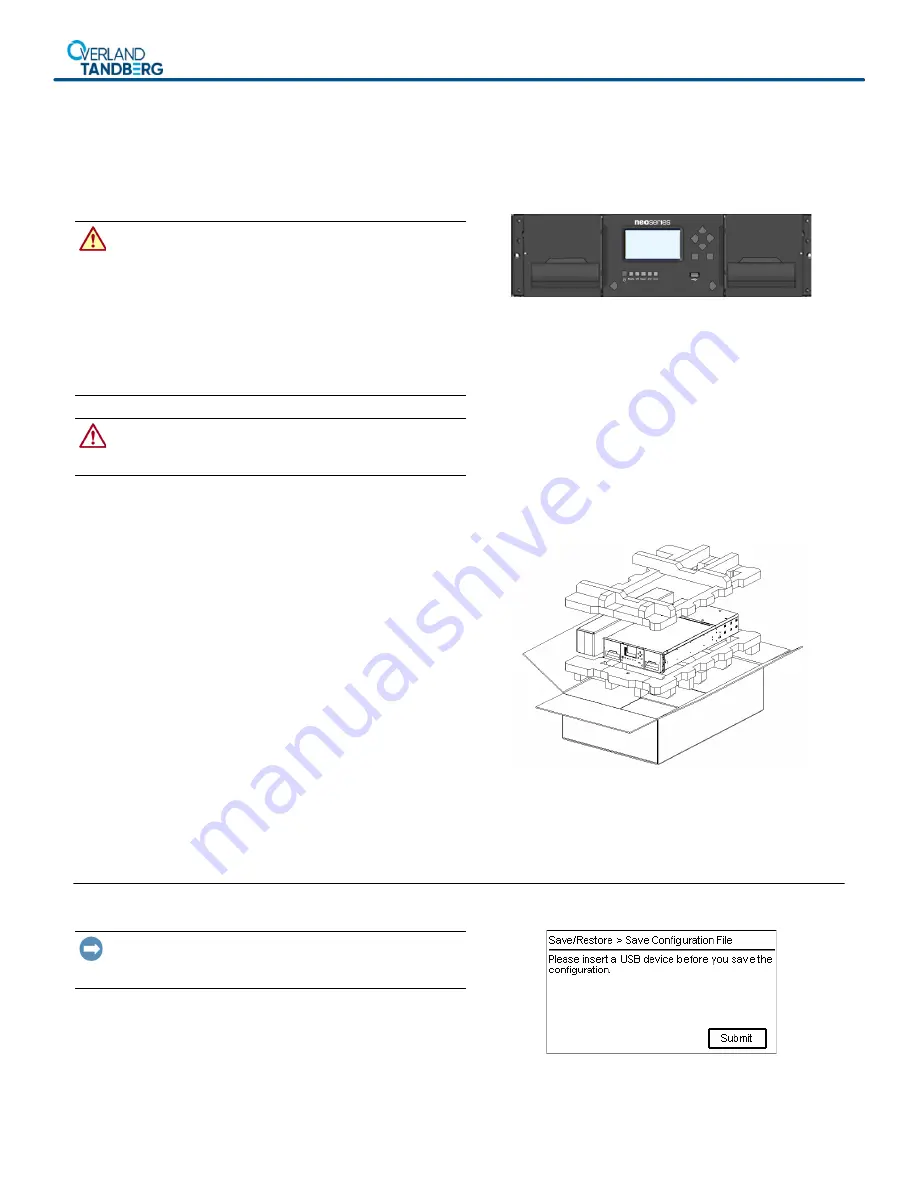
NEOxl
®
40 Tape Library
Spare Base Module Instructions
This document describes how to remove and replace a Base
Module in a NEOxl 40 (3U) tape library from Overland
Storage.
WARNING:
To reduce the risk of electric shock or damage to
equipment, always remove any power cords while working with
the library.
WARNUNG:
Um das Risiko eines elektrischen Schlags oder
Schäden am Gerät zu vermeiden, ziehen Sie stets den
Netzstecker, bevor Sie an der Einheit arbeiten.
AVERTISSEMENT:
Pour réduire le risque de choc électrique
ou endommagement de l'équipement, retirez toujours les
cordons électriques en travaillant avec l'appareil.
CAUTION:
While working with the library, observe standard
Electrostatic Discharge (ESD) precautions to prevent damage
to micro-circuitry or static-sensitive devices.
Special Handling Notice
Each NEOxl 40 Base Module weighs more than 44 lbs (20
kg) without drives or tapes, and more than 77 lbs (35 kg)
with three tape drives and 40 tapes.
Before moving or lifting the Base Module, remove all tape
drives and tapes to reduce the weight (see below).
Overview
To replace an existing Base Module, the steps include:
1.
Save the library configuration.
2.
After removing the tape magazines and drives, remove the
old Base Module from the rack.
3.
If necessary, transfer the top and/or bottom cover from the
old Base Module to the new one.
4.
Move the power supplies, DC-DC board, and controller
from the old Base Module to the new one.
5.
Install the new Base Module in the rack and align the
module with the library.
6.
Reinstall tape magazines and drives into the new module.
7.
Reconnect the cables and verify the installation.
You will need a small flat head or Torx screwdriver and a #2
Phillips screwdriver.
Prepare the Library
Save the Library Configuration
IMPORTANT: The library configuration settings are saved on
the Base Module
controller. It is recommended to save the
configuration settings as a precaution before removing it.
1.
Insert a
USB device
in the front USB port.
2.
At the OCP, select
Configuration > Save/Restore > Save
Configuration File
and press
Submit
.
3.
At the confirmation message, click
Close
.
4.
Remove the
USB device
.


