10400455-002
©2008-14 Overland Storage, Inc.
127
SnapScale/RAINcloudOS 4.1 Administrator’s Guide
5 – Storage Options
Node Drives
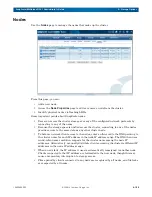
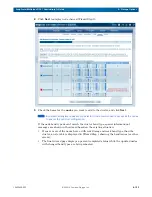
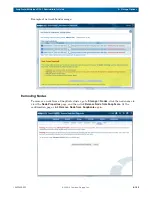
To view the drives that are installed in the node, click the
View Disks
button on the properties
page.
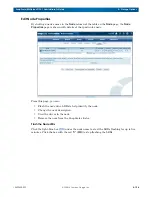
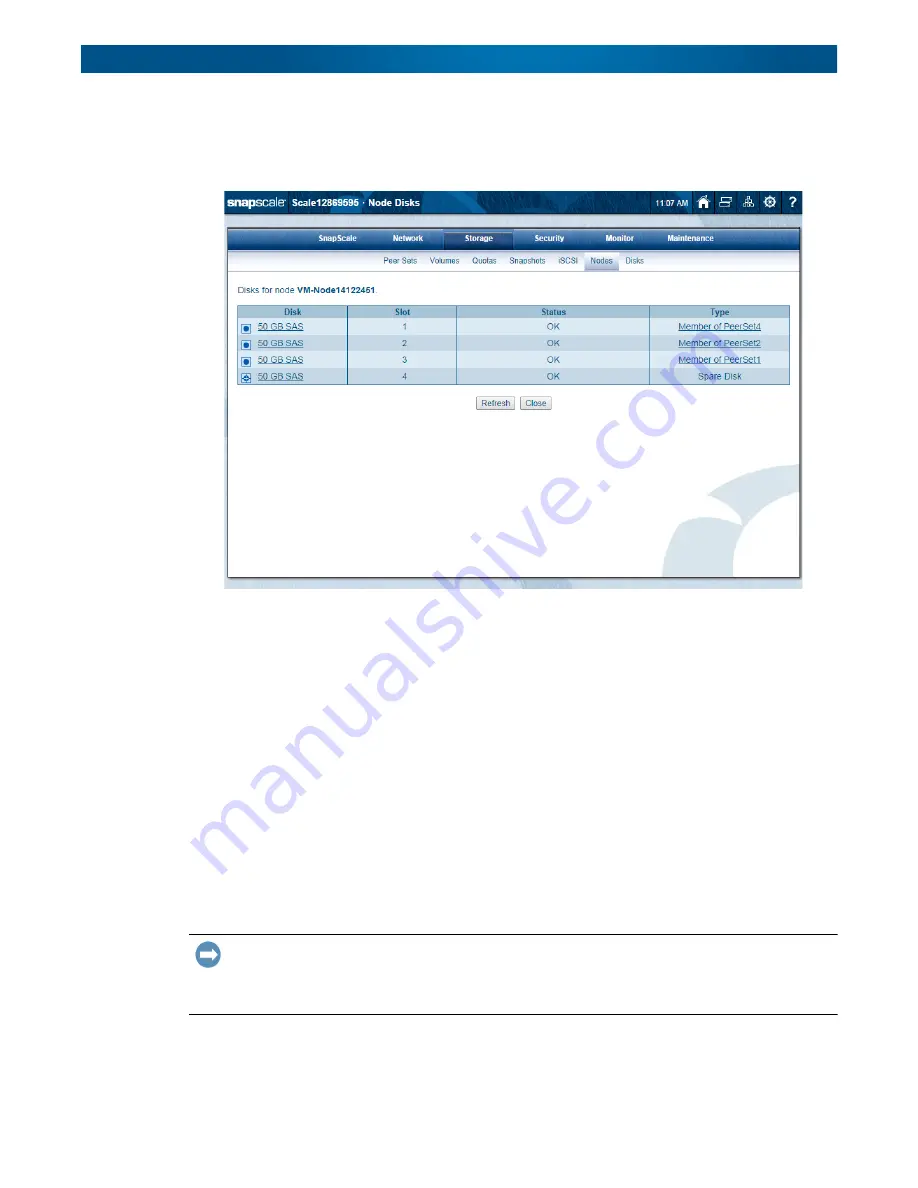
When you click the name of the drive in the
Disk
column on the
Node Disks
page, the
Disks
page is displayed with the physical location of the disk drive. See
for more
information.
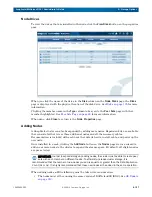
Clicking the member name in the
Type
column takes you to the
Peer Sets
page with that
member highlighted. See
for more information.
When done, click
Close
to return to the
Node Properties
page.
Adding Nodes
A SnapScale cluster can also be expanded by adding more nodes. Expansion kits are available
that consist of either two or three additional nodes and all the necessary cables.
Documentation is included with each node that details how to install, cable, and power up the
new node.
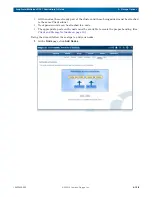
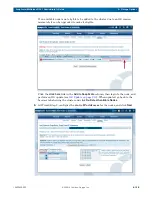
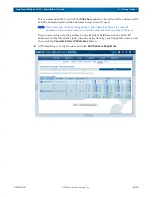
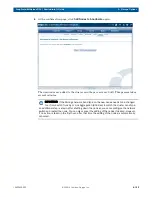
Once installed in a rack, clicking the
Add Node
button on the
Nodes
page starts a wizard to
add one or more nodes to the cluster to expand the storage space. By default, all eligible nodes
are pre-selected.
IMPORTANT: In order to expand storage by adding nodes, the cluster must be able to create peer
sets with each member on different nodes. To efficiently increase cluster storage, it is
recommended that the number of new nodes you add is equal to or greater than the Data Replication
Count (2x or 3x). It is highly recommended that these new nodes all be added in the same operation.
When adding nodes,
all
the following must be taken into consideration:
•
The nodes must all be running the same version of RAINcloudOS (ROS). See
.

