


2-18
u
Installation
C
ONFIGURING
M
ULTI
-M
ODULE
S
YSTEMS
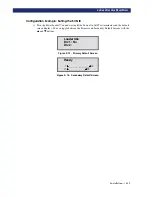
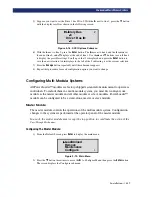
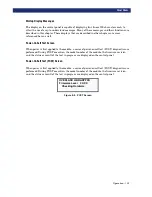
Figure 2–20. Configure Submenu
3) Press the
q
button to move the
u
to Library Options, then press the
Enter
button. The
following screen appears:
Figure 2–21. Library Options Menu
4) Press
Enter
to move the cursor to the second line.
5) Use the
q
and
p
buttons to change the option to
Master
.
6) Press
Enter
to save the selection.
The change takes effect when you reboot.
Slave Module
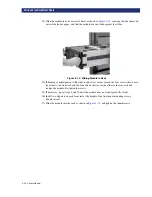
You can configure the slave module on the bench before installation or after it is installed
in a rack. If you configure it when it is already installed as part of a multi-module system,
be sure to either shut off power to the master module or disconnect the serial cables. This
precaution will let you access menu mode directly, avoiding interfering communication
from the master module.
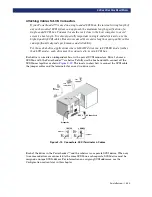
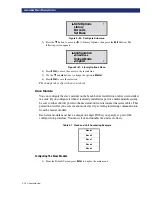
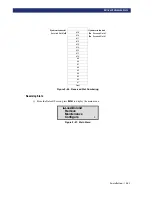
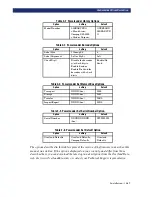
Each slave module must have a unique one digit ID that you specify as part of the
configuration procedure. You must stack and number the units as follows:
Table 2-1 Stack and Unit Numbering Example
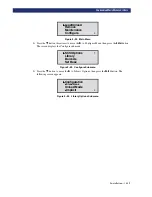
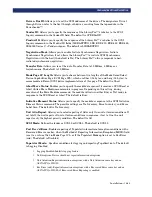
Configuring The Slave Module
1) From the Default Screen, press
Enter
to display the main menu.
Master
Slave 0
Slave 1
Slave 2
Slave 3
u
u
u
u
SCSI Options
Library
Barcode
Set Base
#
u
u
u
u
Configuration
✴
✴
✴
✴
Standalone
Unload Mode
✴
✴
✴
✴
Implicit
$
Summary of Contents for PowerLoaders AIT-2
Page 1: ......
Page 4: ...ii u...
Page 13: ...xi LIST OF FIGURES CONT D...
Page 14: ...xii LIST OF FIGURES CONT D...
Page 16: ...xiv LIST OF TABLES CONT D...
Page 26: ...2 2 u Installation RELEASING THE LOCKDOWN MECHANISM Lockdown Screw...
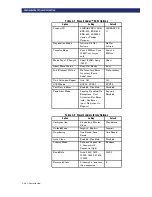
Page 52: ...2 28 u Installation CONFIGURATION OPTIONS DESCRIPTION...
Page 96: ...5 18 u Troubleshooting ERROR RECOVERY...
Page 102: ...A 6 u Specifications SPECIFICATIONS...
Page 104: ...B 2 u...


