24
and the PC with the help of the 60X5 BionicLink PC. To install the 60X5 BionicLink PC for the
first time, follow the procedure described in the instructions for use supplied with this adapter.
INFORMATION
Do not disconnect the 60X5 BionicLink PC from the PC when there is an active Bluetooth con
nection.
INFORMATION
The adjustment software does not support the 60X4 (Anycom) BionicLink PC adapter.
8.1 Establishing a Bluetooth Connection to the Prosthesis
In order to activate the Bluetooth function of the prosthesis, carry out the following steps:
1) Switch off the Axon-Bus prosthethic system. To do so, press the button on the charging
receptacle and hold for approx. 1 second.
2) Then press the button on the charging receptacle and hold for more than 4 seconds.
→
The LED of the charging receptacle lights up blue. The Bluetooth function is now active.
→
After successfully establishing a connection to the PC using the 60X5 BionicLink PC and the
adjustment software, the blue LED of the charging receptacle and the blue LED of the Bion
icLink PC are flashing.
9 Starting the Program
INFORMATION
To run the software, ensure that the user is logged on to the PC with at least standard user
rights.
•
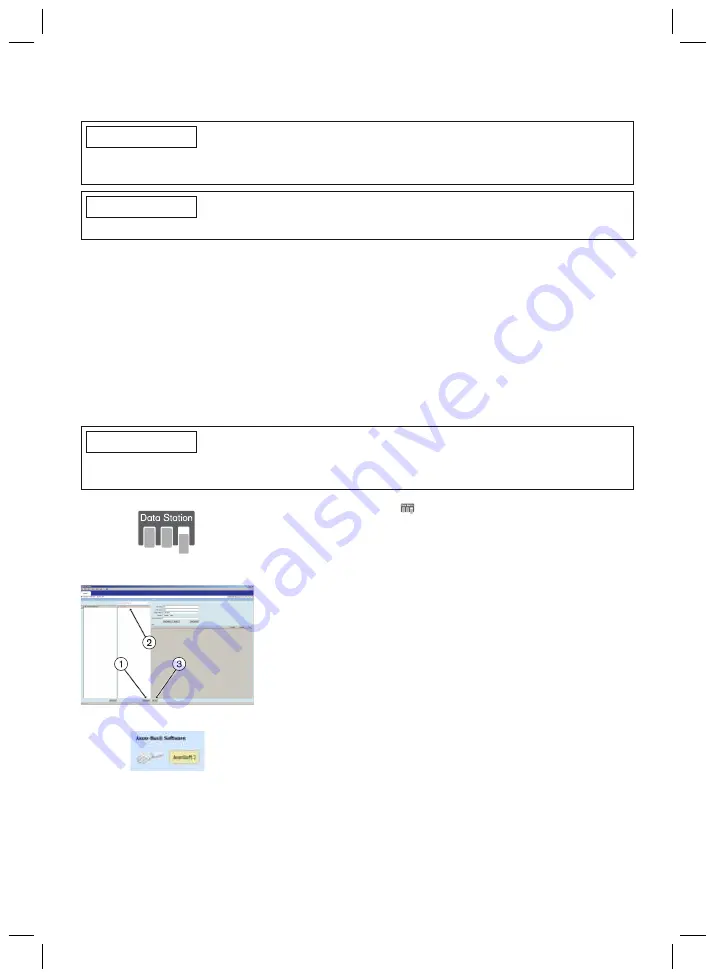
Double-click the
icon (Ottobock Data Station) on the
desktop. The program starts.
•
After the Ottobock Data Station has been started the first
step is to create a new patient record (click the "Add
Patient" button) (item 1) or select an existing patient record
(item 2).
Information: fields marked with an asterisk (*) are man
datory.
•
Click the "Add Job" button (item 3).
•
Click the "AxonSoft 2" button. You will find this on the
"Prosthetic Upper Extremity" tab.


