Service work
490E75=0_C
Ottobock | 121
257
258
259
260
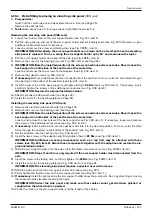
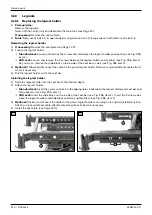
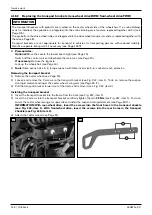
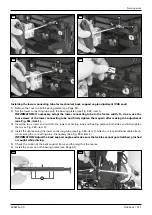
Installing the lower connecting tube for mechanical back support angle adjustment (VAS seat)
1) Remove the cover on both bearing plates (see Page 91).
2) Set the lower connecting tube onto the bearing plates (see Fig. 262, item 1).
INFORMATION: If necessary, adapt the lower connecting tube to the frame width. To do so, use the
AJPMN>M@RNJAOC@GJR@M>JII@>ODIBOP=@<I?uMHGTODBCO@IOC@H<B<DI<AO@MH<FDIBOC@<?EPNOH@IO
N@@DB{¿Ã¾xDO@H¾{
3) IN@MOOC@ORJN>M@RN<I?IPONDIOJOC@GJR@M>JII@>ODIBOP=@<I?=@<MDIBKG<O@JI=JOCND?@N<I?uMHGTODBCO@I
them (see Fig. 262, item 2).
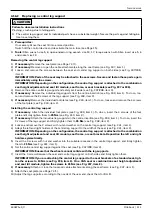
4) Install the cables along the lower connecting tube (see Fig. 263, item 1). Attach or close additional cable attach-
ments along the connecting tube if necessary (see Fig. 263, item 2).
INFORMATION: Adjust the back support angle and make sure that cables cannot get stretched, pinched
or caught while driving.
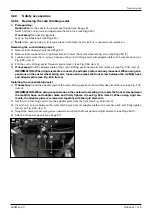
5) Check the motion of the back support frame and the length of the cables.
6) Install the cover on both bearing plates (see Page 91).
261
262
Summary of Contents for 490E75 Series
Page 1: ...490E75 0_C Service manual...
Page 38: ...Service work 490E75 0_C 38 Ottobock 57 58 59 60 61 62 63...
Page 41: ...Service work 490E75 0_C Ottobock 41 70 71 72 73 74 tt 75 76...
Page 55: ...Service work 490E75 0_C Ottobock 55 103 104 105 106 107 108 109 110...
Page 108: ...Service work 490E75 0_C 108 Ottobock 227 228 229 t 230 231 232...
Page 112: ...Service work 490E75 0_C 112 Ottobock 237 238 239 240 241...
Page 143: ...R Net wheelchair control 490E75 0_C Ottobock 143 Seat module pin assignment 287...
Page 161: ...490E75 0_C Ottobock 161...
Page 162: ...490E75 0_C 162 Ottobock...

