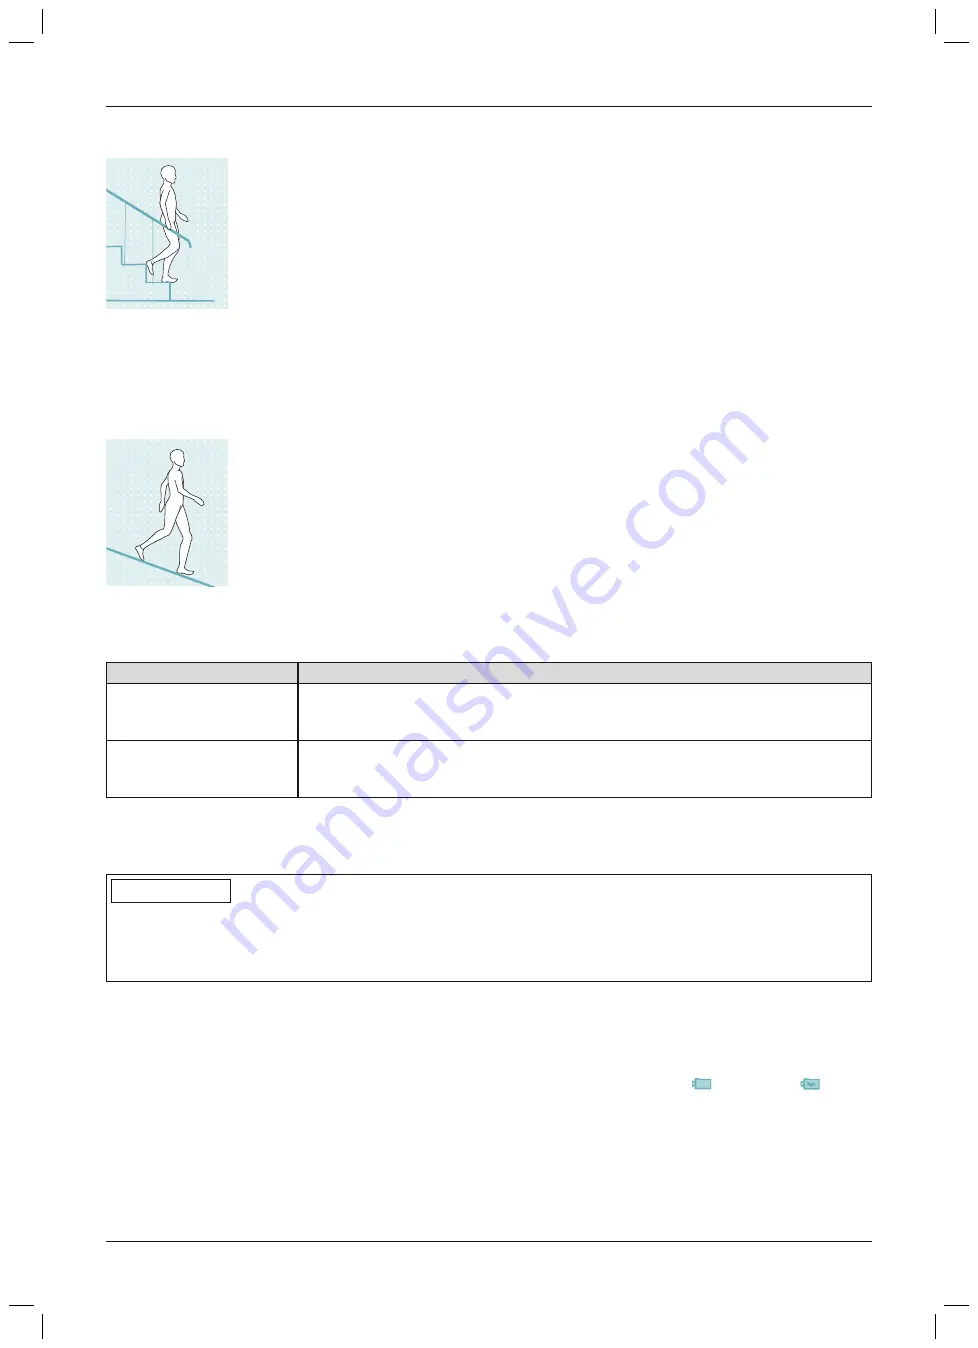
9.1.9 Walking down stairs
This function must be practised and executed consciously. Only when the sole is properly
positioned can the knee joint react correctly and permit controlled flexion.
1) Hold the handrail with one hand.
2) Position the leg with the prosthesis on the step so that the foot projects halfway over the
edge of the step.
→
This is the only way to ensure a secure rollover.
3) Roll the foot over the edge of the step.
→
This flexes the prosthesis slowly and evenly in the knee joint.
4) Place the foot of the other leg onto the next step.
5) Place the foot of the prosthetic leg on the next step after that.
INFORMATION: The flexion speed of the knee joint can be changed using the Cock
pit app via the parameter "Resistance" (see Page 94)
.
9.1.10 Walking down a ramp
Under increased flexion resistance, permit controlled flexion of the knee joint which lowers
the body's centre of gravity.
INFORMATION: The flexion resistance at which the knee bends can be changed
using the Cockpit app via the parameter "Resistance" (see Page 94)
.
9.1.11 Configuration for walking down stairs/ramp using the adjustment software
Walking down stairs or ramps can be configured as follows using the adjustment software:
Parameter
Meaning
Supported
Flexion resistance that increases with the knee angle (starting from the resistance of
the parameter "
Stance flexion resistance
") to the end of the stance phase is con
figured.
Dynamic
With this setting, it is possible to swing the prosthesis up at the end of the stance
phase on ramps and stairs. This results in more ground clearance during swing-
through of the prosthesis.
9.2 Changing prosthesis settings
Once an active connection to a component has been established, the settings
of the respective active mode
can
be changed using the Cockpit app.
INFORMATION
Bluetooth on the prosthesis must be switched on to change the prosthesis settings.
If Bluetooth is switched off, it can be turned on by turning the prosthesis upside-down or by connecting/discon
necting the battery charger. Bluetooth is then turned on for approx. 2 minutes. The connection must be estab
lished during this period.
Information for changing the prosthesis settings
•
Before changing settings, always check the main menu of the Cockpit app to make sure the correct component
has been selected. Otherwise parameters could be changed for the wrong component.
•
It is not possible to change prosthesis settings nor to switch to a different mode while the prosthesis battery is
being charged. Only the status of the prosthesis can be called up. Instead of the
symbol, the
symbol
appears in the bottom row of the screen in the cockpit app.
•
The O&P professional's setting is located in the middle of the scale. After making adjustments, this setting can
be restored by tapping the "
Standard
" button in the Cockpit app.
•
Prosthesis settings should be optimised using the adjustment software. The Cockpit app is not intended for
use by the O&P professional to set up the prosthesis. The patient can use the app to change the behaviour of
the prosthesis to a certain extent during everyday use (e.g. while becoming accustomed to the prosthesis). The
O&P professional can use the adjustment software to trace these changes at the patient's next appointment.
93
Use
Summary of Contents for 3B1-2/3B1-2-ST
Page 62: ...62 ...
Page 115: ...115 ...


