Ottobock | 13
• Position the flexible inner socket in the carbon frame. Make sure that it is
easy to install and remove the upper connector part into/from the base.
Remove more excessive material if necessary.
3.1.4 Installation Preparation for Laminated Sockets
The enclosed vacuum forming dummy provides for that the lower screw
ring is flush with the inner side of the socket.
• Pull 99B25 Nylon Stockinette over the plaster positive.
• Secure the vacuum forming dummy to the plaster positive with the en-
closed 503S3 Screw (Fig. 2).
• Pull 99B81 PVA Bag over the plaster positive and reinforce the laminated
socket adequately.
3.1.5 Completion of a Laminated Socket without Flexible Inner Socket
• After laminating the lamination resin socket, grind away the material
covering the vacuum forming dummy until it is flush.
• Remove the 503S3 Screw and vacuum forming dummy.
• Remove the vacuum connector and apply 617H46 Bonding Agent to
the contact surface of the lower screw ring if need be (Fig. 4). Position
the lower screw ring in the socket (Fig. 5). Tighten the upper screw ring.
The pin wrench can be used for tightening the lower and upper screw
rings (Fig. 6).
• The lamination dummy is not needed here.
3.1.6 Final Assembly
Using the enclosed hose (10) establish the connection between the upper
connector part and the Harmony pump.
To do so, attach one end of the hose to the hose connector (4) and attach
the other end either to the one-way valve of the mechanical Harmony pump
or to the filter of the electric pump (Fig. 8).
3.2 Instructions for Use
Position the upper connector part in the base by simply pressing it in
place. An audible feedback is emitted once the upper connector part has
been pressed in properly. To remove the upper connector part, lift the two
wings with your index finger and thumb and pull the upper connector part
out of the base.
Summary of Contents for 2R119
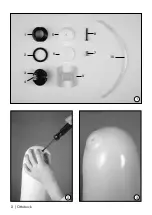
Page 2: ...2 Ottobock 1 4 8 2 3 5 6 10 7 9 2 3 1 ...
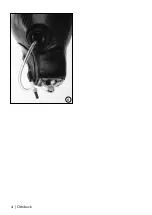
Page 3: ...Ottobock 3 4 5 7 6 ...
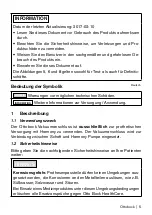
Page 4: ...4 Ottobock 8 ...
Page 99: ...Ottobock 99 ...


