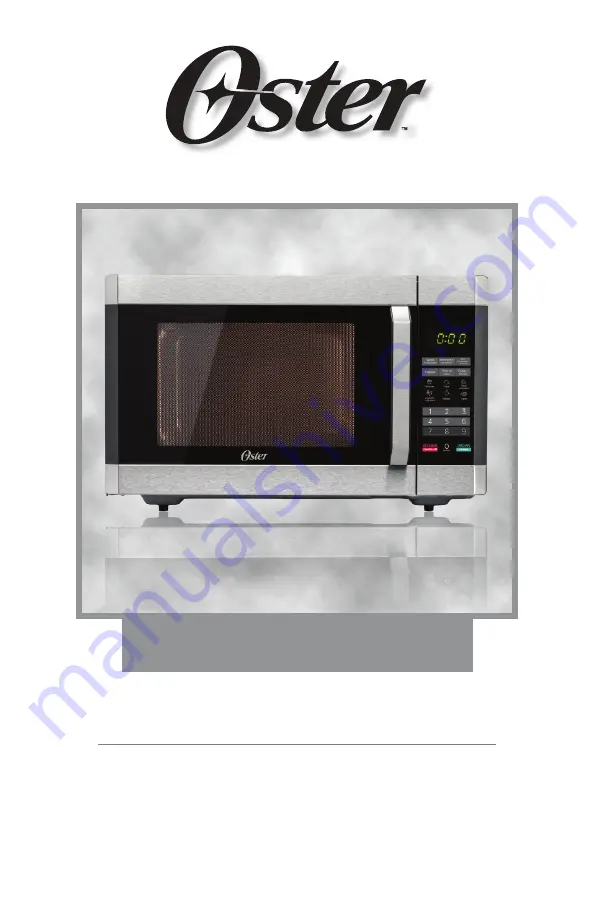
background image

Manual de instrucciones

HORNO DE MICROONDAS PARA MOSTRADOR

LEA TODAS LAS INSTRUCCIONES ANTES DE USAR ESTE APARATO

Instruction Manual

COUNTERTOP MICROWAVE OVEN

PLEASE READ ALL INSTRUCTIONS BEFORE USING THIS APPLIANCE

MODELO /

MODEL 

POGYME1502G

POGYME1502G

Summary of Contents for POGYME1502G

Page 1: ...RNO DE MICROONDAS PARA MOSTRADOR LEA TODAS LAS INSTRUCCIONES ANTES DE USAR ESTE APARATO Instruction Manual COUNTERTOP MICROWAVE OVEN PLEASE READ ALL INSTRUCTIONS BEFORE USING THIS APPLIANCE MODELO MOD...

Page 2: ...Espa ol 1 Precauciones importantes 2 Instrucciones importantes de seguridad 3 Reducir lesiones a las personas 5 Limpieza y utensilios 6 Instrucciones de operaci n Soluci n de problemas 11 18 NDICE...

Page 3: ...omper ni manipular los enclavamientos de seguridad 2 NO coloque ning n objeto entre la cara frontal del horno y la puerta o dejar que se acumule la suciedad o los restos de limpiador en las superficie...

Page 4: ...ituir la l mpara para evitar la posibilidad de una descarga el ctrica 6 ADVERTENCIA Es peligroso que alguien que no sea una persona competente realice cualquier operaci n de servicio o reparaci n que...

Page 5: ...no microondas est destinado a calentar alimentos y bebidas El secado de alimentos o prendas de vestir y el calentamiento de almohadillas para calentar zapatillas esponjas pa os h medos y similares pue...

Page 6: ...tar conectado a tierra En el caso de que se produzca un cortocircuito la conexi n a tierra reduce el riesgo de descarga el ctrica al proporcionar un cable de escape para la corriente el ctrica Este ap...

Page 7: ...nte 10 minutos Limpie el horno con un pa o suave y seco UTENSILIOS PRECAUCI N Riesgo de lesiones personales Es peligroso que alguien que no sea una persona competente realice cualquier operaci n de ma...

Page 8: ...ricante No cierre con bridas met licas Haga ranuras para permitir la salida del vapor Util celo s lo para cocinar calentar a corto plazo No dejar el horno sin vigilancia mientras se cocina Util celo p...

Page 9: ...mentos a un plato apto para microondas El metal protege a los alimentos de la energ a de las microondas Los adornos met licos pueden provocar la formaci n de arcos Puede provocar un arco el ctrico y p...

Page 10: ...deja de cristal E Ventana de observaci n F Conjunto de la puerta G Sistema de enclavamiento de seguridad Instalaci n del plato giratorio Cubo parte inferior Bandeja de cristal Conjunto del anillo de l...

Page 11: ...s puede causar interferencias en la recepci n de su radio o televisi n 6 Enchufe el horno en una toma de corriente dom stica est ndar Aseg rese de que el voltaje y la frecuencia sean los mismos que ap...

Page 12: ...parpadea 2 Pulse las teclas num ricas e introduzca el tiempo del temporizador el tiempo m ximo de cocci n es de 99 minutos y 99 segundos 3 Pulse START 30SEG para confirmar el ajuste 4 Cuando llegue l...

Page 13: ...la mostrar G 1 2 Ajuste el tiempo de cocci n el tiempo m ximo de cocci n es de 99 minutos y 99 segundos Ejemplo Ajuste 12 minutos 50 segundos pulse 1 2 5 0 en orden 3 Pulse INICIAR 30SEC para iniciar...

Page 14: ...unci n de descongelaci n por peso 1 Pulse Descongelado con tiempo una vez la pantalla mostrar dEF1 2 Pulse los botones num ricos para introducir el peso a descongelar Introduzca el peso entre 100 2000...

Page 15: ...Bebidas una vez y aparecer 1 b Pulse INICIAR 30SEG para cocinar el zumbador suena una vez Cuando la cocci n termina el zumbador suena cinco veces y luego vuelve al estado de espera 14 Carnes A Men de...

Page 16: ...a 100 200 400 gramos aparecer n en orden Por ejemplo pulse una vez Frozen Pizza y aparecer 100 b Pulse INICIAR 30SEG para cocinar el zumbador suena una vez 17 Cocci n en varias etapas Como m ximo se p...

Page 17: ...egundos Los pasos son los siguientes a En estado de espera pulse dos veces 0 Memoria deje de pulsar hasta que la pantalla muestre 2 b Pulse Tiempo de Cocci n una vez luego pulse 3 2 0 en orden c Pulse...

Page 18: ...la cocci n ha terminado 22 Otras especificaciones 1 En estado de espera si el tubo digital del reloj ajustado muestra la hora actual el icono parpadear de lo contrario mostrar 0 00 2 En el estado de...

Page 19: ...ente sin comida El horno no se puede poner en marcha El cable de alimentaci n no est bien enchufado Desenchufa Vuelva a enchufar despu s de 10 segundos Prueba de la toma de corriente con otros aparato...

Page 20: ...utions to avoid possible exposure to excessive microwave energy 2 Important safety instructions 3 To reduce the risk of injury to persons 5 Cleaning and utensils 6 Operating instructions Trouble Shoot...

Page 21: ...oven and the door or allow dirt or cleaner residue to accumulate on the sealing surfaces 3 WARNING If the door or door seals are damaged the oven should not be operated until it has been repaired by a...

Page 22: ...sure the appliance is turned off before replacing the lamp to avoid the possibility of electric shock 6 WARNING It is dangerous for anyone other than a competent person to perform any service or repa...

Page 23: ...onments By customers in hotels motels and other residential type environments Farm homes In bed and breakfast type environments 21 The microwave oven is intended for heating food and beverages Drying...

Page 24: ...ed This appliance must be grounded In the event of a short circuit grounding reduces the risk of electric shock by providing an escape wire for the electric current This appliance is equipped with a c...

Page 25: ...pe the oven with a soft dry cloth UTENSILS CAUTION Risk of personal injury It is dangerous for anyone other than a competent person to perform any maintenance or repair operation involving the removal...

Page 26: ...llow manufacturer s instructions Do not close with metal flanges Make slots to allow steam to escape Use only for short term cooking heating Do not leave the oven unattended while cooking Use to cover...

Page 27: ...ds the food from microwave energy Metal trim may cause arcing May cause a fire in the oven Plastic foam may melt or contaminate the liquid inside when exposed to high temperature Wood will dry out whe...

Page 28: ...Turntable shaft C Turntable ring assembly D Glass tray E Observation window F Door assembly G Safety interlock system Turntable Installation Hub underside Glass tray Turntable ring assembly Turntable...

Page 29: ...la cubierta de color marr n claro que est adherida a la cavidad del horno para proteger el magnetr n 20cm 30cm 20cm min85cm 0cm The accessible surface may be hot during operation English 10 1 The mini...

Page 30: ...m setting 4 When the timer time arrives the buzzer will ring 5 times If the clock be set 12 hour system the screen will display the current time Note 1 The kitchen time is differ from 12 hour system K...

Page 31: ...ion the display will show G 1 2 Set the cooking time the maximum cooking time is 99 minutes and 99 seconds Example Set 12 minutes 50 seconds press 1 2 5 0 in order 3 Press START 30SEC to start cooking...

Page 32: ...Defrost by weight function 1 Press Defrost by time once the display will show dEF1 2 Press the number buttons to input the weight to defrost Input the weight between 100 2000 g 3 If the weight entered...

Page 33: ...er One cup equals about 120 ml For example press Beverage once and 1 will appear b Press START 30SEC to cook the buzzer sounds once When cooking is finished the buzzer sounds five times and then retur...

Page 34: ...tedly until the desired number appears on the display 100 200 400 grams will appear in order For example press Frozen Pizza once and 100 will appear b Press START 30SEG to bake the buzzer sounds once...

Page 35: ...conds The steps are as follows a In standby state press 0 Memory twice stop pressing until the display shows 2 b Press Cooking Time once then press 3 2 0 in order c Press Power once PL10 appears then...

Page 36: ...the user that cooking is finished 22 Other specifications 1 In standby status if the set digital clock tube shows the current time the icon will flash otherwise it will show 0 00 2 In the setting fun...

Page 37: ...ngerous According to Waste of Electrical and Electronic Equipment WEEE directive WEEE should be separately collected and treated If at any time in future you need to dispose of this product please do...

Page 38: ...o distribuido o vendido por Household Solutions S A licenciatario oficial de este producto Garant a limitada de un a o HECHA EN CHINA 2022 Sunbeam Products Inc All rights reserved The Oster logo is a...

Reviews: