Mobile Phone
Operating Instructions
ezy100 GSM Mobile Phone with
Emergency Call Function
Page 1: ...Mobile Phone Operating Instructions ezy100 GSM Mobile Phone with Emergency Call Function...
Page 2: ......
Page 3: ...Call Functions 32 Emergency Call Function 37 Emergency Call Function Examples 40 Starting Ending the Emergency Call Function 44 Phone Book 45 Call List 52 SMS Text Messages 54 Voice Mail 57 Network s...
Page 4: ...of the important issues and important warnings which you need to be aware of This is not a summary of all the important issues and you must still read the User Guide in full Risk of suffocation Keep p...
Page 5: ...phone Prevent exposure to smoke dust vibration chemicals moisture heat and direct sunlight The phone is not waterproof therefore keep it dry at all times Water damage is not covered under warranty Ne...
Page 6: ...lst driving a motor vehicle At all times obey all local traffic laws regarding mobile phone usage whilst driving a motor vehicle Always keep your hands free to operate the vehicle safely If you use th...
Page 7: ...s about using your phone with an implanted medical device consult your health care provider Use with a hearing device This phone is hearing aid compatible If you wear a hearing aid however please cont...
Page 8: ...der to dispose of your device take it to a collection point if provided by your local public waste authorities e g recycling centre The adjacent symbol indicates that the device must not be disposed o...
Page 9: ...e phone The barcode label printed inside the phone contains the IMEI number and the serial number Do not remove it Phone security Every mobile phone has a unique 15 digit electronic serial number know...
Page 10: ...olen making it useless to any thief Importantly this also ensures you re not paying for any calls made by the thief If the handset is subsequently found the IMEI block can be easily removed as long as...
Page 11: ...d by your network provider PUK PUK2 codes The PUK Personal Unblocking Key and PUK2 codes are 4 to 8 digit numbers These are only necessary if you enter the PIN code for the SIM card incorrectly three...
Page 12: ...card installed The number is automatically dialled if the emergency call switch is activated Switch the phone off Pay attention that the SIM card is not bent or scratched Prevent any contact with wate...
Page 13: ...e battery The gold coloured contacts on the battery must face towards the top left Press lightly on the bottom end of the battery until it snaps into place Replace the battery compartment cover back o...
Page 14: ...en charging the battery for the first time it should be charged for at least 4 hours Batteries only reach their full capacity after several complete charge discharge cycles Charging via the mini USB p...
Page 15: ...llows Full Half empty Low Empty It may take a few seconds before the phone indicates the charging process You can use the phone during the charging process You can also charge the phone via a PC To do...
Page 16: ...nger works and certain functions are no longer available Charge the battery When the battery charge drops below the minimum status the phone switches off automatically Warnings on battery usage Only u...
Page 17: ...to 120 minutes and standby time is up to 170 hours Switching the mobile phone off and on Press and hold the button for 3 seconds to switch the phone on or off Setting the display language Select the l...
Page 18: ...ress M1 to confirm Set Format 5 Use i j to select Set Format press M1 to confirm Use i j to select and press M1 to confirm Set time format to 24Hr or 12 Hr and select the date format Set time and date...
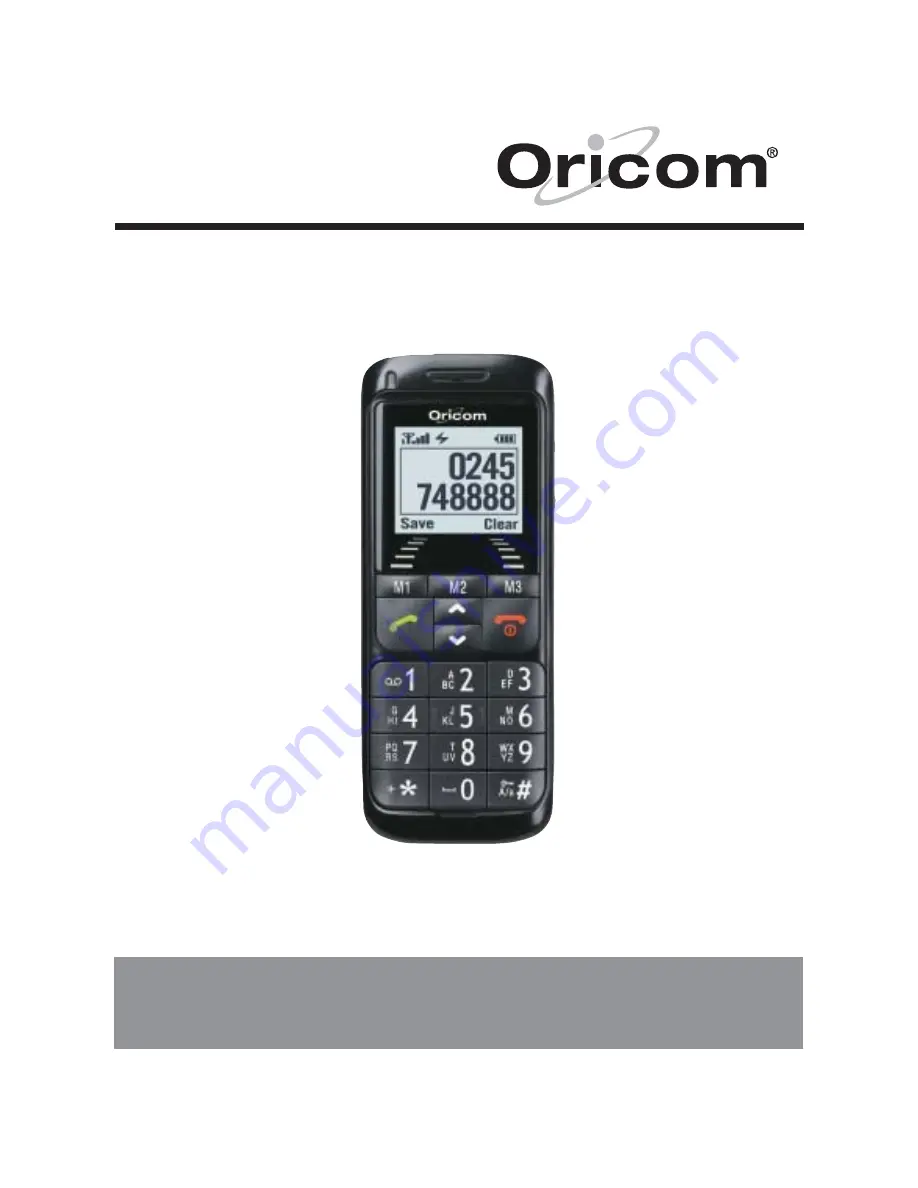
Page 19: ...19 3 Your Oricom phone and controls Your Oricom phone and controls 14 15 10 11 12 13 8 1 2 3 4 7 6 5 9...
Page 20: ...tkeys 3 On Off button On hook button 4 Scroll up down button 5 Microphone 6 Digit keys 7 Call button 8 LED 9 Loudspeaker for handsfree mode 10 Emergency call switch 11 Battery compartment cover 12 Min...
Page 21: ...on and then dialled directly by pressing and holding the respective button M1 M3 are also softkeys The softkeys are assigned different functions in the various menus The current function is always ind...
Page 22: ...ker You can hear the caller s voice from here when the phone is in Handsfree mode The outgoing alert message is played back loud via this loudspeaker 10 Emergency call switch Activate emergency call 1...
Page 23: ...ufacturers will work properly Damage to the headset or mobile phone cannot be ruled out Buttons with special functions In Standby mode hold the button to set Silent activated or General activated Duri...
Page 24: ...ons Press the button depicted briefly 2 sec Press the button depicted for 2 seconds Hold Press and hold down the button depicted Enter digits or letters Mobile phone rings Remove phone from the chargi...
Page 25: ...hone connection Alarm1 and or Alarm2 are activated A headset is connected The key lock function is activated Page 34 A roaming1 call is in progress A call is currently being made There are new calls i...
Page 26: ...Vibration alert is activated first then ringing tone Vibration alert and ringing tone are activated 1 Roaming calls Outgoing or incoming international calls subject to special charges 2 SMS Short Mes...
Page 27: ...activate the key lock function Energy save mode When the phone has been in Standby mode for some time it automatically switches to energy save mode The display no longer lights up Press any button to...
Page 28: ...nctions can be accessed via the various menus Menu M1 Open the main menu i j Select the submenu required Ok M1 Open the submenu i j Select the function required Ok Open the function i j Ok Select the...
Page 29: ...ges Not every method is always available for each application Entering text Multitap In order to enter text in Multitap mode press the button labelled with the corresponding letter character If the fi...
Page 30: ...uired character and insert it by pressing the M1 To enter a space press 0 button Creating phone book entries example The way in which to navigate through the menus and define settings is explained by...
Page 31: ...rm and enter the edit mode 6 Use the keypad to enter the information press M1 to confirm Press M3 to clear the incorrect entry Enter any further information regarding this name according to the proced...
Page 32: ...reject the call Ending a call During a call press to end the call Making a call 1 Use the keypad to enter the phone number 2 Press M3 to delete the incorrect entries 3 Press to dial the phone number...
Page 33: ...signed several phone numbers to the entry select the number required 1 Use i j to select the relevant number 2 Press to dial the number Quick dialling You must have already assigned phone numbers to t...
Page 34: ...s shown on the display the handsfree mode is deactivated Muting the microphone in the handset The microphone in the handset can be activated and deactivated during a telephone conversation 1 During a...
Page 35: ...conds to activate or deactivate the ringing melody Deactivating the ringing tone for the current call During an incoming call press and hold for 3 seconds to deactivate the ringing melody The ringing...
Page 36: ...hold whilst you make a call to another party 1 Use i j to select New Call and press M1 to confirm 2 Use keypad to enter the phone number and press to dial the number The first call is put on hold Pho...
Page 37: ...the display If no SIM card is installed and the emergency call switch is switched on the emergency call number 000 is automatically dialled Entering Deleting emergency call numbers Proceed as follows...
Page 38: ...call is only sent to the number entered in Help No 1 or to all the emergency numbers entered 1 During standby mode press M1 to enter the main menu 2 Use i j to select Help Setting press M1 to confirm...
Page 39: ...You can enter a text message which appears in the display when you activate an emergency call This information is not sent as text message but appears briefly in the mobile phone display 1 During sta...
Page 40: ...r of the emergency call center must be stored in the phone book It may be necessary for you to register with an emergency call center Ask your doctor or community services for details Proceed as follo...
Page 41: ...press M1 to confirm 9 Back to the Help Setting menu use i j to select Help Call Duration and press M1 to confirm 10 Use i j to select Off and press M1 to confirm In the case of an emergency call The m...
Page 42: ...m 3 Use i j to select Set Help Numbers press M1 to confirm 4 Use i j to select Help No 1 press M1 to confirm and select memory location 1 5 Use i j to select From Phonebook press M1 to confirm and ope...
Page 43: ...ss M1 to confirm In the case of an emergency call The mobile phone dials the 1st emergency call number and switches to handsfree mode When a connection is made speak to the person answering If the pho...
Page 44: ...activated The mobile phone dials the assigned number and switches to handsfree mode Complete the call Depending on the settings selected the number is redialled or the next number is dialled Ending t...
Page 45: ...made to store another entry Before new entries can be stored old entries must be deleted The phone book entries are arranged alphabetically To skip directly to a required phone book entry press the c...
Page 46: ...3 Use i j to move the cursor or to scroll Creating phone book entries 1 During standby mode press M1 to enter the main menu 2 Use i j to select Phonebook Press M1 to confirm 3 Use i j to select Add Ne...
Page 47: ...o confirm 3 Use i j to select the memory location To SIM or To Phone press M1 to confirm 4 Use the keypad to enter the name and press M1 to confirm 5 Use i j to select another option and press M1 to c...
Page 48: ...ginning of this chapter After searching the number press M1 to confirm The following functions are available Select View to view the entry Select Edit to edit the entry Select Clear to delete the entr...
Page 49: ...the entries from the SIM or phone Select Copy All to copy all the entries from the SIM or phone Groups You can assign the entries to various groups Groups can be displayed or hidden in order to have a...
Page 50: ...it to the member list If there are entries available in the Member List press the M3 softkey The following options Add or Clear are then available Changing the group name and tone 1 During standby mod...
Page 51: ...i j to select Settings press M1 to confirm 4 The following functions are available Select Memory Status to display the status of the SIM and phone Select Fields to set the fields in the phone book to...
Page 52: ...ers received matches an entry in the phone book the associated name appears The following icons appear to indicate numbers dialled calls received missed calls Dialling from the call list 1 Press to op...
Page 53: ...Clear to delete the entry Select Save to save the entry on the SIM or phone Select Call to dial the entry Select Edit to edit the entry Select Delete All to delete the calls list Use i j to select the...
Page 54: ...on ways of entering text Page 29 Press M1 use the i j to select the following functions 1 Select Send Only press M1 to confirm and use keypad to enter the number or select from the phone book press M...
Page 55: ...ew Message appears in the display Press the Read softkey to display the message SMS texts received are stored in the Inbox folder SMS texts sent are saved in the Outbox folder as are the drafts Editin...
Page 56: ...xt Select Clear to delete the SMS text Select Copy to SIM Copy to Phone to copy the SMS text Select Move to SIM Move to Phone to move the SMS text Select Delete All to delete all the SMS text Select C...
Page 57: ...l 1 feature the relevant phone number must be programmed in your mobile phone Normally this has already been set up by your network service provider Setting up the Voice Mail feature 1 During standby...
Page 58: ...the Voice Mail number is deleted Select Connect to Voice Mail and press M1 to confirm the Voice Mail number is dialled 1 Voice Mail also referred to as mailbox answering machine in mobile telecommuni...
Page 59: ...During standby mode press M1 to enter the main menu 2 Use i j to select Phone Setting press M1 to confirm 3 Use i j to select Call Setting press M1 to confirm Forwarding calls The following functions...
Page 60: ...ess M1 to confirm the call forwarding function is then active 5 Use i j to select Deactivate and press M1 to confirm The corresponding call transfer is deactivated 6 Select Check Status and press M1 t...
Page 61: ...t Change Password press M1 to confirm Call waiting You will hear a Beep informing you that another call has been received while the current call is in progress Navigate to the Call Setting menu Use i...
Page 62: ...st be stored in the phone book Assigning a phone number to a one touch dialling button 1 During standby mode press M1 to enter the main menu 2 Use i j to select Set M1 M2 M3 press M1 to confirm 3 Use...
Page 63: ...press M1 to confirm 2 Use i j to select options Set Home City Set Time Date Set Format press M1 to confirm and go on setting Select Set Home City press M1 to confirm and use i j to select the option p...
Page 64: ...select On or Off press M1 to confirm Calender This menu option opens the current calendar sheet You can select other days and manage entries in the appointments list Use the i j buttons to navigate in...
Page 65: ...rm 4 Use i j to select Key LED flash press M1 to confirm 5 Use i j to select On or Off press M1 to confirm Navigation buttons You can assign various menu options to the digit keys 2 to 9 Then hold the...
Page 66: ...sword PIN The PIN and password can be changed PIN and PIN2 are supplied together with the SIM card Further information is available from your SIM card provider 1 During standby mode press M1 to enter...
Page 67: ...t setting for the password is 0000 If this lock is active you must first enter the password for the phone lock after switching the mobile phone on and then enter the PIN Change Password Change the pas...
Page 68: ...setting Select LCD Backlight to set the brightness and lighting duration of the back lighting Select Font Size to set the font size in the display to Small or Large Select File Manager to manage folde...
Page 69: ...the key lock is automatically activated after a certain time in Standby mode Navigate to the Phone Setting menu 1 Use i j to select Auto KeyLock press M1 to confirm 2 Select None and press M1 to conf...
Page 70: ...to enter the main menu 2 Use i j to select Messages press M1 to confirm 3 Use i j to select Message Settings press M1 to confirm 4 Use i j to select Profile Setting press M1 to confirm SMS service ce...
Page 71: ...ess M1 to confirm 2 Use i j to select Validity press M1 to confirm 3 Use i j to select Maximum press M1 to confirm Settings Delivery report Select Delivery Report On to receive the corresponding deliv...
Page 72: ...se i j to select Profile Setting press M1 to confirm 2 Use i j to select Memory Status press M1 to confirm The memory locations occupied and free on the mobile phone and SIM card are displayed SIM Too...
Page 73: ...ages press M1 to confirm 3 Use i j to select Message Settings press M1 to confirm 4 Use i j to select Broadcast Message press M1 to confirm 1 Sim Toolkit STK The SIMApplicationToolkit commonly referre...
Page 74: ...e the i j buttons to change the priority It is possible that not all functions described are supported by every provider Therefore please contact your local mobile network service phone provider for d...
Page 75: ...e and try again The display is locked when the mobile phone is switched on Enter the PUK to unlock the SIM card Contact your network service provider No signal quality is displayed No network connecti...
Page 76: ...ome functions indicating execution use is not possible Many functions can only be used after the respective service has been applied for Contact your network service provider for more details No displ...
Page 77: ...SIM card has been installed correctly Contact your network service provider if necessary The battery cannot be charged or is empty within a short time Battery is defect Place the phone correctly in t...
Page 78: ...g incl battery Power supply Input 100 240 V 50 60 Hz 0 2 A Output Mini USB 5 V 800 mA Battery Model KEBT 5057 3 7 V 750 mAh Standby time Up to 170 hours Max talk time Up to 120 minutes Display 1 77 m...
Page 79: ...ersons regardless of age and state of health SAR Specific Absorption Rate is a unit of measurement used in the standard and it measures the amount of radio frequency energy absorbed by the body when u...
Page 80: ...f warranty and conditions for receiving the warranty services during the warranty period The Warranty Card is located in the package b Exclusion and limitation of liability Oricom will not be in breac...
Page 81: ...anyone other than Oricom or on Oricom s behalf Oricom will not be liable for consequential losses including loss of profits arising from a cause of action in contract tort or any other statutory or c...
Page 82: ...parts and in case of any technical issues you may have with this product please consult our website for further information or send us an email for a prompt response to your enquiry In the unlikely ev...
Page 83: ...73 Buttons with special functions 23 C Calender 64 Call barring 60 Call list 32 Call waiting 61 Charging the battery 14 Charging via the mini USB port 14 Charging via the optional desktop charger 15 C...
Page 84: ...entries 49 Emergency call to several numbers 42 Emergency calls 7 Emergency calls to an emergency call center 40 Ending a call 32 Ending the emergency call 44 Energy save mode 27 Entering Data 29 Ent...
Page 85: ...g the SIM card 12 Intended use 4 K Keypad lock 34 M Making a call 32 Memory status 72 Modifying editing deleting phone book entries 48 Muting the microphone in the handset 34 N Navigating in the menu...
Page 86: ...ns 75 PUK PUK2 codes 11 Q Quick dialling 33 R Rechargeable batteries 8 Rejecting a call 32 S Saving in Standby mode 47 Security settings 66 Sending an emergency call 38 Setting the display language 17...
Page 87: ...mode 27 Starting the emergency call 44 Switching the mobile phone off and on 17 T Taking a call 32 Talk time display 34 Technical data 78 U Use with a hearing device 7 V Validity 71 W Warning when use...
Page 88: ...Customer Support Email support oricom com au Web www oricom com au Phone 02 4574 8888 Fax 02 4574 8898 Australia Oricom International Pty Ltd Locked Bag 658 South Windsor NSW 2756...