background image


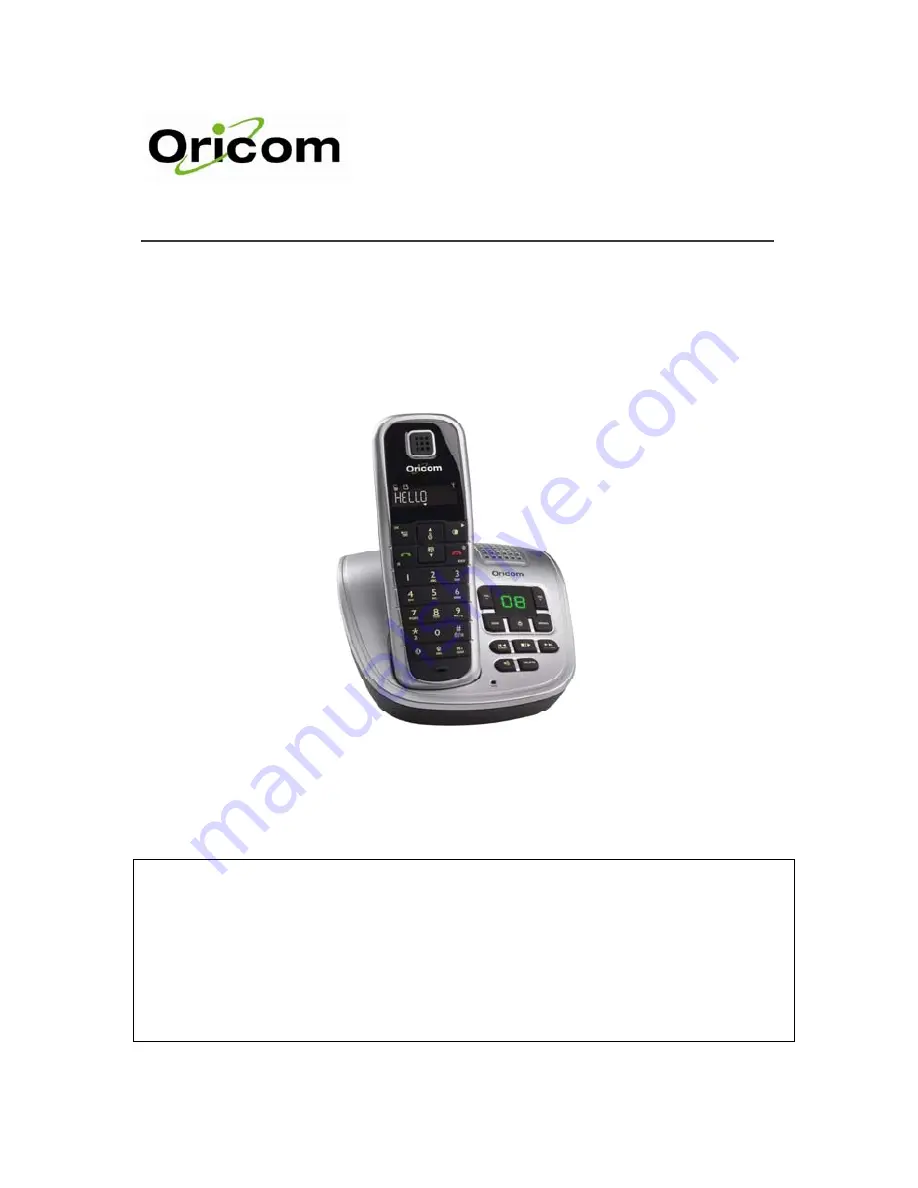
ECO3400 Series 

                              User Guide             


Keep this user guide for future reference 

WARNING 


DO NOT USE STANDARD/ALKALINE BATTERIES IN THIS PRODUCT, AS THERE IS A 

RISK OF EXPLOSION AND/OR INJURY. USE ONLY Ni-MH RECHARGEABLE BATTERIES 

AS SPECIFICED IN THIS USER GUIDE. CONTACT ORICOM FOR REPLACEMENT 

BATTERIES. 

Summary of Contents for EC03400-1

Page 1: ...de for future reference WARNING DO NOT USE STANDARD ALKALINE BATTERIES IN THIS PRODUCT AS THERE IS A RISK OF EXPLOSION AND OR INJURY USE ONLY Ni MH RECHARGEABLE BATTERIES AS SPECIFICED IN THIS USER GU...

Page 2: ...ting Started 9 6 Call 11 7 Multi handset operation 14 8 Text and Numbers 15 9 Phonebook 16 10 Call Log 18 11 Custom Options 19 12 Calling Features 20 13 Extra Features 20 14 The System 22 15 Appendix...

Page 3: ...charging conductors Do not use the handset in an explosive hazard area such as where there is gas leaking Do not use your telephone during an electrical thunderstorm as it is possible to get an elect...

Page 4: ...ephone Environmental The Ni Mh batteries supplied with this product may be able to be recycled once they are unable to recharge during normal operation Always observe your local Council State regulati...

Page 5: ...t you on important information Warning Critical information for preventing personal injury Caution Critical information for preventing damage to the product Tip Information for easier operation Note E...

Page 6: ...nd a recall signal 5 End On Off key End current call Exit menu operation Turn handset on off 6 Down Navigation Phonebook key Scroll down menu items Reduce ringer and receiver volume Enter phonebook re...

Page 7: ...ing playback Use to turn message alert on off 7 Stop Play key Use to play messages Use to stop an operation 8 Forward Screen key Use to skip forward during playback Use to turn call screening on off 9...

Page 8: ...er the phonebook Press to enter the redial log Taking a glance at the menus PHONEBOOK DISPLAY SOUND SETTINGS Add Record Edit Record Delete Delete All Handset Name Handset Base Key Tones Tones Ans Mach...

Page 9: ...Connect the power adapter of the charger to a standard wall outlet CHARGING YOUR HANDSET CAUTION Check the batteries polarity when inserting the batteries Incorrect polarity may damage the product IMP...

Page 10: ...der for it to work properly according to your country s standards If you are in Australia you can skip this instruction as the phone factory default is Australia 1 After the phone is fully charged pre...

Page 11: ...ou can make changes before dialing out NOTE Low Battery During a call you will hear warning tones if your handset is almost out of power Charge your handset as soon as possible Placing the handset on...

Page 12: ...out the call ENDING A CALL 1 Press OR place the handset on the base cradle or charger ANSWERING A CALL When you receive a call your phone rings Press to answer the call Turning off the ringer You can...

Page 13: ...D IN THE PHONEBOOK THAT PHONEBOOK NAME WILL BE DISPLAYED INSTEAD OF THE CALLER S NUMBER YOUR PHONE AUTOMATICALLY STORES THE LAST 20 INCOMING CALLS INFORMATION EACH RECORD HOLDS UP TO 20 DIGITS CALL WA...

Page 14: ...ess during a call 2 Press the target handset number 3 Press after the other party answers your call The outside call is now transferred to the other handset MAKING A 3 WAY CONFERENCE CALL A 3 way conf...

Page 15: ...s it as many times as needed for the character to display on the screen Figure 1 Input table Key Characters 0 0 1 space 1 2 A B C 2 3 D E F 3 4 G H I 4 5 J K L 5 6 M N O 6 7 P Q R S 7 8 T U V 8 9 W X...

Page 16: ...by scrolling or by searching the first character Searching by scrolling 1 While at the phonebook press or to scroll Searching by the first character 1 While at the phonebook press the digit key that...

Page 17: ...K DELETE Press 3 Select the record you want to delete Press twice The handset displays a confirmation request 4 Press to confirm The record is deleted DELETING ALL RECORDS 1 Press 2 Select PHONEBOOK D...

Page 18: ...ll log see Calling from the incoming call log on page 12 SAVING A CALL RECORD TO YOUR PHONEBOOK 1 Press after selecting a call record 2 Select SAVE Press 3 Edit the name if necessary Press 4 Edit the...

Page 19: ...inger melody and volume 1 Press 2 Select SOUND HANDSET or BASE MELODY or VOLUME Press 3 Select the melody or volume you want Press to confirm The new setting is saved Setting the key tone Key tone is...

Page 20: ...operator for more information If this is not working correctly change the setting using the instruction below Selecting recall duration 1 Press 2 Select SETTINGS RECALL Press 3 Select the new setting...

Page 21: ...g the voicemail indicator After checking your voicemail s the voicemail indicator will be cleared automatically after receiving a signal from the network If you want to you can also clear the voicemai...

Page 22: ...G A HANDSET Use one handset to delete de register another handset that shares the same base unit 1 Press 2 Select SYSTEM DELETE HS Press 3 Select the handset number you want to delete Press 4 Enter th...

Page 23: ...ation Recall 1 Sounds Setting Handset Melody Melody 3 Handset Ringer Volume Level 5 Base Melody Melody 1 Base Ringer Volume Level 3 Handset Key Tones On Receiver Volume Level 2 Handset Tones On Call L...

Page 24: ...Answer and record This allows the caller to leave a message for you You can also record your own OGM for answer and record mode Hello your call cannot be taken at the moment so please leave your messa...

Page 25: ...e Press to increase and to decrease the speaker s volume Skip backward During message playback press to replay the message from the beginning During the first second of the current message press to pl...

Page 26: ...during memo playback The memo is deleted CALL SCREENING Call screening allows you to hear the caller while they are leaving a message You can then decide if you want to talk to the caller directly 1...

Page 27: ...ode is 000 You can personalize the RA PIN code for greater security 1 Press on the handset 2 Select SETTINGS ANS MACHINE RA PIN CODE Press 3 Enter your current RA PIN code Pre set 000 Press 4 Enter a...

Page 28: ...2 To repeat current message 5 To stop an operation 3 To play next message 6 To play OGM 5 To stop message playback 7 To record Memo 0 To delete current message 8 To switch the answering machine on of...

Page 29: ...ly Make sure the handset is placed properly on the charger The battery icon animates while charging No display Check that the batteries are charged Check the power and phone connections Bad audio crac...

Page 30: ...r access to emergency services Warranty Australia a Warranty Oricom International Pty Ltd Oricom warrants that the product is free from defects in materials and workmanship for a period of 12 months e...

Page 31: ...batteries and in case of any technical issues you may have with product please consult our website for further information or send us an email for a prompt response to your enquiry In the unlikely ev...

Reviews: