12.07/WE
19
ORGAPACK OR-P 400 HD
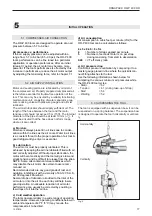
Sealing
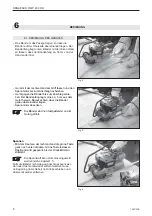
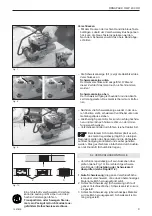
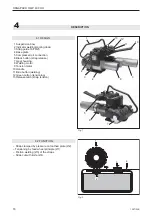
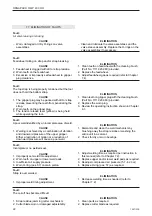
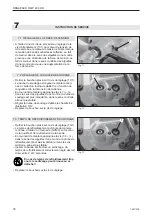
– Press the blue button with the right thumb
to begin
the sealing cycle. It is not necessary to continue
holding the lever down once the weld cycle has
started.
After welding the upper strap is cut off.
Fig. 8
Fig. 7
Fig. 10
1
2
3
1
Fig. 9
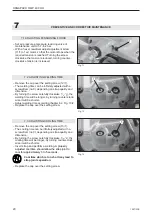
6.2 CHECKING THE SEAL
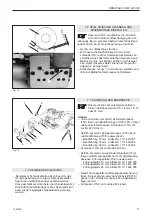
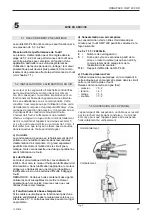
– Check appearance of seal (see
fi
g. 10) regularly. If
the straps are poorly welded,
check the welding
time setting (refer to chapter 7.2).
1
Good seal
(the complete surface is cleanly welded
without excess material being forced out side-
ways).
2 Poorly welded seal (not welded over the complete
surface), welding time too short.
3 Poorly welded seal (excess material is forced out
sideways), welding time too long.
An
incorrectly
welded
strapping
cannot
secure the package and can thus lead to
injuries.
Never transport or move packaged
goods
with
incorrectly
welded
seals.
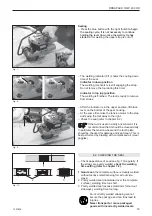
– The welding indicator (8/1) shows the cooling down
time of the seal:
Indicator in down position
The welding mechanism is still engaging the strap.
Do not remove the tool during this time!
Indicator in top (up) position
The welding is
fi
nished. The tool is ready to remove
from
straps.
– After the indicator is in the upper position, lift black
lever on the bottom of the gear housing.
– At the same time raise the tension motor to the stop
and swing the tool away to the right.
– Check the seal (refer to chapter 6.2).
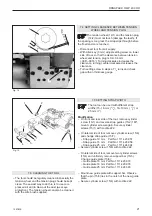
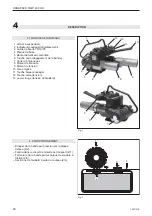
If the tool is used in a dirty environment, it is
recommended that it should be cleaned daily.
In particular the tension wheel and the tooth plate
should be checked for damage and kept clean. This is
best performed by blasting with compressed air (wear
goggles).

