USING A CA-SIGNED CERTIFICATE ON GROOV BOX
groov
Box User’s Guide
52
6.
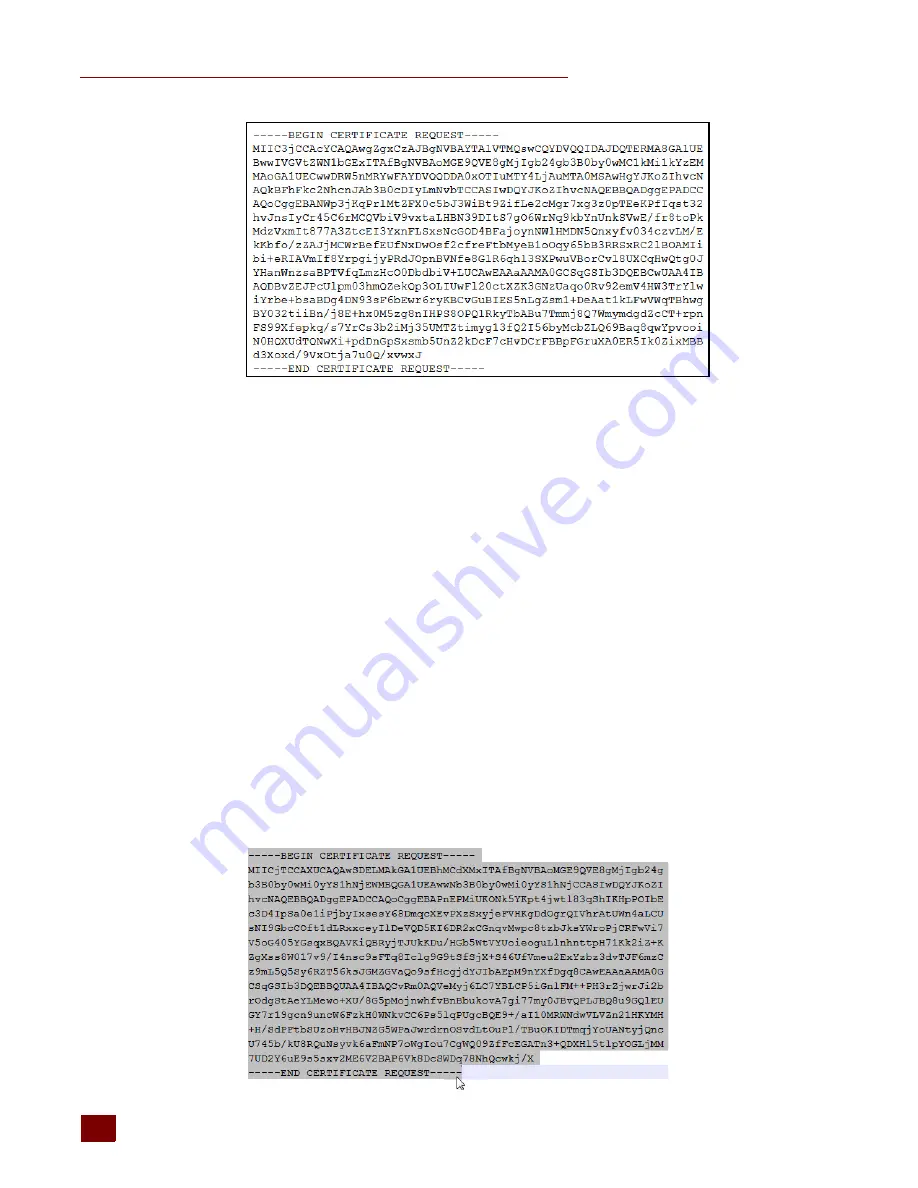
Copy and paste the entire text to a file named
<server name>.csr
(where
<server name>
is
replaced by the server name value you entered on the Create SSL key form in
.)
Step 2: Obtain a CA-Signed Certificate
A CA-signed certificate
contains identification information, the public key, and a digital signature.
Identification information includes the server name and the name of the organization that controls
the server. The certificate is digitally signed by a CA to establish authenticity. The Certificate is
installed on the
groov
Box or Server.
When you apply for an SSL certificate from a certificate authority, you will need to send them the
information captured in a Certificate Signing Request (CSR). If you have not yet created a CSR file, see
“Step 1: Create a CSR” on page 50
.
When filling out a form for a certificate authority, keep in mind that an SSL certificate can be used
with any operating system. If you are asked to select an operating system, you can select “other” if
that is an option, but it’s OK to select some other operating system.
1.
Open the .csr file you created previously in
“Step 1: Create a CSR” on page 50
.
2.
Provide the text of the CSR to the certificate authority in whatever form they require, whether
it’s a text file or just text pasted into a text field.
To paste the text into a text field on the CA’s website, open your .csr file in a text editor such as
Notepad, select all of the text and press
CTRL
+
C
to copy the text to the clipboard.
Summary of Contents for GROOV BOX
Page 1: ...GROOV BOX USER S GUIDE FOR GROOV AT1 Form 2077...
Page 7: ...groov Box User s Guide for GROOV AT1 vi...
Page 23: ...STEP 10 CREATE NEW USERNAMES AND PASSWORDS groov Box User s Guide for GROOV AT1 16...
Page 47: ...SETTING THE SYSTEM TIME groov Box User s Guide 40...
Page 67: ...TROUBLESHOOTING groov Box User s Guide for GROOV AT1 60...
Page 69: ...DIMENSIONS groov Box User s Guide for GROOV AT1 62 Dimensions...


