


User Manual – eSX
OptiPro Systems, LLC.
Page 46 of 111
Last Modified: 8/27/2014
7.6.2
Deleting an Existing Job
To delete a saved job permanently from the machine’s hard drive, follow these steps (refer to Figure
7-13):
1.
From any screen tap the [Load Job] button.
2.
Select a job from the dropdown menu. For the job highlighted, the Lens Blank Parameter fields
will be populated with the data that was last saved in that job file. The previously input Job
Description will also appear, along with a graphic illustrating the lens blank defined when the job
was last saved.
3.
Tapping [DELETE] will permanently deleted the job selected in the dropdown list.
7.6.3
Creating a New Job
The steps involved in creating a new job include defining the shape of the starting lens blank and
defining one or more processes to be performed.
1.
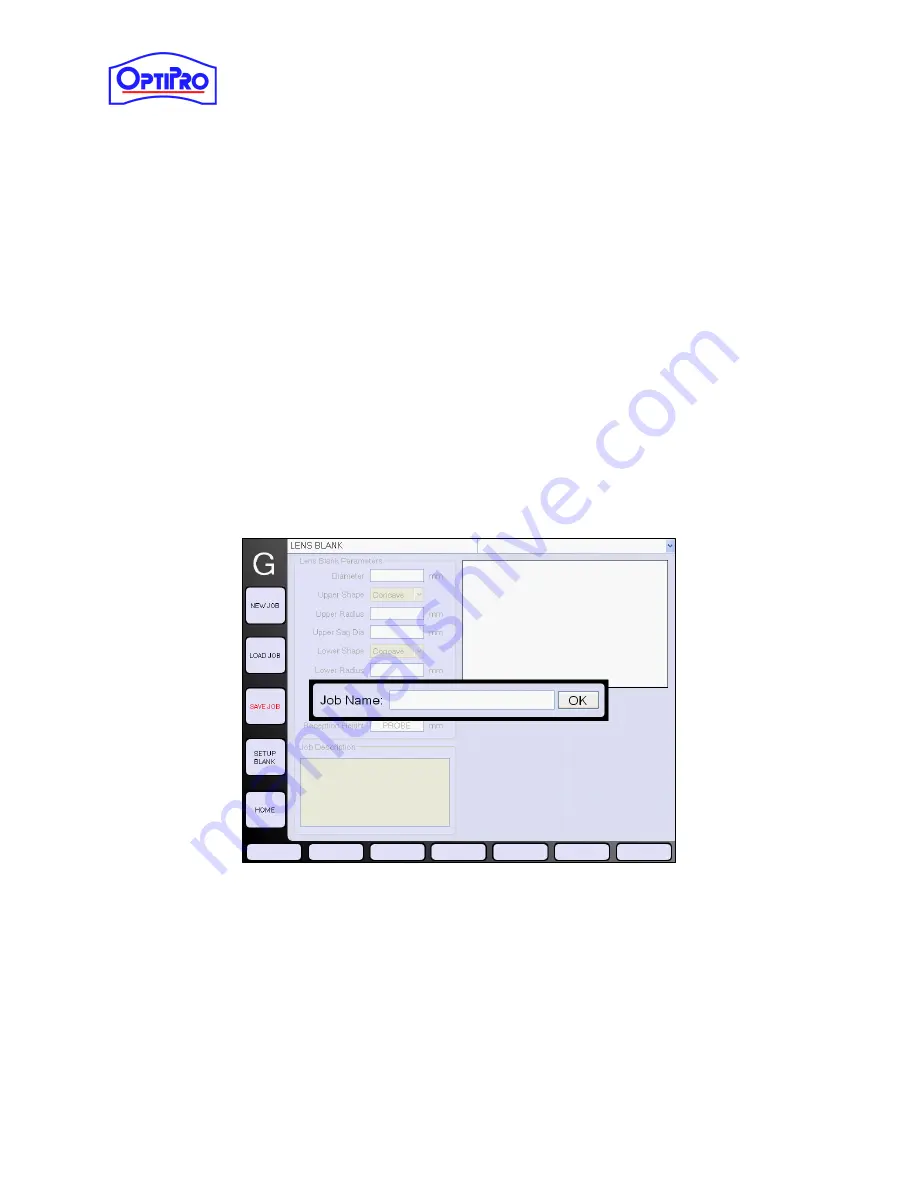
To setup a new job, tap the [NEW JOB] Operation Button from any screen.
2.
Enter a Job Name in the labeled field (i.e. Part Number, Job Number, or other unique name)
Figure 7-14: NEW JOB screen
3.
The next screen is the Lens Blank Setup Screen. Proceed with Section 7.6.3.1 below.
Note: Remember to save your job regularly during set-up. The [SAVE JOB] button only works when you
are at the HOME screen. This is done to safeguard against saving an incomplete process. When the
[SAVE JOB] button is inactive, the text color will be red.


