background image

3


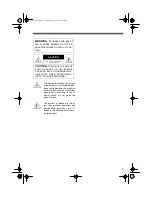
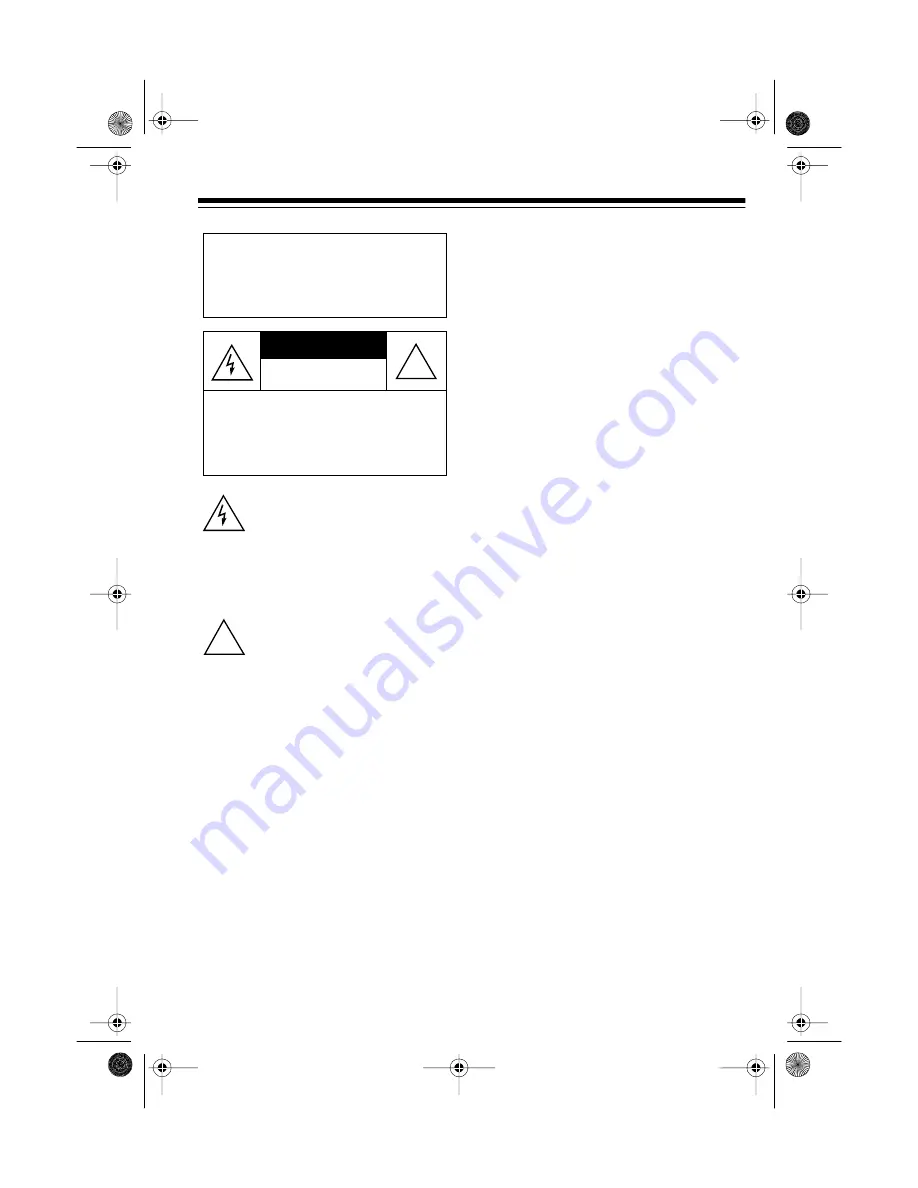
This symbol is intended to alert you
to the presence of uninsulated dan-
gerous voltage within the product’s
enclosure that might be of sufficient
magnitude to constitute a risk of
electric shock. Do not open the
product’s case.

This symbol is intended to inform
you that important operating and
maintenance instructions are in-
cluded in the literature accompany-
ing this product.

CAUTION

RISK OF ELECTRIC SHOCK.

DO NOT OPEN.

CAUTION

: TO REDUCE THE RISK OF

ELECTRIC SHOCK, DO NOT REMOVE
COVER OR BACK. NO USER-SERVICE-
ABLE PARTS INSIDE. REFER SERVIC-
ING TO QUALIFIED PERSONNEL.

WARNING: To reduce the risk of
fire or shock hazard, do not ex-
pose this product to rain or mois-
ture.

!

!

16-132.fm  Page 3  Tuesday, July 20, 1999  8:46 AM

Summary of Contents for 16-132

Page 1: ...t No 16 132 OWNER S MANUAL Please read before using this equipment 5 Inch Black and White with AM FM Radio with AM FM Stereo and Cassette Recorder Television 16 132 fm Page 1 Tuesday July 20 1999 8 46 AM ...

Page 2: ...reception External Antenna Jack lets you connect a standard TV antenna for im proved reception Tone you can customize the sound Brightness you can adjust the pic ture when it is too dark or too bright Contrast you can increase or de crease the picture contrast Three TV Bands you can view VHF low channels 2 to 6 VHF high channels 7 to 13 or UHF TV broad casts channels 14 to 69 Two Radio Bands you c...

Page 3: ...nform you that important operating and maintenance instructions are in cluded in the literature accompany ing this product CAUTION RISK OF ELECTRIC SHOCK DO NOT OPEN CAUTION TO REDUCE THE RISK OF ELECTRIC SHOCK DO NOT REMOVE COVER OR BACK NO USER SERVICE ABLE PARTS INSIDE REFER SERVIC ING TO QUALIFIED PERSONNEL WARNING To reduce the risk of fire or shock hazard do not ex pose this product to rain ...

Page 4: ...2 Radio Reception Tips 12 Using the Cassette Recorder 13 Loading a Cassette Tape 13 Playing a Cassette Tape 13 Recording a Cassette Tape 14 Recording from the Radio TV 14 Making Live Recordings 15 Tape Care Tips 15 Erasing a Cassette Tape 15 Preventing Accidental Erasure 15 Restoring Tape Tension and Sound Quality 16 Cleaning the Tape Handling Parts 16 Care and Maintenance 17 Changing the Fuse 18 ...

Page 5: ... direction of the arrow marked on the cover Then lift off the cover 2 Install ten D batteries in the battery compartment as indicated by the polarity symbols and marked inside Caution Installing the batteries with incorrect polarity can damage your TV 3 Replace the cover Notes When the TV picture shrinks or the cassette player s playback slows replace the batteries Battery life can vary greatly de...

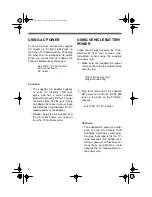
Page 6: ... USING VEHICLE BATTERY POWER Follow these steps to power the TV ra dio cassette from your vehicle s ciga rette lighter socket using the supplied DC power cord 1 Make sure the supplied DC power cord s knurled ring is screwed firmly onto its plug 2 Plug the small end of the supplied DC power cord into the DC 12 15V jack on the back of the TV radio cassette Cautions The supplied DC power cord sup pli...

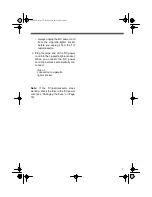
Page 7: ... of the DC power cord into the cigarette lighter socket When you connect the DC power cord the batteries automatically dis connect Note If the TV radio cassette stops working check the fuse in the DC power cord see Changing the Fuse on Page 18 illus of connection to cigarette lighter socket 16 132 fm Page 7 Tuesday July 20 1999 8 46 AM ...

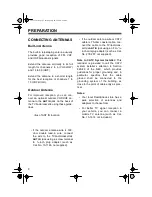
Page 8: ...adapter such as Cat No 15 1148 not supplied If the outdoor antenna wire or CATV cable is 75 ohm coaxial cable con nect the cable to the TV radio cas sette s ANT IN jack using an F to 1 8 inch miniplug adapter such as Cat No 278 257 not supplied Note to CATV System Installer This reminder is provided to call the CATV system installer s attention to Section 820 40 of the NEC which provides guideline...

Page 9: ...h vol ume levels Extended high volume listening can lead to permanent hearing loss Once you set the volume do not increase it Over time your ears adapt to the volume level so a vol ume level that does not cause dis comfort might still damage your hearing Traffic Safety Do not wear earphones while operating a motor vehicle or riding a bicycle This can create a traffic hazard and could be illegal in...

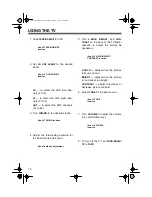
Page 10: ...o adjust the picture as necessary V HOLD adjust when the picture rolls up or down BRIGHT adjust when the picture is too dark or too bright CONTRAST adjust to increase or decrease picture contrast 6 Adjust TONE for the best sound 7 Turn VOLUME to adjust the volume to a comfortable level 8 To turn off the TV set TAPE RADIO TV to TAPE illus of TAPE RADIO TV location illus of LO VHF HI UHF location il...

Page 11: ...antenna s posi tion and length Buildings with steel construction can also cause reception problems Try changing the antenna s position and length If this does not help use an outdoor antenna If the image does not fill the screen when you are using battery power the batteries are weak Replace the batter ies 16 132 fm Page 11 Tuesday July 20 1999 8 46 AM ...

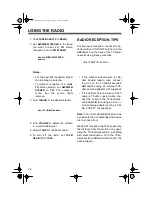
Page 12: ...assette using these guidelines If the outdoor antenna wire is 300 ohm double lead in wire connect the wire to the TV radio cassette s ANT IN jack using an external 300 ohm antenna adapter not supplied If the outdoor antenna wire or CATV cable is 75 ohm coaxial cable con nect the cable to the TV radio cas sette s ANT IN jack using an F to 1 8 inch miniplug adapter such as Cat No 278 257 not supplie...

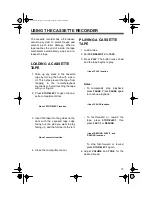
Page 13: ...uides on the door with the exposed tape edge facing out the side you want to play facing up and the full reel to the left 4 Close the compartment door PLAYING A CASSETTE TAPE 1 Load a tape 2 Set TAPE RADIO TV to TAPE 3 Press PLAY The button locks down and the tape begins to play Notes To temporarily stop playback press PAUSE Press PAUSE again to continue playback To fast forward or rewind the tape...

Page 14: ... The automatic level control feature automatically sets the recording level TONE and VOLUME have no effect on the recording Tape quality greatly affects the qual ity of the recording For low noise wide range recordings use normal bias tape Recording from the Radio TV 1 Load a blank cassette tape or one you want to record over 2 Press PAUSE then RECORD PAUSE RECORD and PLAY lock down 3 Set TAPE RAD...

Page 15: ...h sides of a cassette tape using a bulk tape eraser available at your local RadioShack store Preventing Accidental Erasure Cassette tapes have two erase protec tion tabs one for each side To protect a recording from being accidentally re corded over or erased use a screwdriv er to carefully break off one or both of the cassette tape s erase protection tabs If you want to record on a tape side afte...

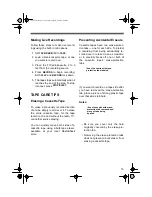
Page 16: ...can greatly reduce the cassette player s performance To prevent noise and poor high frequen cy response clean the cassette player s tape handling parts after every 20 hours of use Your local RadioShack store sells a complete line of cassette clean ing supplies You can use a cassette tape cleaning kit such as Cat No 44 1162 or follow these steps 1 Set TAPE RADIO TV to TAPE 2 Remove the batteries or...

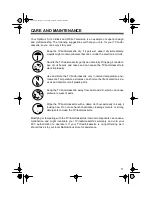
Page 17: ...y in normal temperature envi ronments Temperature extremes can shorten the life of electronic de vices and distort or melt plastic parts Keep the TV radio cassette away from dust and dirt which can cause premature wear of parts Wipe the TV radio cassette with a damp cloth occasionally to keep it looking new Do not use harsh chemicals cleaning solvents or strong detergents to clean the TV radio cas...

Page 18: ...ules These limits provide reasonable protec tion against radio and TV interference in a residential area However your TV might cause TV or radio interference even when it is operating properly To eliminate interference you can try one or more of the following corrective mea sures Reorient or relocate the receiving antenna Move your TV radio cassette away from the TV or radio receiving the interfer...

Page 19: ...quency AM 530 1710 kHz FM 88 108 MHz Antenna VHF UHF 75 Ohm Unbalanced Power Source AC 120V 60Hz Power Consumption 15 W Maximum Output Power 1 W Load Impedance 8 Ohms Frequency Response 80 Hz 7 kHz 3 dB Bandwidth Total Harmonic Distortion 2 Dimensions HWD 117 16 x 71 2 x 87 8 Inches 290 190 225 mm Weight 4 lb 7 oz 2 kg Specifications are typical individual units might vary Specifications are subje...

Page 20: ...the warranty period take the product and the RadioShack sales receipt as proof of purchase date to any RadioShack store RadioShack will at its option un less otherwise provided by law a correct the defect by product repair without charge for parts and labor b replace the product with one of the same or similar design or c refund the purchase price All replaced parts and products and products on wh...

Reviews: