


6212A Manual Version 14.56.docx
Page 16 of 58
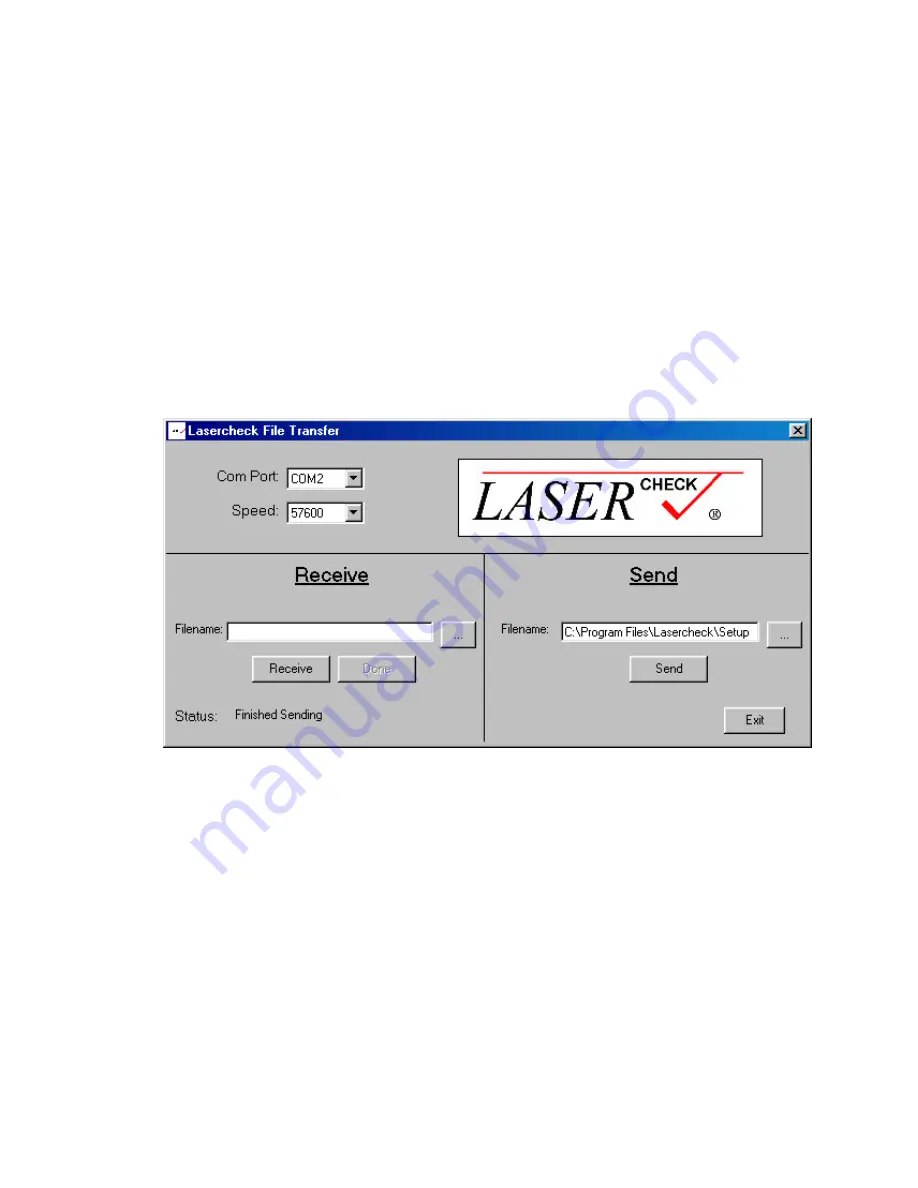
Sending Setup Data with the Windows Software
Start the Lasercheck File Transfer Software by clicking on icon in the Start Menu under “Programs /
Lasercheck / Lasercheck File Transfer”.
Select the following options if they are not already selected:
Com Port:
Select the serial port the Lasercheck cable is attached to on your computer
Speed:
9600
Filename:
In the Send “Filename:” input box enter the filename of the setup file you want to download into the control
box. The small button next to the input box can be used to browse for files on the computer. The file
extension will be “.set”.
Click the “Send” button. The “Status” indication in the windows software will indicate “Finished Sending”.
The control box will display:
Lasercheck File Transfer Software Configured to Send Calibration / Setup File
When all files have been transferred, the control box will return to the File System Window.
New Cal Command
This selection is for factory use in collecting measurements for custom calibration procedures.
Delete Command
This selection will delete all data measurement files from the control box. This would typically be done after the
“Send Data Files” has been executed. Scroll to FILES: >Delete on the control box with the scroll (>) push button
and push the Select push button. The LCD displays the following screen: