


6212A Manual Version 14.56.docx
Page 11 of 58
LCD Push Buttons
The four push buttons are labeled as following (in the following order left to right) and are for:
^
Switch highlight between options
>
Scroll through options
Select
Select highlighted option
Meas
Take measurement at any time from main or measure windows
Highlighting
The “^”, “>”, and “Select” buttons on the front panel of the Lasercheck are used to highlight and select desired
options. Pushing the “
^
” push button on the front panel switches which main menu is ACTIVE and highlighted in
CAPITAL letters. Options in that highlighted menu can be scrolled through are with a “>” on the LCD screen. To
choose an option, the “Select” button is pushed. The option that appears in to the right of the menu in CAPITAL
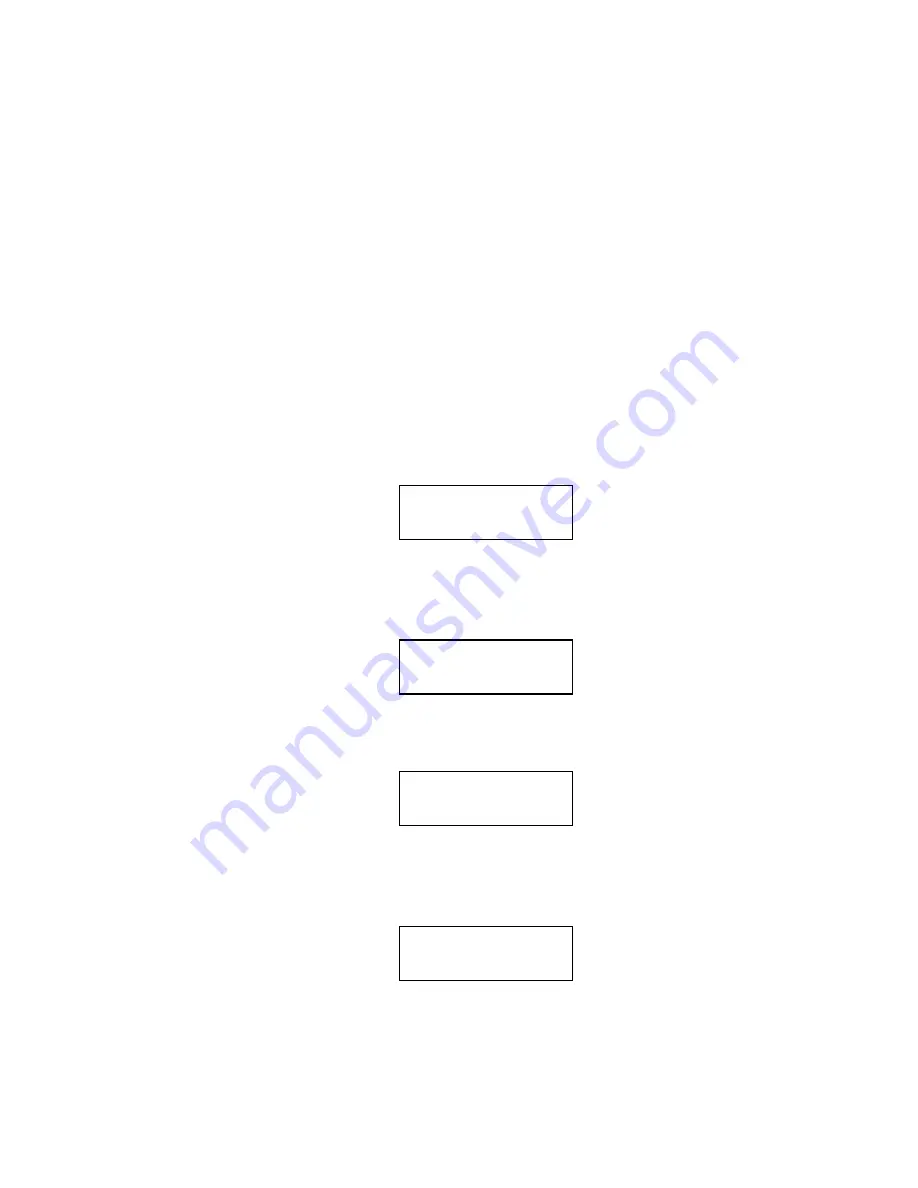
letters on the LCD screen is then selected. For example the main screen looks like:
Pushing the “^” button will highlight the System menu instead of the Select menu that is currently highlighted to
change the screen to:
Pressing the “Select” button will select the files option from the System menu.
Changing options in the highlighted Files menu is done by pressing the “>” button. Pushing the “>” button once
shows:
SELECT>DEFAULT
^System:
^Select
SYSTEM: >files
Manage files:
FILES: >Send
Manage files:
FILES: >Receive