


LBL-2008-41-v5 OptoMonitor 3 IFU_en Rev 2021-08
80
|
P a g e
•
Specify around current date: Only procedures that are scheduled within the range [Days before;
Days After
]
will be displayed.
Max. Retrieved Procedures: This is the max number of procedures that will be displayed in the worklist.
The maximal possible value is 100. It is also the default value.
Display information on the Exported Images
Within the DICOM Export to archive section, the Modality (XA, OT or CT), the Station Name and the
Institution Name can be entered manually and will be displayed on the exported images. If no
information is entered, no information will be added to the exported images.
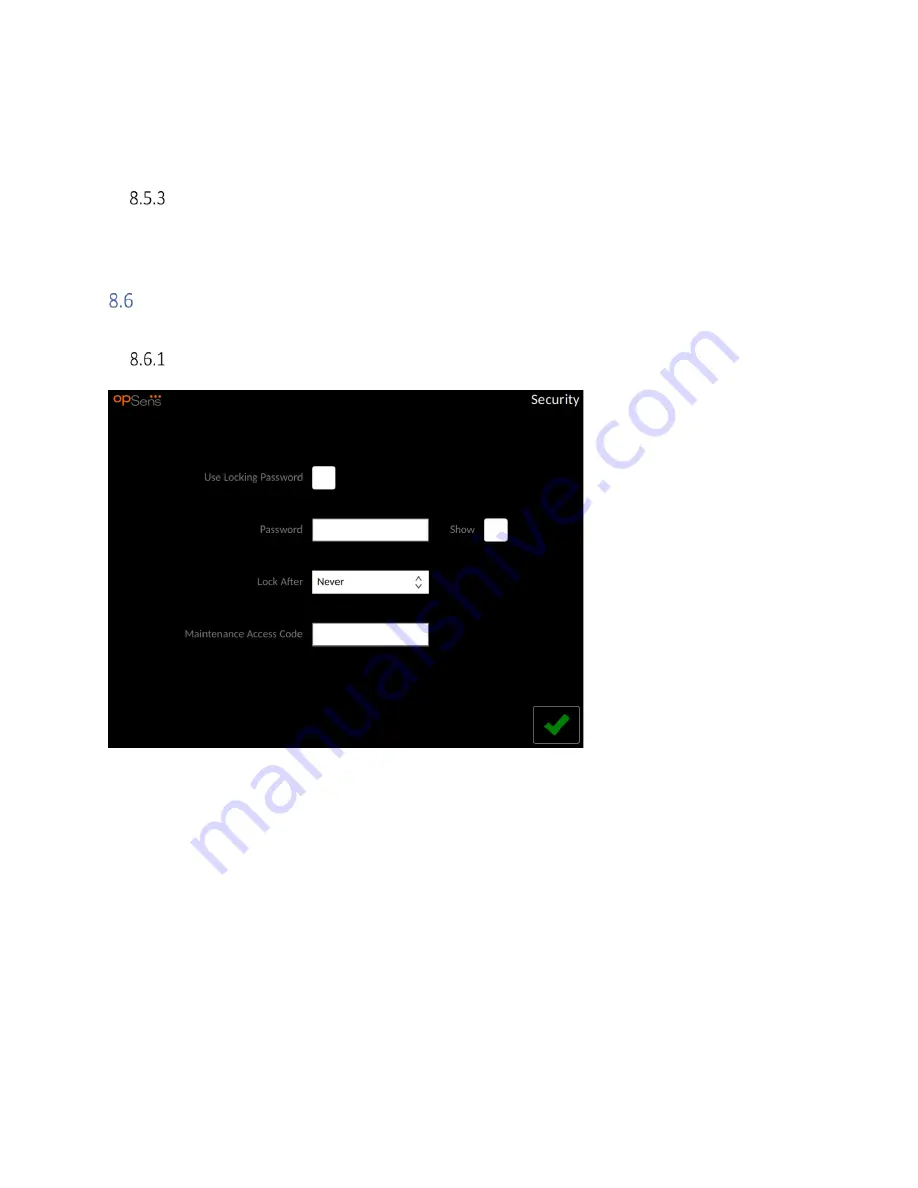
Security
From the maintenance screen, press the “Security” button located in the center of the grid.
Setting up a Startup Password
1-
If no startup password was previously required, tap the box so that it is now required.
2-
Tap the “Password” textbox to bring up a keypad. If a password was used previously, you may
delete it by pressing the backspace arrow on the keypad. Type in the new password using
alphabetical characters, numerical, and symbols. To hide the password as you type, leave the
“Show” box unchecked. To show the password as you type, check the “Show” box.
3-
To cause the device to lock after a certain amount of inactivity, tap the “Lock After” field, and
choose the desired time from the drop-down menu.
4-
To save password/ lock changes, press the green arrow in the bottom right of the screen.
The device will now require a password to be entered in order to use it upon start up. If chosen, the
device will also lock after a certain amount of time inactive, requiring a password upon restarting.