


ON Semiconductor
www.onsemi.com
17
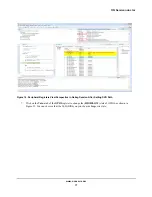
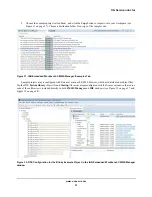
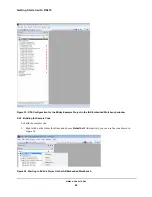
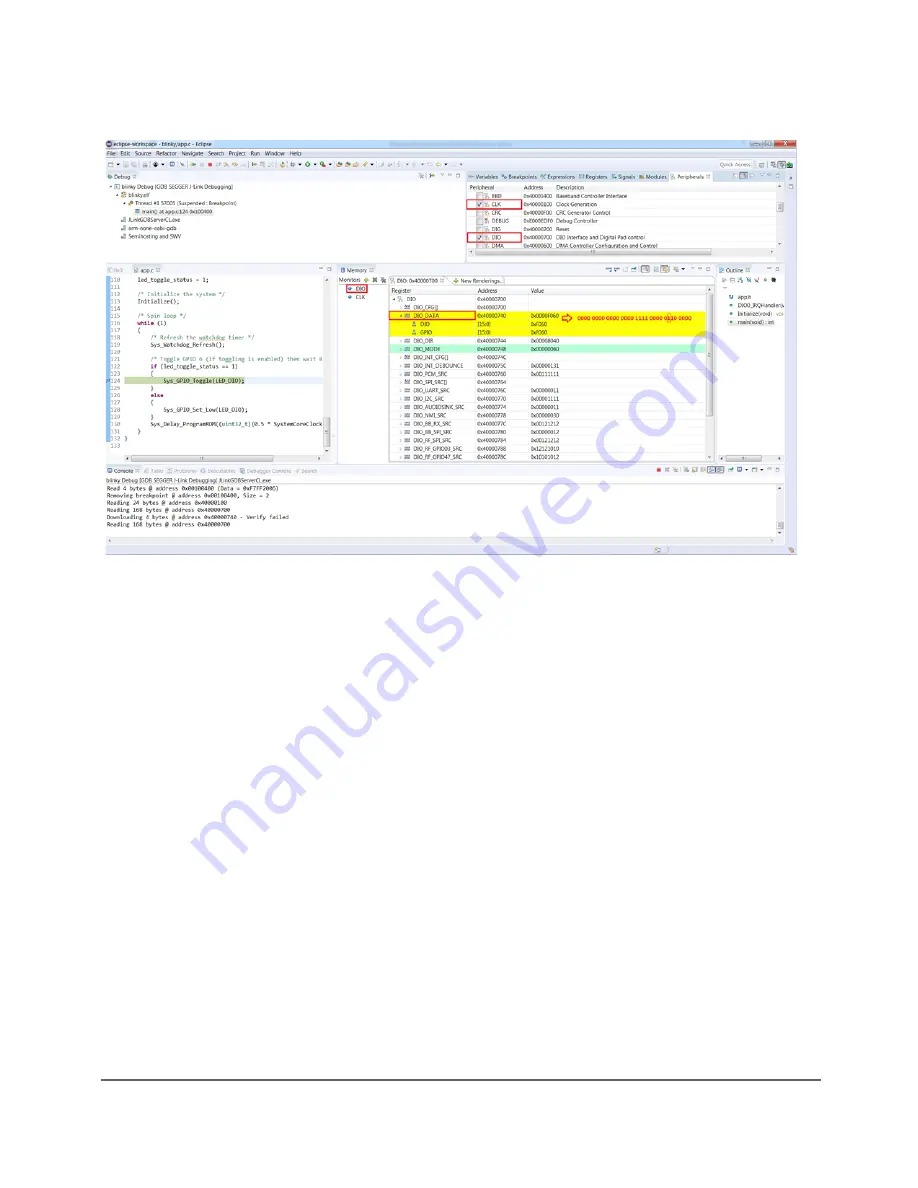
Figure 14. Peripheral Registers View Perspective in Debug Session After Setting SVD Path
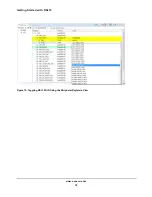
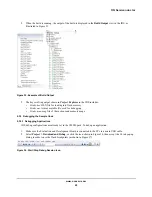
7. Click on the
Value
tab of the
GPIO
register to change the (
HIGH/LOW
) state of GPIO6, as shown in
Figure 15. You can observe that the LED (DIO6) on your board changes its state.