4
Edit
4-23
Step 6
Set the shift coordinate.
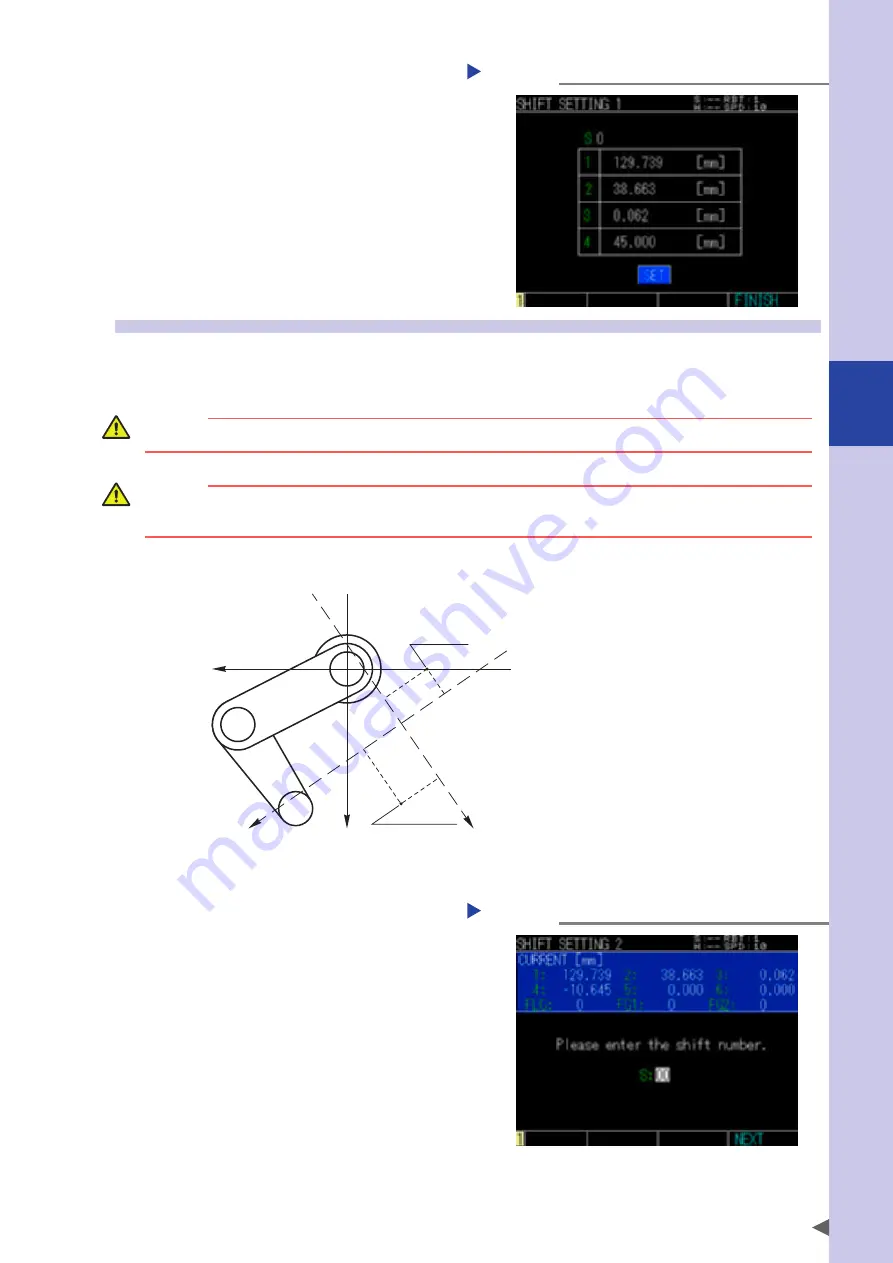
Checking the setting
Step 6
Check the shift coordinate to be displayed.
Select “SET” and press the ENTER key to save
the settings. Press the F4 key (FINISH) to finish
setting.
When pressing the F4 key (FINISH) or ESC key
in the status that the settings are not saved,
the setting finishes without saving the data. If
the calculation cannot be performed, a
corresponded alarm occurs.
3.4 Setting shift coordinate 2
This sets the shift coordinate data by inputting the coordinate direction after teaching two points.
The Z-axis value of point 1 is that of the shift coordinate.
WARNING
The robot moves during teaching. To avoid danger, do not enter the robot movement range.
CAUTION
Input the point coordinate value to teach correctly, otherwise wrong calculation results will be registered.
Therefore, determine the points to teach accurately
■
Shift coordinate setting 2
Point 1
(1st P)
Point 2
(2nd P)
X
X’
Y
Y’
Step 1
Display "SHIFT SETTING 2" screen.
Press the F4 key (SETTING2) to display "Edit > Shift coordinate > Shift setting 2".
Step 2
Input shift coordinate number.
Use 0 to 9 keys to input the shift number and
press the F4 key (NEXT).
Inputting the shift coordinate number
Step 2
Summary of Contents for YRCX Series
Page 1: ...7 6HULHV DW 1R 1 5 5RERW RQWUROOHU 23 5 7 21 0 18 6 5 5RERWV 5 6HULHV...
Page 2: ......
Page 10: ......
Page 12: ......
Page 14: ......
Page 20: ......
Page 28: ......
Page 164: ......
Page 166: ......
Page 178: ......
Page 186: ......
Page 264: ......
Page 265: ......
Page 266: ...DW 1R 1 XWKRUL HG LVWULEXWRU 3ULQWHG LQ XURSH...


