


Installation
FQ2 User’s Manual
2
In
sta
llatio
n
a
nd
Con
nection
s
39
Mounting to DIN Track
Installation Procedure
• Attach End Plates (sold separately) on the sides of the Touch Finder on the DIN Track.
• If other devices will be installed next to the Touch Finder on the same DIN Track, make sure that sufficient space is
kept between the devices as indicated on previous page.
• Always hook the clip at the top of the Touch Finder on the DIN Track first. If the lower clip is hooked on first, the
Touch Finder will not be mounted very securely.
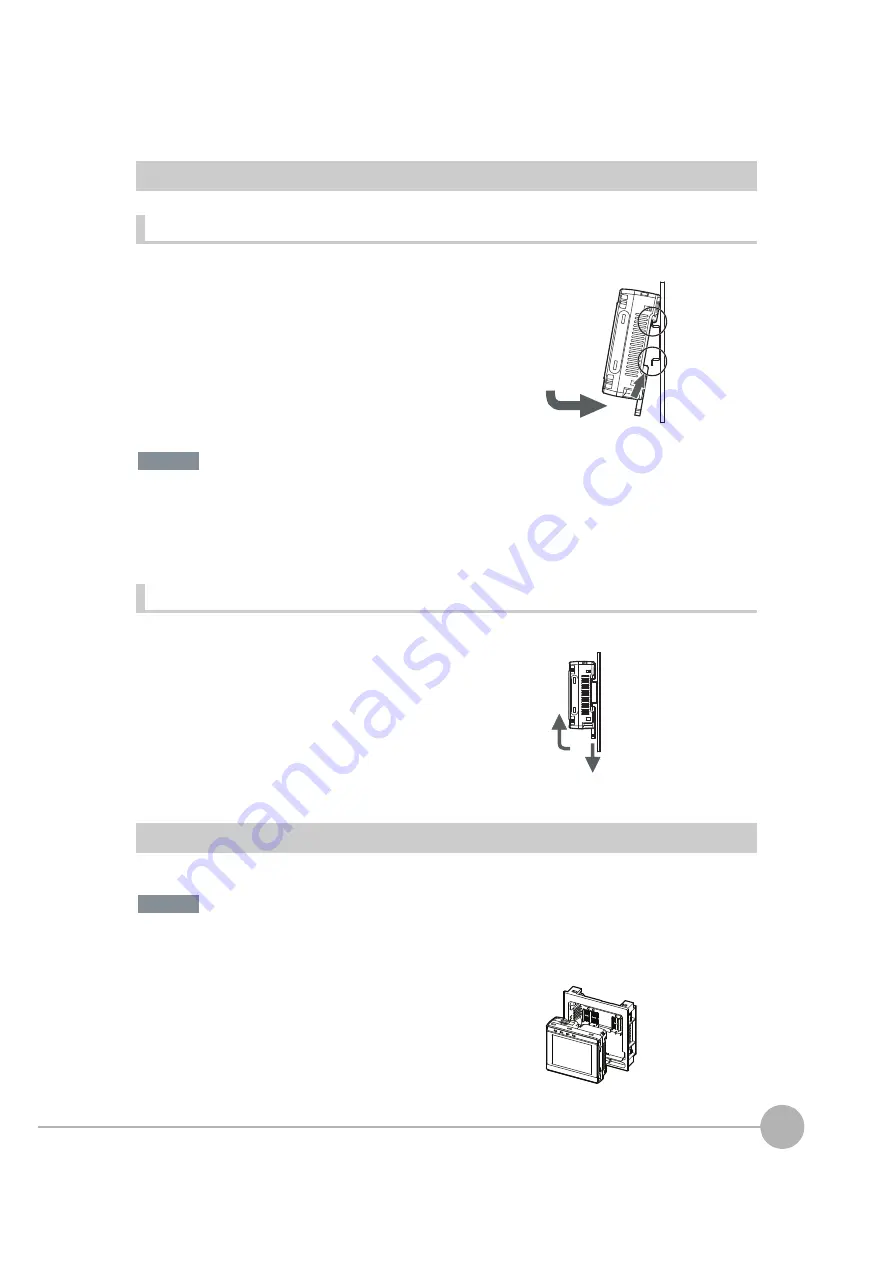
Removal Procedure
Mounting to a Control Panel
The Touch Finder can be mounted on a panel using the FQ-XPM Panel Mounting Adapter.
• Always turn OFF the Touch Finder power before attaching or detaching the Panel Mount Adapter. Attaching or
detaching with the power turned ON may cause a failure.
1
Press the slider on the Touch Finder to the top.
2
Hook the clip at the top of the Touch Finder on to the DIN
Track.
3
Press the Touch Finder onto the DIN Track until the bottom
clip clicks into place.
1
Pull down on the slider on the Touch Finder.
2
Lift the Touch Finder at the bottom and remove it from the
DIN Track.
1
Set the Touch Finder in the Panel Mount Adapter.
1
2
3
3
Important
2
1
Important
Summary of Contents for FQ2 Series
Page 1: ...User s Manual Smart Camera FQ2 Cat No Z326 E1 01A ...
Page 58: ...Setting Up Ethernet 56 FQ2 User s Manual MEMO ...
Page 90: ...Adjusting the Images That Were Taken 88 FQ2 User s Manual MEMO ...
Page 190: ...Adjusting Judgement Parameters during Operation 188 FQ2 User s Manual MEMO ...
Page 234: ...Functions Related to the System 232 FQ2 User s Manual MEMO ...
Page 404: ...Basic Troubleshooting 402 FQ2 User s Manual MEMO ...
Page 513: ...Index FQ2 User s Manual 511 Index 12 ...
Page 515: ......


