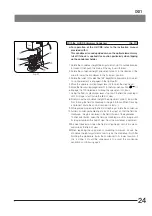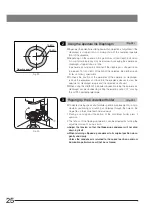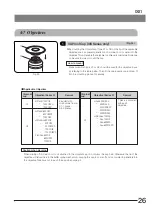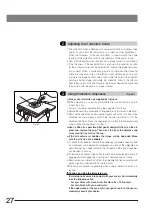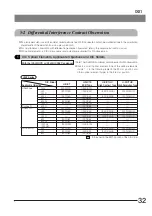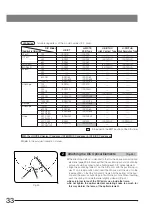
22
IX81
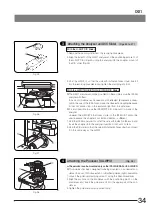
Fig. 26
Fig. 27
Fig. 28
3
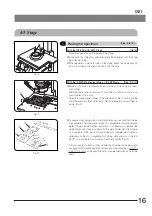
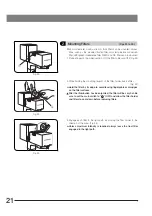
Using the Field Iris Diaphragm
(Figs. 26 & 27)
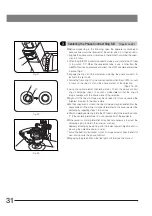
}The field iris diaphragm lever
1
is used to adjust the diameter of the
illumination beam in accordance with the objective in use. Adjust the
diaphragm so the field of view is circumscribed by the field iris diaphragm
to exclude stray light and improve the contrast of images.
}To limit specimen damage or fading when observing living cells or fluo-
rescent specimens, it is effective to stop down the field iris diaphragm.
1. Move the field iris diaphragm lever
1
to the left or right to close or open
the diaphragm.
=
: Direction for opening the diaphragm
: Direction for closing the diaphragm
4
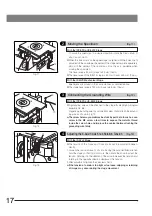
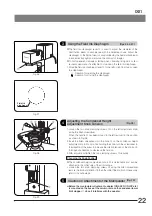
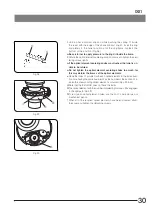
1. Loosen the two knob clamping screws
1
on the left adjustment knob
using the Allen screwdriver.
When the handle
2
has been moved to the left, restore it in the position
as shown in Fig. 28.
2. Insert the Allen screwdriver into the hole
3
on the condenser height
adjustment knob
2
and, while holding the knob, turn the screwdriver in
the direction of the arrow to increase the rotation tension of the knob or in
the opposite direction to decrease the tension.
3. After adjustment, tighten the two clamping screws
1
securely.
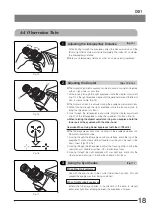
Changing the Knob Position
}The condenser height adjustment knob
2
is detachable and can be
attached to the other side of the microscope.
· Loosen the two knob clamping screws
|
using the Allen screwdriver,
remove the knob and attach it to the other side. If the knob is not necessary,
retain it in a safe place.
1
Field iris
diaphragm
3
2
4
Adjusting the Condenser Height
Adjustment Knob Tension
(Fig. 28)
1
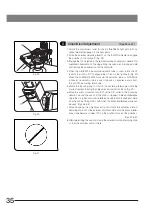
Fig. 29
1
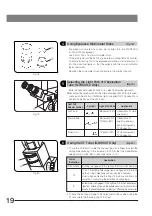
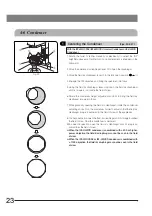
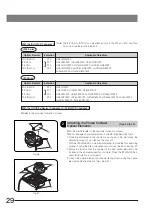
# Before the manipulator attachment adapter (ON2-99D, ON-IXP, etc.)
is mounted on the base of the column, remove the condenser lower
limit stopper
1
since it interferes with the adapter.
5
Caution on Attachment of the Manipulator
(Fig. 29)


