


0
2
EN
Basic operations
Recording
Settings relating to Recording
Various recording settings can be made to
match the recording environment (
☞
P.68
to P.71).
[Rec Menu] Setting Items:
[Mic Sense]
(
☞
P.68)
Sets the sensitivity of the
built-in stereo microphone.
[Rec Mode]
(
☞
P.68)
Sets the recording rate for
each recording format.
[Rec Level]
(
☞
P.68)
Sets the recording level.
[Zoom Mic]
(
☞
P.69)
Sets the directionally of the
built-in stereo microphone.
[Low Cut Filter]
(
☞
P.70)
This function can reduce
noise from air conditioners,
projectors and other similar
noises.
[VCVA]
(
☞
P.70)
Sets the threshold level for
the Variable Control Voice
Actuator (VCVA).
[Rec Scene]
(
☞
P.82)
Saves recording settings in
advance for specific record-
ing situations.
[Timer Rec]
(
☞
P.83)
Sets timer recording.
[Folder Name]
(
☞
P.71)
You can change folder names
registered in the template.
• Each audio recording is saved automatically
with a generated file name (
☞
P.33).
• Audio recordings can be tagged with a
keyword to make file management easier
(
☞
P.76).
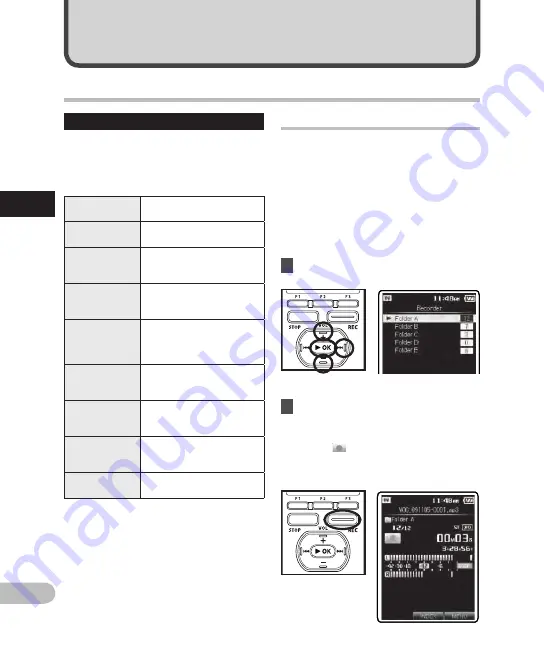
Recording to a recording folder
Before starting recording, select a voice
recording folder between [
Folder A
] to
[
Folder E
] in the [
Recorder
] folder. These
five folders can be selectively used to
distinguish the kind of recording; for
example, [
Folder A
] might be used to
store private information, while [
Folder B
]
might be dedicated to holding business
information.
1
Select the recording folder.
2
Press the
REC
button to start
recording.
• The LED indicator light glows orange
and [
] will appear on the display.
• Turn the microphone in the direction
of the source to be recorded.
Re
co
rd
in
g


