DIGITAL CAMERA
APPAREIL PHOTO NUMÉRIQUE
DIGITALKAMERA
CÁMARA DIGITAL
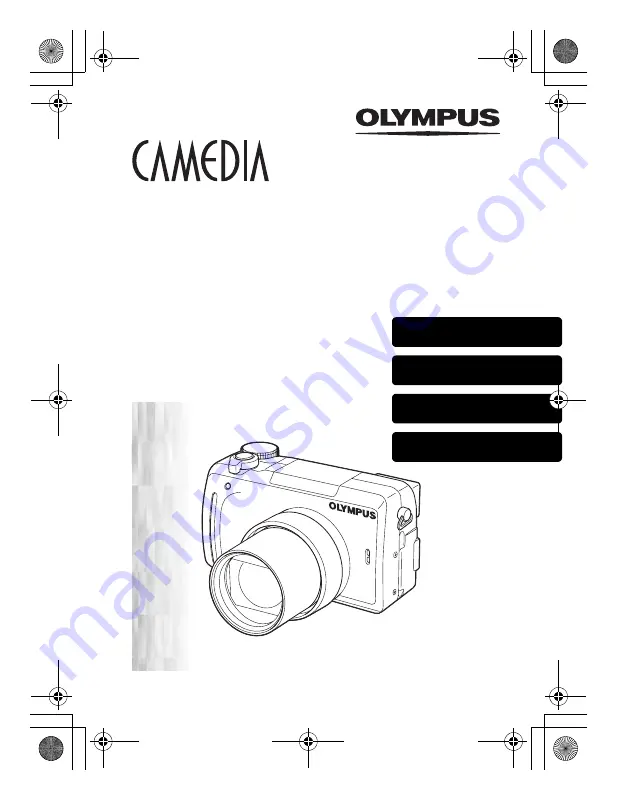
C-760 Ultra Zoom
BASIC MANUAL
MANUEL DE BASE
EINFACHE ANLEITUNG
MANUAL BÁSICO
ENGLISH..........2
FRANÇAIS .....42
DEUTSCH ......82
ESPAÑOL ....122
basic_e_d4197_6.fm Page 1 Friday, November 21, 2003 12:44 PM


