


Direct printing (PictBridge)
P
rin
tin
g
pi
ct
ur
es
8
145
You can select the print mode on the [PRINT MODE SELECT] screen. The available
settings vary depending on the selected print mode.
[PRINT MODE SELECT] screen
[PRINT] / [ALL PRINT] / [MULTI PRINT] /
[ALL INDEX] / [PRINT ORDER]
g
1
Select the item you want to set on the [PRINTPAPER] screen,
and press
Z
.
g
“Setting the size and border” (P. 144)
• In [MULTI PRINT] mode, select the number of pictures per sheet instead of
framed or unframed.
• [BORDERLESS] is not available in [ALL INDEX] mode.
• If the [PRINTPAPER] screen is not displayed, [STANDARD] settings apply.
[PRINT] mode / [MULTI PRINT] mode:
→
Go to Step 2.
[ALL PRINT] mode:
→
Go to Step 4.
[ALL INDEX] mode / [PRINT ORDER] mode:
→
Go to Step 6.
2
Press
bd
or turn the control dial to
select the picture you want to print,
and press
Z
.
• Push the zoom lever toward W to display
the pictures in index format. You can
select the pictures you want to print from
the index.
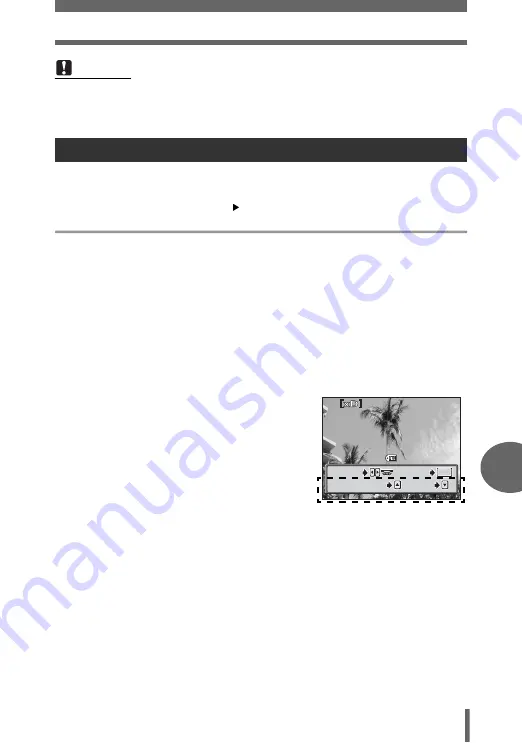
3
Select the print reservation method.
SINGLE PRINT
Makes a single-frame print reservation for the selected
picture according to standard print settings.
MORE
Sets the number of prints of the selected picture in the print
reservation data. You can also add the date or file name,
and trim the picture.
Note
• If the [PRINTPAPER] screen is not displayed, [SIZE], [BORDERLESS] and
[PICS/SHEET] are set to [STANDARD].
Printing by selecting a print mode
100
100-0030
0030
OK
OK
OK
MORE
MORE
SELECT
SELECT
MORE
SINGLE PRINT
SINGLE PRINT
SINGLE PRINT
SELECT


