DIGITAL CAMERA
APPAREIL PHOTO NUMÉRIQUE
DIGITALKAMERA
CÁMARA DIGITAL
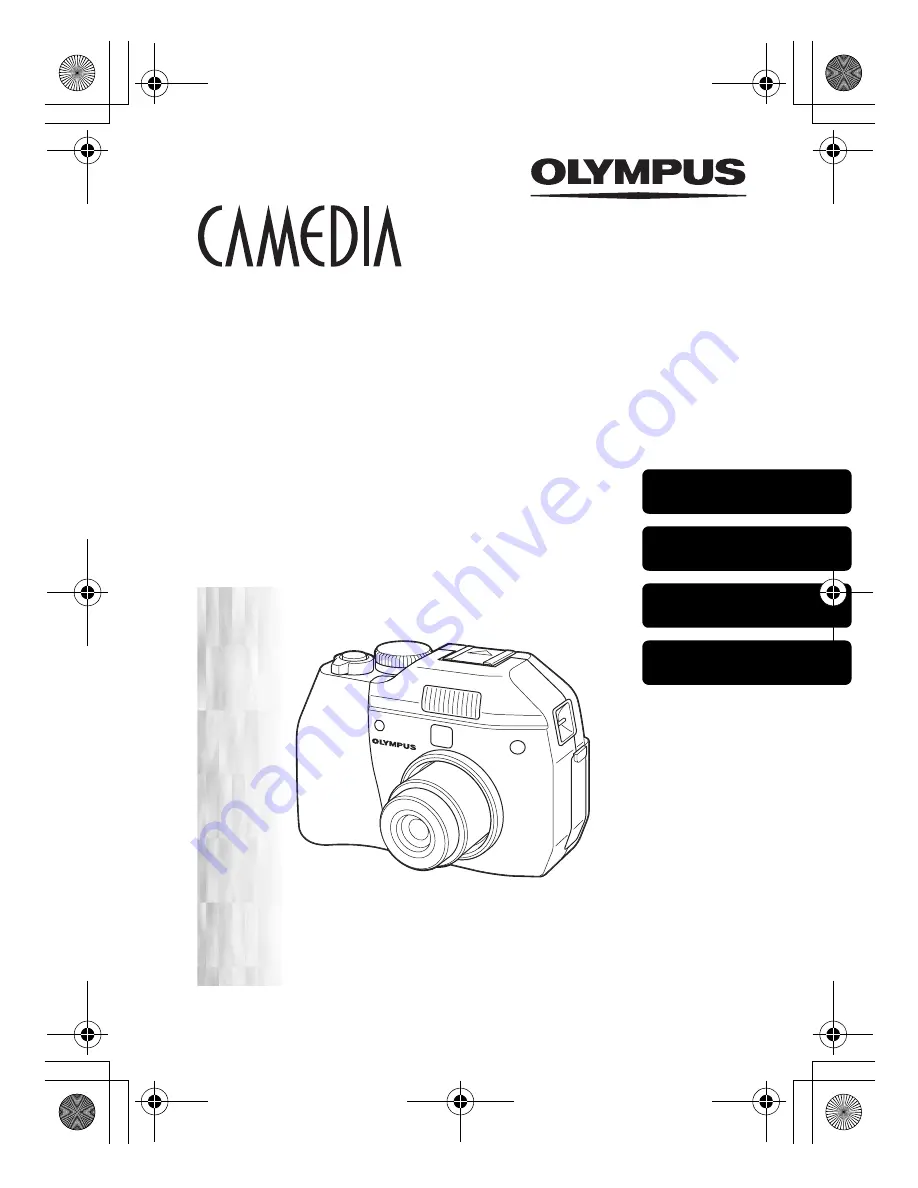
C-5000Zoom
BASIC MANUAL
MANUEL DE BASE
EINFACHE ANLEITUNG
MANUAL BÁSICO
ENGLISH
FRANÇAIS
DEUTSCH
ESPAÑOL
basic_e_x193_6.fm Page 1 Wednesday, July 9, 2003 12:50 PM
Page 1: ...APPAREIL PHOTO NUM RIQUE DIGITALKAMERA C MARA DIGITAL C 5000Zoom BASIC MANUAL MANUEL DE BASE EINFACHE ANLEITUNG MANUAL B SICO ENGLISH FRAN AIS DEUTSCH ESPA OL basic_e_x193_6 fm Page 1 Wednesday July 9...
Page 2: ...S 17 SHOOTING BASICS 23 ADVANCED SHOOTING 33 PLAYBACK 35 PRINT SETTINGS 40 DOWNLOADING PICTURES TO A COMPUTER 41 ERROR CODES 43 SPECIFICATIONS 44 These instructions are only for quick reference For mo...
Page 3: ...g two conditions 1 This device may not cause harmful interference 2 This device must accept any interference received including interference that may cause undesired operation For customers in Canada...
Page 4: ...trap eyelet Remote control receiver Hot shoe DC IN jack Flash Connector cover Mode dial Shutter button Zoom lever W T GU Lens Self timer Remote control lamp VIDEO OUT jack USB connector basic_e_x193_6...
Page 5: ...ccess lamp Arrow pad acbd OK Menu button e Monitor Flash mode button Macro Spot button Protect button 0 Rotation button y Battery Card cover Tripod socket Erase button S QUICK VIEW AF target mark Gree...
Page 6: ...2 8 F8 0 4 Exposure compensation Exposure differential 2 0 2 0 3 0 3 0 5 Battery check e f 6 Green lamp 7 Flash stand by Camera movement warning Flash charge Lights Blinks 8 Macro mode Super macro mod...
Page 7: ...Number of storable still pictures Seconds remaining 30 36 18 AE lock AE memory B C 19 Spot metering n 20 ISO ISO 80 ISO 160 ISO 320 21 White Balance 5 3 1 w x y V 22 White balance compensation B1 B7 R...
Page 8: ...olution 2560 1920 2272 1704 1280 960 640 480 320 240 etc 6 Aperture value F2 8 F8 0 7 Shutter speed 16 1 1000 8 Exposure compensation 2 0 2 0 9 White Balance WB AUTO 5 3 1 w V 10 ISO ISO 80 ISO 160 IS...
Page 9: ...lit Wait until the gauge returns to the status on the left to take the next shot One picture taken Lit More than two taken Lit Shoot Shoot Shoot Wait a b c d a b c d Before shooting Gauge is off Shoot...
Page 10: ...hen thread it through the strap eyelet on the camera 4 Thread the end of the strap B through the ring as indicated by the arrows Adjust the strap to the desired length 5 Then thread the end of the str...
Page 11: ...the AC cable to the outer connector of the charger 2 Fully connect the AC cable to a domestic AC outlet 3 Make sure that the and terminals of the battery shown in the illustration on the right are co...
Page 12: ...Insert the battery making sure it is correctly orientated Then use the battery lock to lock the battery in place Removing the battery Slide the battery lock in the direction of the arrow As the batte...
Page 13: ...power consumed varies considerably depending on the operations performed on the digital camera If you use exhausted battery the camera may turn off without displaying the battery level warning Low bat...
Page 14: ...itch to the ON position The power turns on and the lens extends when the mode dial is set to any mode other than q When the mode dial is set to q the camera turns on in the playback mode and the monit...
Page 15: ...ess e again to exit the menu 8 To turn the power off set the power switch to OFF J SETTING THE DATE AND TIME X 1 Set the mode dial to P and turn the camera on 2 Press e The top menu is displayed 3 Pre...
Page 16: ...The time is displayed in the 24 hour format Consequently 2 p m is displayed as 14 00 9 Press e For a more accurate setting press e when the time signal hits 00 seconds The clock starts when you press...
Page 17: ...ete setting Press e again to exit the menu WB MODE MENU Press e Take you directly to the setting screens Display operational buttons at the bottom of the screen The functions registered in the shortcu...
Page 18: ...the image quality and resolution Still picture TIFF SHQ HQ SQ1 SQ2 Movie HQ SQ Sets the appropriate white balance according to the light source Sets the date and time Formats a card Runs through all s...
Page 19: ...IVE Selects a shooting mode from o single frame shooting j sequential shooting k AF sequential shooting and BKT auto bracketing ISO Selects the ISO sensitivity from AUTO 80 160 and 320 A S M Selects t...
Page 20: ...A Allows panorama pictures to be taken with Olympus CAMEDIA brand cards 2 IN 1 Combines two still pictures taken in succession and stores them as a single picture FUNCTION Adds special effects to pict...
Page 21: ...or warnings SLEEP Sets the sleep timer MY MODE SETUP Customizes settings which are activated in the r mode FILE NAME Changes how file names are assigned PIXEL MAPPING Checks the CCD and image processi...
Page 22: ...s a language for on screen display PW ON OFF SETUP Sets the picture that comes on when the power is turned on and off 8 Sets ON or OFF the beep sound used for button operations or warnings s Adjusts t...
Page 23: ...or manual adjustments The camera sets the optimal focusing and exposure This is the simplest of all shooting modes i Portrait shooting Suitable for taking a portrait style shot of a person This mode...
Page 24: ...s used in normal shooting For example if you take a picture of a street at night in h mode the lack of brightness will result in a dark picture with the background underexposed and without details In...
Page 25: ...to set the aperture and shutter speed manually Press d to increase the aperture value f number Press b to decrease the aperture value f number Press a to set a faster shutter speed Press c to set a s...
Page 26: ...o adjust the focus When the focus is locked by pressing the shutter button halfway the green lamp on the monitor lights When on the monitor is on the flash fires automatically Taking still pictures us...
Page 27: ...atically 4 Press the shutter button all the way fully The camera takes the picture The card access lamp blinks while the picture is stored on the card When the green lamp stops blinking you can take t...
Page 28: ...osure are locked the green lamp lights When the green lamp blinks the focus and exposure are not locked Release your finger from the shutter button re position your subject and press the shutter butto...
Page 29: ...ZOOMING IN ON A SUBJECT OPTICAL ZOOM Telephoto and wide angle shooting are possible at 3x magnification the optical zoom limit equivalent to 38 mm 114 mm on a 35 mm camera When taking still pictures y...
Page 30: ...when all modes are available If no operation is performed for about 3 seconds the flash mode is set and the mode selector screen is automatically exited Wide angle Push the zoom lever toward W to zoom...
Page 31: ...re even in low light conditions Slow synchronization SLOW1 SLOW2 SLOW1 1st curtain front curtain SLOW1 factory default setting Adjusts the flash for slow shutter speeds 2nd curtain rear curtain SLOW2...
Page 32: ...on the camera and then press the shutter button on the device Self timer The self timer remote control lamp lights for about 10 seconds then starts blinking After blinking for about 2 seconds the pict...
Page 33: ...ing The exposure differential and number of frames can be selected in the menus The focus and white balance are locked at the first frame J METERING There are two ways of measuring the brightness of a...
Page 34: ...3 cm 1 6 to your subject In the mode normal shooting is also possible but the position of the zoom is fixed automatically and cannot be changed J MANUAL FOCUS If auto focus is unable to focus on a sub...
Page 35: ...IEW button while in the shooting mode 2 Press the QUICK VIEW button again to return to the shooting mode Close up playback Pictures displayed on the monitor can be enlarged 1 5 2 2 5 3 3 5 or 4 times...
Page 36: ...lever toward T J PLAYING BACK MOVIES 1 Use the arrow pad to display the picture with n you want to play back 2 Press e The top menu is displayed 3 Press a to select MOVIE PLAY 4 Press ac to select MOV...
Page 37: ...re you want to protect 2 Press 0 To cancel protection press 0 again Protected pictures cannot be erased by the single frame all frame erase function but they are all erased by formatting J ERASING PIC...
Page 38: ...rotected data is erased when the card is formatted Once erased pictures cannot be restored so make sure that you do not erase important image data Download important image data to a PC before formatti...
Page 39: ...input refer to your TV s instruction manual 3 Set the mode dial to q and turn the camera on The last picture taken is displayed on the TV Use the arrow pad to select the picture you want to display Th...
Page 40: ...or on a personal DPOF compatible printer All frame reservation Use this feature to print all the pictures stored on the card You can specify the desired number of prints and whether or not the date a...
Page 41: ...Windows 95 Mac OS 8 6 or lower excepMt Mac OS 8 6 equipped with USB MASS Storage Support 1 3 5 installed at the factory Data transfer is not guaranteed on a home built PC system or PCs with no factor...
Page 42: ...our computer using the provided USB cable Does your computer have a USB interface Is there a port marked on your computer Does your computer have a built in PC card slot Consult your nearest Olympus r...
Page 43: ...mage to a PC and cancel the read only setting q CARD FULL The card is full No more pictures movies or information such as print reservation can be recorded Replace the card or erase unwanted pictures...
Page 44: ...FF SQ2 1024 768 pixels TIFF SQ2 640 480 pixels TIFF SQ2 No of storable pictures When a 16 MB card is used Approx 1 frame TIFF 2560 1920 pixels TIFF SHQ HQ Approx 4 frames SHQ 2560 1920 pixels TIFF SHQ...
Page 45: ...DC IN jack USB connector VIDEO OUT jack Automatic calendar system 2000 to 2099 Operating environment Temperature 0 C to 40 C 32 F to 104 F operation 20 C to 60 C 4 F to 140 F storage Humidity 30 to 90...
Page 46: ...46 En En MEMO basic_e_x193_6 fm Page 46 Wednesday July 9 2003 12 50 PM...
Page 47: ...En 47 En basic_e_x193_6 fm Page 47 Wednesday July 9 2003 12 50 PM...
Page 48: ...9 0 40 23 77 30 49 0 40 23 77 33 Letters Postfach 10 49 08 20034 Hamburg Germany European Technical Customer Support Please visit our homepage http www olympus europa com or call our TOLL FREE NUMBER...