Olympus C-25, Basic Manual
The Shindaiwa C-25 is a high-performance trimmer designed to tackle tough landscaping tasks with ease. Utilize its powerful engine and superior cutting capabilities with confidence, relying on the comprehensive Instruction Manual provided for free download at manualshive.com. Gain access to step-by-step guidance to maximize your trimming experience.
Share
Download


Reviews:
No comments
Related manuals for C-25

EXA IIa
Brand: Ihagee Pages: 1

IMS-5
Brand: iGUIDE Pages: 41

TG-7
Brand: OM SYSTEM Pages: 266

Linea HS Series
Brand: Dalsa Pages: 74
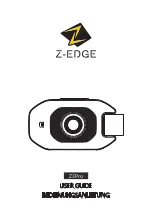
Z3Pro
Brand: Z-EDGE Pages: 40

G360HD2K
Brand: Gator Pages: 16

AB-1600CL
Brand: JAI Pages: 61

ThermalVision
Brand: IDEAL Pages: 23

DW651LR5
Brand: Dynascan Pages: 33

ADMPF119
Brand: Aluratek Pages: 1

IDCMR-IP-POE-PTZ-20X
Brand: Larson Electronics Pages: 30

Visualizer VZ-5B
Brand: WolfVision Pages: 5

ADMPF108F
Brand: Aluratek Pages: 24

MICROPAK
Brand: Survision Pages: 2

49-2515
Brand: Radio Shack Pages: 2

VM4HD
Brand: S&S Research Pages: 11

Bonito PRO Series
Brand: Allied Vision Pages: 197

SP56
Brand: Smartparts Pages: 8


