


Printed in the Netherlands · OE · 02/2010 · E0462522
Register your product on
www.olympus-consumer.com/register
and get additional benefits from Olympus!
http://www.olympus.com/
Premises:
Goods delivery:
Letters:
Consumer Product Division
Wendenstrasse 14 – 18, 20097 Hamburg, Germany
Tel.: +49 40 - 23 77 3-0 / Fax: +49 40 - 23 07 61
Bredowstrasse 20, 22113 Hamburg, Germany
Postfach 10 49 08, 20034 Hamburg, Germany
European Technical Customer Support:
Please visit our homepage
http://www.olympus-europa.com
or call our TOLL FREE NUMBER*:
00800 - 67 10 83 00
for Austria, Belgium, Denmark, Finland, France, Germany, Luxemburg, Netherlands,
Norway, Portugal, Spain, Sweden, Switzerland, United Kingdom.
* Please note some (mobile) phone services / provider do not permit access or request an
additional prefix to +800 numbers.
For all not listed European Countries and in case that you can’t get connected
to the above mentioned number please make use of the following
CHARGED NUMBERS:
+49 180 5 - 67 10 83
or
+49 40 - 237 73 48 99.
Our Technical Customer Support is available from 9 am to 6 pm MET (Monday to Friday).
Authorized Distributors
United Kingdom:
/Eire
Olympus Service Department
Olympus Imaging & Audio
KeyMed House
Stock Road
Southend-on-Sea
Essex
SS2 5QH
United Kingdom
Sales - 0800 111 4777
Service - 0800 111 4888
Facsimile - +44 (0)1702 445134
email - [email protected]
www.olympus.co.uk
South Africa: Tudor Photographic
4th floor, Park on Long
66 Long Street
Cape Town 8001
South Africa
Tel: +27 (0) 21 423 4150
Fax: +27 (0) 21 424 4632
© 2010
Thank you for purchasing an Olympus digital camera. Before you start to use your new camera,
please read these instructions carefully to enjoy optimum performance and a longer service life. Keep
this manual in a safe place for future reference.
We recommend that you take test shots to get accustomed to your camera before taking important
photographs.
The screen and camera illustrations shown in this manual were produced during the development
stages and may differ from the actual product.
The contents in this manual are based on firmware version 1.0 for this camera. If there are additions
and/or modifications of functions due to firmware update for the camera, the contents will differ. For
the latest information, please visit the Olympus website.
Basic guide
Quick task index
Table of Contents
1.
Basic photography and useful
functions
2.
Other shooting options and
advanced settings
3.
Flash shooting
4.
Shooting and viewing movies
5.
Playback options
6.
Camera setup
7.
Customizing camera settings
8.
Printing pictures
9.
Connecting the camera to a
computer
10.
Shooting tips and maintenance
11.
Information
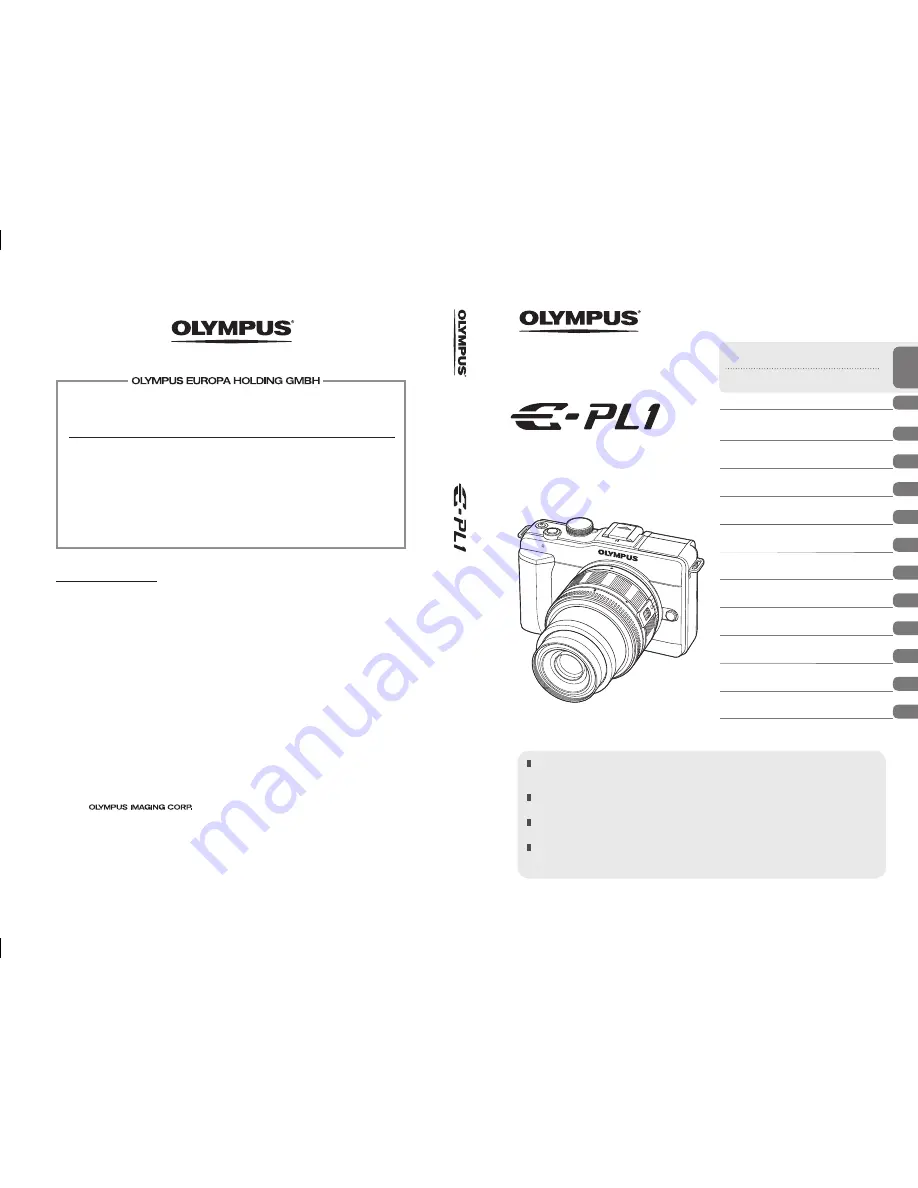
Instruction Manual
DIGITAL CAMERA
In
str
uc
tio
n M
an
ua
l
Summary of Contents for 262857
Page 124: ...124 EN MEMO...
Page 125: ...125 EN MEMO...
Page 126: ...126 EN MEMO...
Page 127: ...127 EN MEMO...


