


Configuration Menu Overview
27
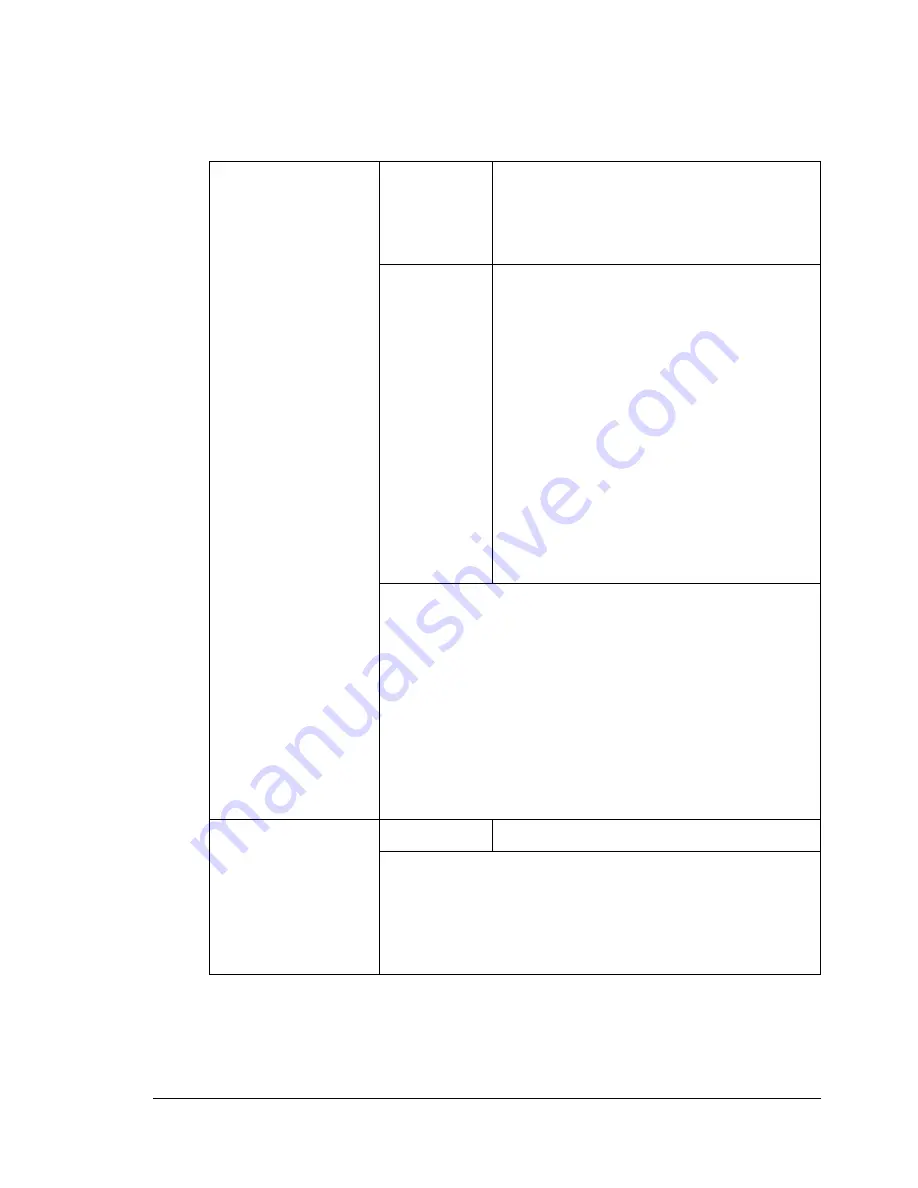
PAPER SOURCE SETUP Menu
"
Manufacturer’s default settings appear in bold.
1 TRAY1 PAPER
Media type
PLAIN PAPER
/
TRANSPARENCY
/
LABELS
/
LETTERHEAD
/
ENVELOPE
/
POSTCARD
/
THICK STOCK
/
GLOSSY
Media size
When a setting other than
ENVELOPE
or
POSTCARD
is selected:
A4
/
B5
/
A5
/
LEGAL
/
LETTER
/
G LETTER
/
STATEMENT
/
EXECUTIVE
/
FOLIO
(If
TRANSPARENCY
,
LABELS
,
THICK
STOCK
or
GLOSSY
is selected,
LEGAL
and
FOLIO
are not displayed.)
When
ENVELOPE
is selected:
COM10
/
C5
/
C6
/
DL
/
MONARCH
/
CHOU #3
/
YOU #4
/
CHOU #4
When
POSTCARD
is selected:
J-POSTCARD
/
DOUBLE POSTCARD
Select the type and size of the media loaded into Tray
1.
When a media type is selected, a screen appears,
showing the available media sizes. The available
media sizes differ depending on the selected media
type.
The default paper size for a setting other than
ENVE-
LOPE
or
POSTCARD
is
LETTER
for 120 V models,
and
A4
for 220 V models.
2 TRAY2 PAPER
Media size
LETTER
/
A4
Select the size of the media loaded into Tray 2.
Only plain paper can be loaded into Tray 2.
The default paper size is
LETTER
for 120 V models,
and
A4
for 220 V models.
Summary of Contents for Omega 2030CN
Page 1: ...Omega 2030CN Printer Copier Scanner User s Guide ...
Page 10: ......
Page 11: ...1 Introduction ...
Page 19: ...2 Control Panel and Configuration Menu ...
Page 46: ...Configuration Menu Overview 36 ...
Page 47: ...3 Media Handling ...
Page 65: ...Loading Media 55 10 ...
Page 68: ...Loading Media 58 4 5 ...
Page 69: ...Loading Media 59 Tray 2 Only plain paper can be loaded in Tray 2 Loading Plain Paper 1 2 ...
Page 71: ...Loading Media 61 6 7 ...
Page 81: ...4 Using the Printer Driver ...
Page 97: ...5 Using Direct Print ...
Page 100: ...Camera Direct Photo Printing 90 ...
Page 101: ...6 Using the Copier ...
Page 114: ...Making Advanced Copies 104 ...
Page 115: ...7 Using the Scanner ...
Page 131: ...8 Replacing Consumables ...
Page 146: ...Replacing the Drum Cartridge 136 ...
Page 147: ...9 Maintenance ...
Page 155: ...Cleaning the Machine 145 6 7 BOTTOM VIEW Laser lens ...
Page 156: ...Cleaning the Machine 146 8 9 ...
Page 157: ...Cleaning the Machine 147 Cleaning the Duplex Option Feed Rollers 1 2 3 ...
Page 158: ...Cleaning the Machine 148 Cleaning the Media Feed Rollers for Tray 2 1 2 ...
Page 159: ...Cleaning the Machine 149 3 4 ...
Page 160: ...Cleaning the Machine 150 Cleaning the Media Feed Rollers for the ADF 1 2 3 ...
Page 162: ...Storing the Machine 152 ...
Page 163: ...10 10 Troubleshooting ...
Page 173: ...Clearing Media Misfeeds 163 8 9 ...
Page 174: ...Clearing Media Misfeeds 164 10 11 12 ...
Page 176: ...Clearing Media Misfeeds 166 16 17 18 19 ...
Page 177: ...Clearing Media Misfeeds 167 20 ...
Page 179: ...Clearing Media Misfeeds 169 Clearing a Media Misfeed from the ADF 1 2 3 ...
Page 180: ...Clearing Media Misfeeds 170 4 5 6 ...
Page 205: ...11 11 Installing Accessories ...
Page 210: ...Duplex Option 200 6 Make sure that both knobs are securely locked 7 ...
Page 212: ...Tray 2 202 2 Be sure to place Tray 2 on a level surface ...
Page 213: ...A Appendix ...
Page 221: ...Index 3 W Watermark tab 83 Z Zoom ratio 94 ...
Page 222: ...Index 4 ...


