5-32
Operation on the Machine > Scanning
Scan the Image to the Specified Destination
It is easy to scan from the operation panel on the machine. Before using this function, you need to preset the
destination folder where to save scanned image and image quality using Client Tool. Refer to
Use the Preset Scan Destination
Save the scanned image in the preset scan destination. My Documents is set for the destination. Scanning can be
performed without preparing the destination.
1
Start Client Tool on the Host PC.
Refer to
Accessing Client Tool on page 2-18
2
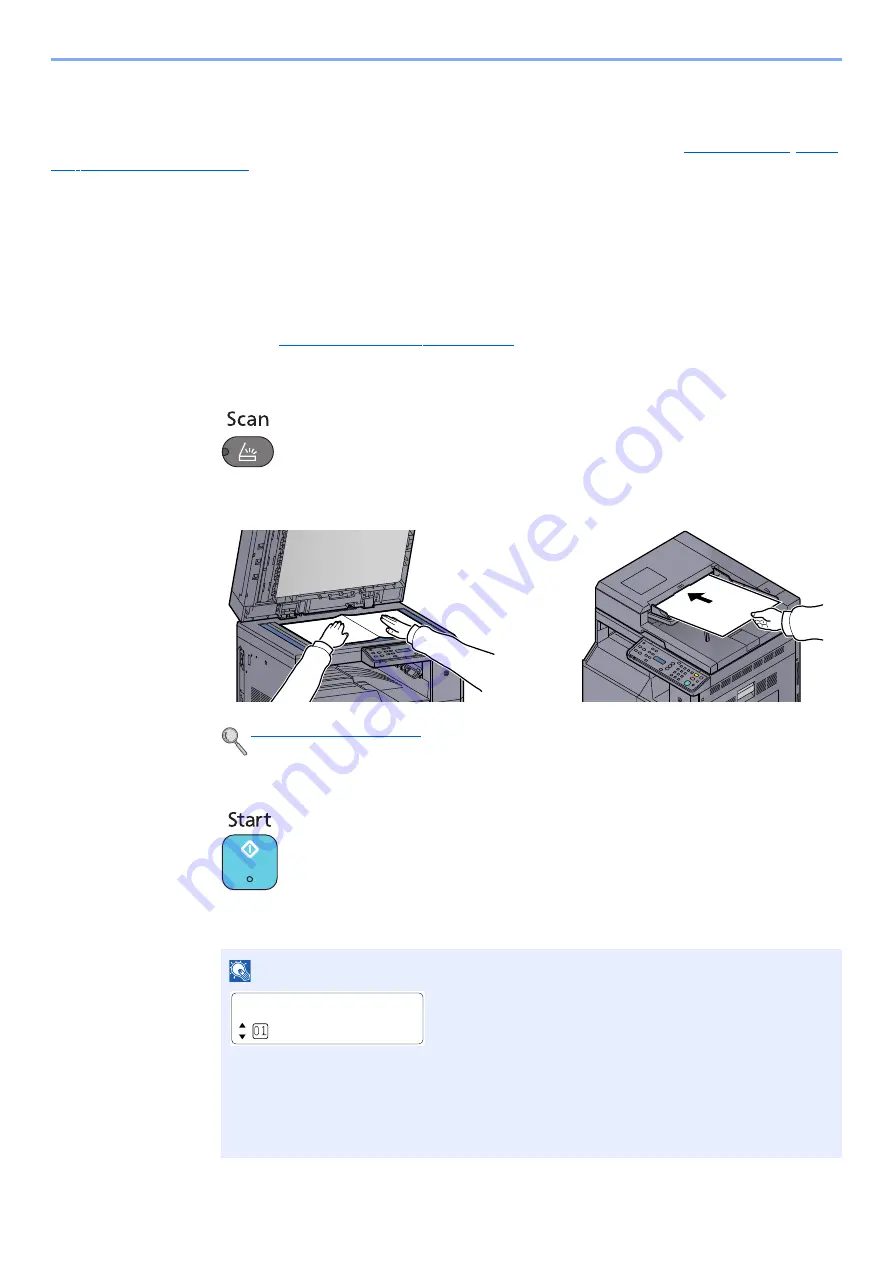
Press the [
Scan
] key on the machine.
3
Place the originals.
4
Press the [
Start
] key.
Scanning starts.
NOTE
• If [Local PC] is selected as the destination, an image is saved in "My Documents" in the
computer (Host PC) connected to the machine via USB.
Windows Vista/Windows 7/Windows 8: C:\Users\<user>\My Documents
Windows XP: C:\Document and Settings\<user>\My Documents
• When the scan ends, the folder in which an image is saved opens on the Host PC.
Ready to scan.
Local PC
Summary of Contents for d-COPIA 1801 MF
Page 4: ......
Page 8: ...v Duplex Unit Option 10 18 Glossary 10 19 Index Index 1...
Page 187: ...9 18 Troubleshooting Troubleshooting Inside Right Cover 1 1 2 3 4...
Page 213: ......


