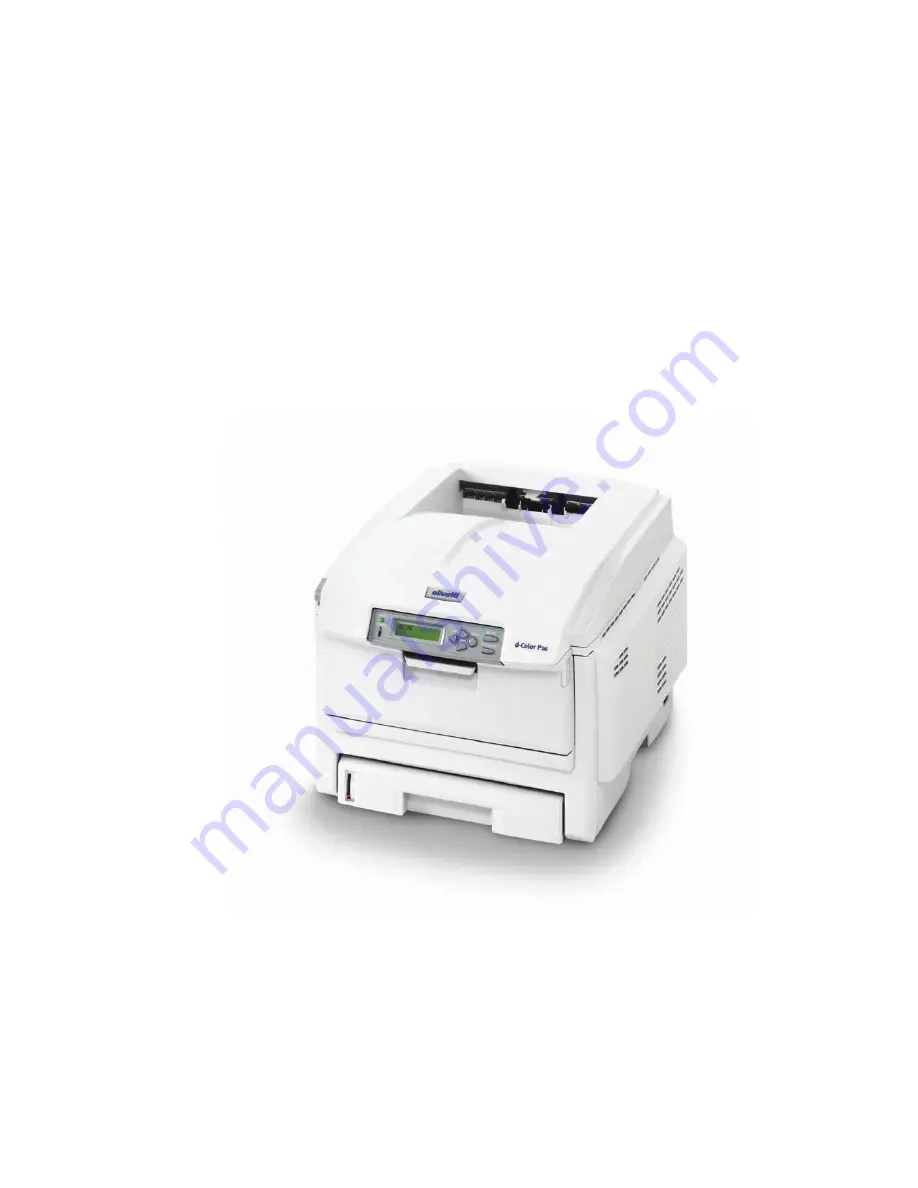
Digital Color Printer
Olivetti d-Color P20W/P26W
User Guide
Page 1: ...Digital Color Printer Olivetti d Color P20W P26W User Guide...
Page 2: ...ixed to the product certifies that the product satisfies the basic quality requirements Yourattentionisdrawntothefollowingactionswhichcouldcompromisetheconformityattestedtoabove aswell as the characte...
Page 3: ...Hewlett Packard HP and LaserJet are registered trademarks of Hewlett Packard Company Microsoft MS DOS and Windows are registered trademarks of Microsoft Corporation Apple Macintosh Mac and Mac OS are...
Page 4: ...o will give you the practical information you need and the instructions for handling the waste correctly for example location and times of the waste collection centres etc b When you purchase a new de...
Page 5: ...inter settings in Windows 19 Printing preferences in Windows applications 19 Setting from Windows control panel 23 Printer settings in Mac 27 Colour printing 43 Factors that affect the appearance of p...
Page 6: ...4 Specifications 93 Index 96 NOTES CAUTIONS AND WARNINGS NOTE A note appears in this manual like this A note provides additional information to supplement the main text which may help you to use and u...
Page 7: ...g colour 600 x 600 1200 x 600 dpi dots per inch and 600 x 600 x 2 bit print resolution for high quality image production showing the finest detail Single Pass colour Digital LED technology for high sp...
Page 8: ...ets at 80g m 2 Operator panel Menu driven operator controls and LCD display panel 3 Paper tray Standard blank paper tray Holds up to 300 sheets of 80g m paper 4 Multi purpose tray 80g m Used for feedi...
Page 9: ...er exits the printer through the rear of the printer and is stacked here face up This is mainly used for heavy print media When used in conjunction with the multi purpose feed tray the paper path thro...
Page 10: ...ages and for report printing is English If required this can be changed to German Danish French Dutch Italian Turkish Spanish Portuguese Swedish Polish Russian Greek Finnish Czech Hungarian Norwegian...
Page 11: ...temperatures used in the printing process Envelopes should be free from twist curl or other deformations They should also be of the rectangular flap type with glue that remains intact when subjected t...
Page 12: ...e paper path through the printer is almost straight The multi purpose tray can feed paper widths as small as 100mm and lengths up to 1200mm banner printing For paper lengths exceeding 356mm Legal 14in...
Page 13: ...of the printer should be opened and the tray extension pulled out when required for use In this condition paper will exit via this path regardless of driver settings The face up stacker can hold up t...
Page 14: ...SETTE TRAYS 1 Remove the paper tray from the printer 2 Fan the paper to be loaded at the edges and in the middle to ensure that all sheets are properly separated then tap the edges of the stack on a f...
Page 15: ...r tray Capacity depends on the type of paper stock Do not load damaged paper Do not load paper of different sizes or types at the same time Do not pull the paper tray out during printing except as des...
Page 16: ...paper weight 7 For face up printing make sure the face up rear stacker 3 is open and the paper support 4 is extended Paper is stacked in reverse order and tray capacity is approximately 100 sheets dep...
Page 17: ...Press gently down on the paper platform 3 to ensure it is latched down 4 Load the paper and adjust the paper guides 4 to the size of paper being used For single sided printing on headed paper load the...
Page 18: ...ed face up with top edge to the left and short edge into the printer Do not select duplex printing on envelopes Do not exceed the paper capacity of about 50 sheets or 10 envelopes Maximum stacking dep...
Page 19: ...t the principles are the same PRINTING PREFERENCES IN WINDOWS APPLICATIONS When you choose to print your document from a Windows application program a print dialogue box appears This dialogue usually...
Page 20: ...t should match the type of paper on which you intend to print 4 A variety of document finishing options can be selected such as normal one page per sheet or N up where N can be any number up to 16 for...
Page 21: ...watermark text behind the main page image This is useful for marking documents as draft confidential etc 3 You can select up to 999 copies to print consecutively although you will need to top up the p...
Page 22: ...for your document For example a photograph taken on a digital camera might require different colour matching to a business graphic created in a spreadsheet application Again for most general purpose...
Page 23: ...Windows applications and will be remembered from one Windows session to the next GENERAL TAB 1 This area lists some of the main features of your printer including optional items such as duplex two sid...
Page 24: ...ation program needs a lot of time for further computation in the middle of printing causing the print job to pause for more than a short period the printer could prematurely assume that the document h...
Page 25: ...ents based only on their priority settings 9 Specifies that the spooler should not delete documents after they are completed This allows documents to be re submitted to the printer from the spooler in...
Page 26: ...ttings in Windows 26 DEVICE OPTIONS TAB In this window you can select which optional upgrades are installed on your printer This is covered in more detail in the section in this guide about installing...
Page 27: ...ect options for how you want your documents to print from the Print dialog box To set your printer options 1 Open the document you want to print 2 To change the paper size or page orientation select F...
Page 28: ...hese options see Print options on page 31 7 Click the Print button SETTING PRINTING OPTIONS SAVING DRIVER SETTINGS You can save a set of printer driver options to use for future documents 1 Open the d...
Page 29: ...e for your preset and click OK CHANGING THE DEFAULT PRINTER AND PAPER SIZE The following steps describe how to change your default printer and the paper size options 1 Select Apple menu System Prefere...
Page 30: ...and Orientation Paper Size Select a paper size to match your document and the paper loaded in the printer The paper margin is 4 2mm at all edges To specify your own paper sizes select Manage Custom Si...
Page 31: ...pages Copies This option allows you to enter the number of copies to print If you select Collate all pages of the document will print before the next copy prints Pages You can select whether to print...
Page 32: ...example choosing 4 up will tile four of your document s pages across a single sheet of paper You can control the order in which the documents are tiled and also choose to surround each document page w...
Page 33: ...his option lets you choose whether to print your document immediately or defer printing until later You can also assign a priority to a print job These features are useful if you are printing large do...
Page 34: ...e whether to print only odd or even numbered pages This is useful if you are using manual duplex for which you first print all odd pages re insert the paper in the printer and then print all even page...
Page 35: ...or Conversion Standard is the only option available for your printer model Quartz Filter Choose a Quartz filter if you wish to apply a special effect to your print job such as Sepia or Blue Tone This...
Page 36: ...large pile of paper This is useful in a busy office with many people sharing the printer Duplex If you have an optional duplex unit fitted to your printer you can print on both sides of the paper Long...
Page 37: ...Printer settings in Mac 37 Paper source This option allows you to select the paper tray to use for your print job...
Page 38: ...ce Use Photo Enhance to significantly improve quality when printing images The printer driver analyses any photographic images and processes them to improve the overall appearance This setting cannot...
Page 39: ...olour mode COLOUR MODE DESCRIPTION Advanced Colour The driver selects the most appropriate color settings Manual Allows you to manually adjust colour and black and white settings or select Grayscale C...
Page 40: ...and increase brightness As a general rule reduce saturation by the same amount as you increase brightness For example if you reduce saturation by 10 increase brightness by 10 to compensate COLOUR DESC...
Page 41: ...r jams Auto tray switch If the printer runs out of paper in the current tray Auto Tray Switch automatically changes to a tray that has the same type of paper and continues printing Paper size check Se...
Page 42: ...printing pure black RGB 0 0 0 This is effective even when Composite Black CMYK is selected in the colour options Run maintenance cycle before printing Depending on printing habits and usage patterns...
Page 43: ...important factors are listed below Differences between the range of colours a monitor or printer can reproduce Neither a printer nor a monitor is capable of reproducing the full range of colours visi...
Page 44: ...itor s colour temperature influences how warm or cool the colours look There are several settings found on a typical monitor 5000k Warmest yellowish lighting typically used in graphic art environments...
Page 45: ...nitor 6500k Vivid or Digital Camera settings PRINTING FROM OFFICE APPLICATIONS Use the Monitor 9300k setting This may help if you are having problems with specific colours from applications such as Mi...
Page 46: ...ons from the Windows Control Panel 1 Open the Printers window called Printers and Faxes in Windows XP 2 Right click the printer name and choose Properties 3 Click the Printing Preferences button 1 To...
Page 47: ...Perceptual setting c Monitor 9300k Optimised for printing graphics from applications such as Microsoft Office Colours are printed with emphasis on Lightness d Digital Camera Optimised for printing ph...
Page 48: ...nel to move up and down through the list of menus until the menu you wish to view is displayed Then proceed as follows 1 Press ENTER to enter the menu 2 Use the keys to move up and down through the it...
Page 49: ...ATION PRINT MENU MAP EXECUTE Prints complete menu listing with current settings shown NETWORK EXECUTE Prints Network configuration information DEMO1 EXECUTE Prints demonstration page containing graphi...
Page 50: ...ays contain identical paper the printer can switch to an alternative source when the current tray runs out in the middle of a print job TRAY SEQUENCE DOWN UP PAPER FEED TRAY Determines tray sequence o...
Page 51: ...SPEED except that the printer runs at 32ppm until a colour page is detected To achieve this speed the printer requires an additional 10 20 seconds to warm up and 30 60 seconds to cool down when switch...
Page 52: ...its internal operating parameters such as engine speed and fusing temperature to better accommodate the media to be fed For example letterhead may benefit from a slightly lower fusing temperature to...
Page 53: ...MPT MEDIATYPE PLAIN LETTERHEAD TRANSPARENC Y LABELS BOND RECYCLED CARD STOCK ROUGH GLOSSY Selects the type of media to be fed from the multi purpose tray so that the printer can adjust its internal p...
Page 54: ...ILLIMETRE Selects the length of paper defined by the Custom settings referred to in the foregoing PAPER SIZE settings Note that media of up to 1200mm in length can be fed from the multi purpose tray f...
Page 55: ...cartridge is installed and at intervals of 100 300 and 500 drum counts If a 500 drum count interval occurs during a print job it will occur at the end of that job and will take up to 55 seconds If set...
Page 56: ...button When set to JOB they are cleared when the print job resumes MANUAL TIMEOUT OFF 30 60 Specifies how many seconds the printer will wait for paper to be fed before cancelling the job WAIT TIMEOUT...
Page 57: ...ESS SET AUTO MANUAL Specifies whether IP address allocation is automatic DHCP or manually assigned IP ADDRESS xxx xxx xxx xxx Current assigned IP address To change press ENTER and use keys to incremen...
Page 58: ...Saves current menu settings as default values At confirmation prompt press ENTER to confirm save or CANCEL to cancel POWER SAVE ENABLE DISABLE Enables or disables automatic power save mode Delay befo...
Page 59: ...l number of pages fed from tray n MPT PAGE COUNT The total number of pages fed from the multi purpose tray COLOR PAGE COUNT The total number of pages printed in colour MONO PAGE COUNT The total number...
Page 60: ...image drum 4 200 A4 pages remaining Both models are shipped with sufficient Black toner for 6 000 A4 pages in the print cartridges of which 800 A4 pages of toner are used to charge the image drum 5 2...
Page 61: ...26W magenta 5 000 A4 5 B0615 Toner P26W yellow 5 000 A4 5 B0616 Toner P20W black 6 000 A4 5 B0609 Toner P20W cyan 2 000 A4 5 B0610 Toner P20W magenta 2 000 A4 5 B0611 Toner P20W yellow 2 000 A4 5 B061...
Page 62: ...brush it off If this is not enough use a cool damp cloth to remove any residue Do not use hot water and never use solvents of any kind They will make stains permanent Switch off the printer and allow...
Page 63: ...e the positions of the four cartridges a Pull the coloured toner release lever 1 on the cartridge to be replaced fully towards the front of the printer 1 2 3 4 1 Cyan cartridge 2 Magenta cartridge 3 Y...
Page 64: ...the toner cartridge out of the printer 4 Put the cartridge down gently onto a piece of paper to prevent toner from marking your furniture 5 Remove the new cartridge from its box but leave its wrappin...
Page 65: ...ower it into the printer over the image drum unit from which the old cartridge was removed 9 Insert the left end of the cartridge into the top of the image drum unit first pushing it against the sprin...
Page 66: ...ble items 66 rear of the printer This will lock the cartridge into place and release toner into the image drum unit 11 Finally close the top cover and press down firmly at both sides so that the cover...
Page 67: ...rums cyan magenta yellow and black 1 Press the cover release and open the printer s top cover fully 2 Note the positions of the four cartridges CAUTION Static sensitive devices handle with care WARNIN...
Page 68: ...o the right pull the lever towards you This will release the bond between the toner cartridge and the image drum cartridge CAUTION The green image drum surface at the base of the cartridge is very del...
Page 69: ...ure 7 Take the new image drum cartridge out of its packaging and place it on the piece of paper where the old cartridge was placed Keep it the same way round as the old unit Pack the old cartridge ins...
Page 70: ...re lower it into place in the printer locating the pegs at each end into their slots in the sides of the printer cavity 11 Finally close the top cover and press down firmly at both sides so that the c...
Page 71: ...ser to cool for about 10 minutes before opening the cover 1 Press the cover release and open the printer s top cover fully 2 Note the positions of the four cartridges It is essential that they go back...
Page 72: ...chassis 6 Pull the lifting bar 6 upwards so that belt tilts up towards the front and withdraw the belt unit from the printer CAUTION The green image drum surface at the base of each cartridge is very...
Page 73: ...nit and lower the belt unit flat inside the printer 8 Turn the two fasteners 5 90 to the right until they lock This will secure the belt unit in place 9 Replace the four image drums complete with thei...
Page 74: ...front of the printer so that they are fully upright 4 Holding the fuser by its handle 1 lift the fuser straight up and out of the printer If the fuser is still warm place it on a flat surface which wi...
Page 75: ...ully upright and the two locating lugs 3 should be towards you 7 Lower the fuser into the printer locating the two lugs 3 into their slots in the metal partition which separates the fuser area from th...
Page 76: ...t clearly has white lines or when text is blurred 1 Switch off the printer and open the top cover 2 Gently wipe the LED head surface with LED lens cleaner or soft tissue 3 Close the top cover CAUTION...
Page 77: ...en less paper and makes large documents even easier to handle The duplex unit slides straight into the rear of the printer and requires no tools to install 1 Unpack the new unit and remove any transit...
Page 78: ...at remains is to adjust the Windows printer driver to make full use of the new features MEMORY UPGRADE The basic printer model comes equipped with 64MB of main memory This can be upgraded with an addi...
Page 79: ...htly at the two points shown and pull the cover away from the printer at the top Lift the cover slightly to detach it from the printer Place it safely to one side 6 Carefully remove the new memory boa...
Page 80: ...t board will have to be removed before you can install the new one To remove it proceed as follows otherwise skip to step 10 a Identify the locking clips 2 at each end of the RAM expansion slot 1 b Pu...
Page 81: ...uring screw removed in step 4 14 Close the front cover and close the top cover pressing down firmly at each side to latch it closed 15 Reconnect the AC power cable and switch the printer on 16 When th...
Page 82: ...ter off and disconnect the AC power cable 2 Place additional paper tray on desired location 3 Observing safety rules for lifting and using locating guides place printer on top of the additional paper...
Page 83: ...Windows XP Other Windows versions may appear slightly different but the principles are the same If you have installed a memory upgrade it is not necessary to change the printer driver and you can ign...
Page 84: ...n the paper path through the printer When a jam occurs the printer immediately stops and the Alert LED on the Status Panel together with the Status Monitor informs you of the event If printing multipl...
Page 85: ...It can be removed from the rear later 2 Press the cover release and open the printer s top cover fully CODE LOCATION CODE LOCATION 370 Duplex unit 382 Paper exit 371 Duplex unit 383 Duplex unit 372 D...
Page 86: ...be necessary to remove the four image drums to gain access to the paper path 4 Holding it by its top centre lift the cyan image drum complete with its toner cartridge up and out of the printer 1 2 3 4...
Page 87: ...n any part of the belt unit To remove a sheet with its leading edge at the front of the belt 1 carefully lift the sheet from the belt and pull it forwards into the internal drum cavity and withdraw th...
Page 88: ...the sheet from the belt push the fuser pressure release lever 4 towards the front and down to release the fuser s grip on the sheet and withdraw the sheet through the drum cavity area Then allow the p...
Page 89: ...to the drum cavity making sure to locate them in the correct order Holding the complete assembly by its top centre lower it into place in the printer locating the pegs at each end into their slots in...
Page 90: ...the rear exit tray 5 and check for a sheet of paper in the rear path area 6 Pull out any sheets found in this area If the sheet is low down in this area and difficult to remove it is probably still g...
Page 91: ...nside the cover for sheets in this area and remove any that you find then close the cover 14 Pull out the paper tray and ensure that all paper is stacked properly is undamaged and that the paper guide...
Page 92: ...e top cover and press down firmly at both sides so that the cover latches closed When the jam has been cleared if Jam Recovery is set to ON in the System Configuration Menu the printer will attempt to...
Page 93: ...ity at 80g m 300 sheets in main tray 530 sheets in optional 2nd tray 100 sheets in multi purpose tray or 50 transparencies or 10 envelopes Paper weight 64 120g m in main tray 64 176g m in 2nd tray 64...
Page 94: ...nter life 420 000 pages or 5 years Duty cycle 50 000 pages per month max 4 000 pages per month average Toner life Black P20W P26W 6 000 pages at 5 coverage CMY P20W 2 000 pages at 5 coverage P26W 5 00...
Page 95: ...10 C 30 to 54 RH 32 C 10 to 32 C 30 RH 10 to 27 C 80 RH Colour 17 to 27 C 50 to 0 RH 1 Exit method is limited by paper size media weight and paper feed Specifications subject to change without notice...
Page 96: ...ctancy 60 Image drums current usage state 59 Installing upgrades 77 Additional paper tray 82 Duplex unit 77 Memory upgrade 78 L Labels recommended types 11 M Mac OS X Changing the default printer and...
Page 97: ...time 56 enabling or disabling 58 PPR emulation 57 Print order face down stacker 16 face up stacker 16 Print quality adjusting 58 Print settings how to save 20 Printer default settings Windows default...