d-Color MF360/280/220 (Version 3)
7-13
7.1
[System Settings]
7
[Leading Edge Adjustment]
Adjust the starting print position at the leading edge of each type of paper (with respect to the paper feed
direction).
1
Press the
Utility/Counter
key
ö
[Administrator Settings]
ö
[System Settings]
ö
[Expert Adjustment]
ö
[Printer Adjustment]
ö
[Leading Edge Adjustment].
%
To adjust the starting print position at the leading edge of the second side for 2-sided printing (with
respect to the paper feed direction), press [Leading Edge Adjustment (Duplex Side 2)].
2
Select a paper type to be adjusted.
3
Load the paper into the
Bypass Tray
.
4
Press the
Start
key.
A test pattern is printed.
5
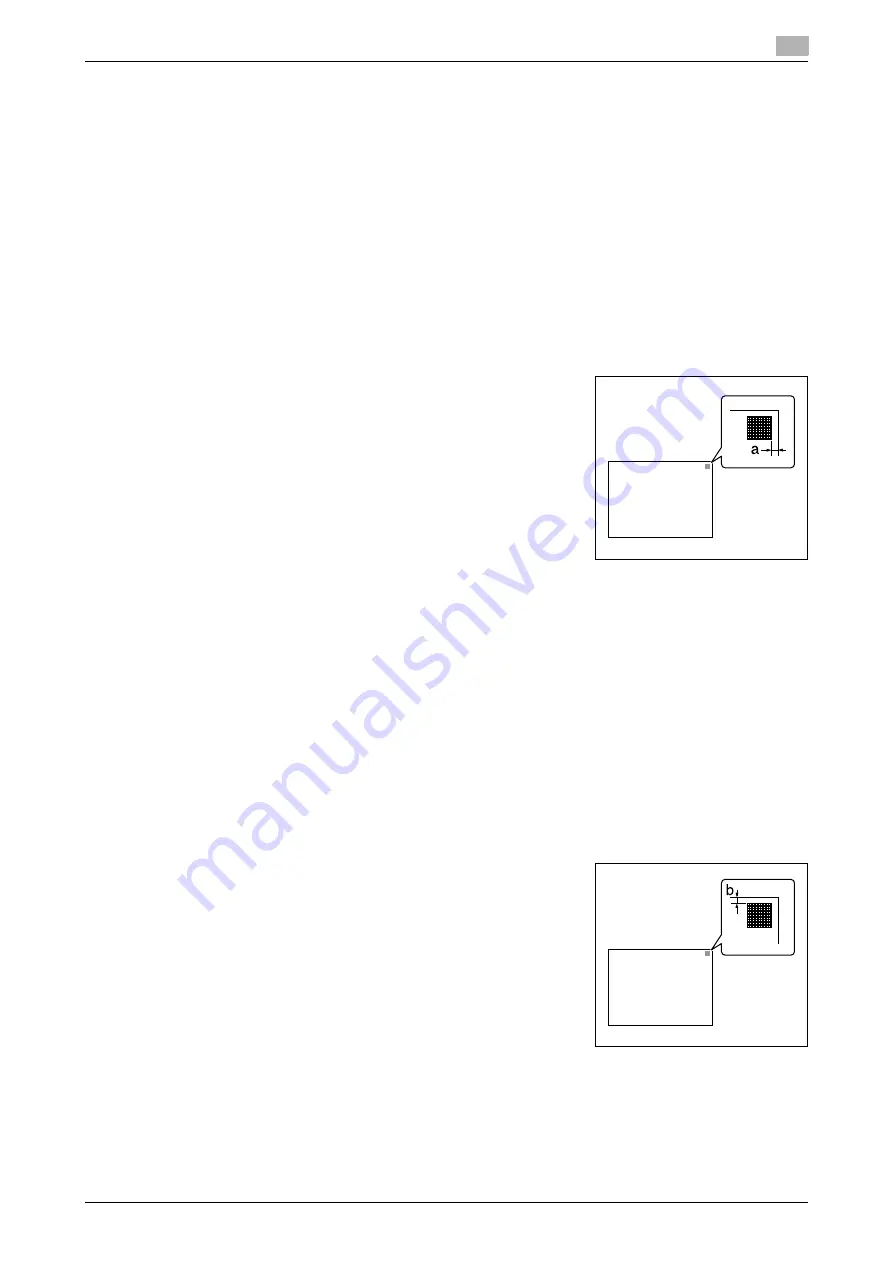
Check that the distance from the starting print position of the test
pattern to the edge of the paper (a) is 4.2 mm.
%
Press [+] or [-] to adjust the width.
Press the
Start
key to print a test pattern.
6
Press [OK].
[Centering]
Adjust the starting print position at the left edge of each paper tray (with respect to the paper feed direction).
0
Only 8-1/2
e
11
v
(A4
v
) paper can be used to adjust the
Bypass Tray
.
1
Press the
Utility/Counter
key
ö
[Administrator Settings]
ö
[System Settings]
ö
[Expert Adjustment]
ö
[Printer Adjustment]
ö
[Centering].
%
To adjust the starting print position at the left edge of the second side for 2-sided printing (with re-
spect to the paper feed direction), press [Centering (Duplex 2nd Side)].
2
Select a paper tray to be adjusted.
3
Press the
Start
key.
A test pattern is printed.
4
Check that the distance from the starting print position of the test
pattern to the left edge of the paper (b) is 3.0 mm (±0.5 mm).
%
Press [+] or [-] to adjust the width.
Press the
Start
key to print a test pattern.
5
Press [OK].
a: 4.2 mm
b: 3.0 mm ± 0.5 mm
Summary of Contents for d-Color MF220
Page 1: ...COPY OPERATION 552815en GB d Color MF220 d Color MF280 d Color MF360 ...
Page 9: ...1 Introduction ...
Page 10: ......
Page 15: ...2 Part names and their functions ...
Page 16: ......
Page 33: ...3 Using this machine ...
Page 34: ......
Page 43: ...4 Control Panel Keys ...
Page 44: ......
Page 64: ...Proof Copy 4 4 22 d Color MF360 280 220 Version 3 4 11 ...
Page 65: ...5 Copy Function ...
Page 66: ......
Page 130: ...Left panel display 5 5 66 d Color MF360 280 220 Version 3 5 5 ...
Page 131: ...6 User Settings ...
Page 132: ......
Page 149: ...7 Administrator Settings ...
Page 150: ......
Page 206: ... OpenAPI Authentication Management Setting 7 7 58 d Color MF360 280 220 Version 3 7 12 ...
Page 207: ...8 Maintenance ...
Page 208: ......
Page 222: ...Cleaning procedure 8 8 16 d Color MF360 280 220 Version 3 8 3 ...
Page 223: ...9 Troubleshooting ...
Page 224: ......
Page 237: ...10 Authentication unit biometric type ...
Page 238: ......
Page 257: ...11 Authentication unit IC card type ...
Page 258: ......
Page 274: ...Using authentication unit IC card type 11 11 18 d Color MF360 280 220 Version 3 11 1 ...
Page 275: ...12 Specifications ...
Page 276: ......
Page 292: ...Options 12 12 18 d Color MF360 280 220 Version 3 12 3 ...
Page 293: ...13 Appendix ...
Page 294: ......
Page 296: ...Colors 13 13 4 d Color MF360 280 220 Version 3 13 1 Hue Brightness Saturation ...
Page 303: ...14 Index ...
Page 304: ......
Page 314: ...Index by button 14 14 12 d Color MF360 280 220 Version 3 14 2 ...


