


36
Control Panel and Configuration Menu
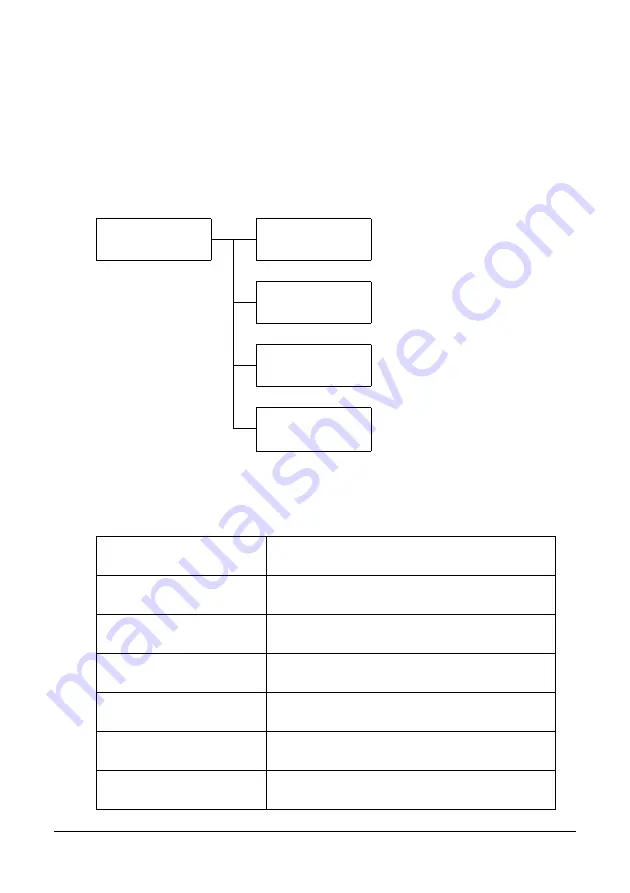
REPORT/STATUS Menu
To display the REPORT/STATUS screen, select REPORT/STATUS in the main
screen, and then press the Enter
key. From this menu, the total number of pages
printed by this machine and the results of fax transmissions/receptions can be
viewed. In addition, the reports can be printed. The REPORT/STATUS menu is
structured as shown below.
"
To return to the previous screen, press the Back key. To display the main
screen, press the Stop/Reset key.
TOTAL PRINT
The total number of pages for each of the following can be checked.
REPORT/STATUS
TOTAL PRINT
SUPPLIES STATUS
TX/RX RESULT
REPORT
TOTAL PRINT
This counter shows the total number of pages
printed.
MONO COPY
This counter shows the total number of pages
copied in black-and-white.
COLOR COPY
This counter shows the total number of pages
copied in color.
MONO PRINT
This counter shows the total number of pages
printed in black-and-white.
COLOR PRINT
This counter shows the total number of pages
printed in color.
FAX PRINT
This counter shows the total number of pages
that were faxed.
TOTAL SCAN
This counter shows the total number of docu-
ment pages that were scanned.
Summary of Contents for MC160N
Page 1: ...User Guide Print Copy Scan Modes 59320401 my okidata com MC160n MFP...
Page 9: ...1Introduction...
Page 21: ...1Control Panel and Configuration Menu...
Page 40: ...40 Control Panel and Configuration Menu FAX RX OPERATION REPORTING SCAN SETTING...
Page 76: ...2Media Handling...
Page 91: ...91 Media Handling 6 Reattach the lid to Tray 2 7 Reinsert Tray 2 into the machine...
Page 101: ...2Using the Printer Driver...
Page 108: ...3Using the Copier...
Page 121: ...4Using the Scanner...
Page 150: ...150 Using the Scanner...
Page 151: ...5Replacing Consumables...
Page 174: ...174 Replacing Consumables...
Page 175: ...6Maintenance...
Page 199: ...7Troubleshooting...
Page 213: ...213 Troubleshooting Note Do not touch the wires and flat cable shown in the illustration...
Page 217: ...217 Troubleshooting 7 Load the media in Tray 2 and attach the lid 8 Reinsert Tray 2...
Page 218: ...218 Troubleshooting 9 Open and close the scanner unit to clear the missfeed message...
Page 222: ...222 Troubleshooting 3 Close the duplex cover...
Page 247: ...3Installing Accessories...
Page 260: ...Appendix...