


About the Power Supply
The power supply must meet the following conditions.
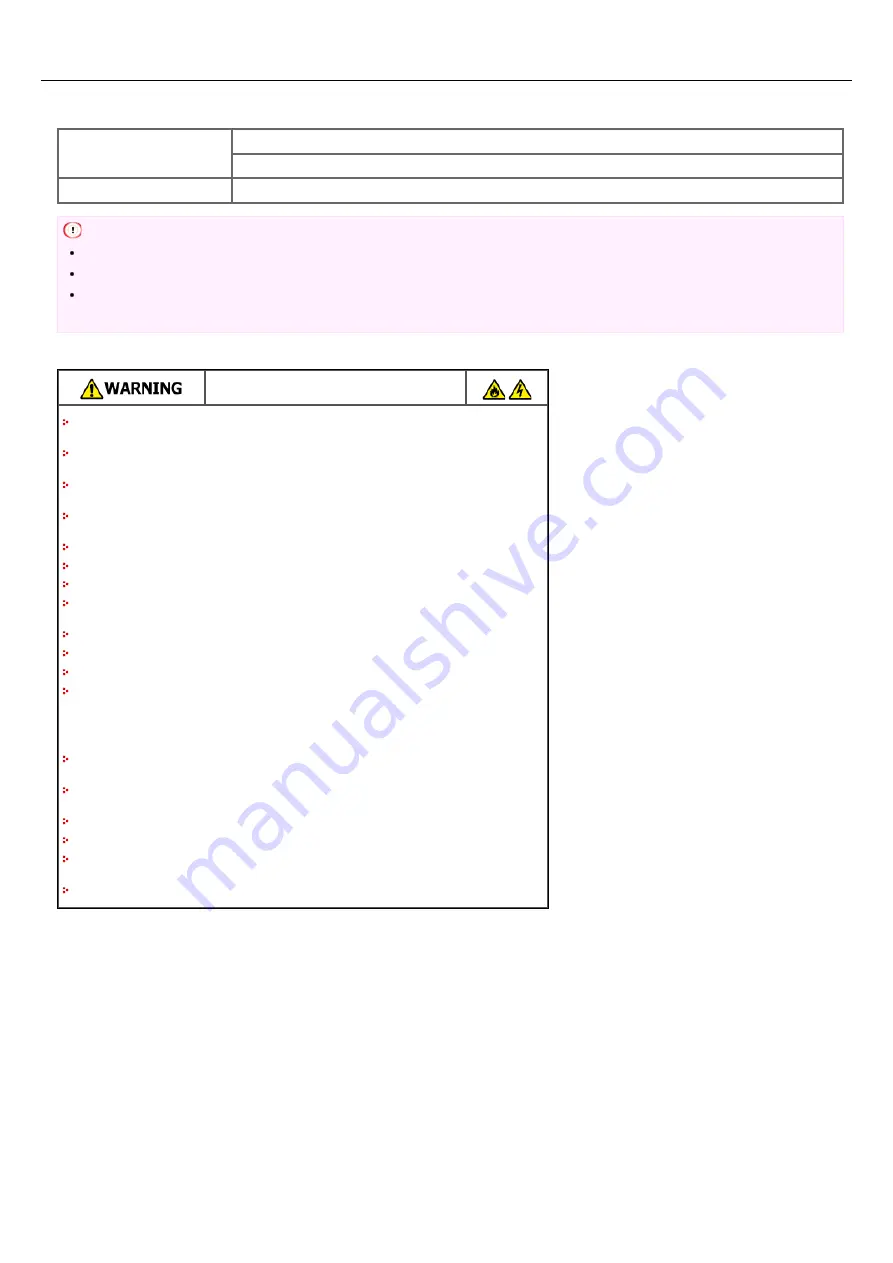
AC
110 to 127VAC (Range 99 to 140VAC)
220 to 240VAC (Range 198 to 264VAC)
Frequency
50/60 Hz ± 2%
Note
If the power supply is unstable, use a voltage regulator.
The maximum power consumption of the machine is 1170 W. Check that the power supply is sufficient.
The operation that uses an uninterruptible power supply (UPS) or inverter is not guaranteed. Do not use an uninterruptible power
supply (UPS) or inverter.
Fire or electric shock may result.
Be sure to turn this machine off before connecting and disconnecting the power cord and the
ground wire.
Be sure to connect the ground wire to the designated ground terminal.
If this machine cannot be grounded, contact your dealer.
Be sure not to connect the ground wire to the ground of a water pipe, gas pipe or telephone
line, or to a lightning rod.
Be sure to connect the ground wire before connecting the power cord to the outlet. Also, be
sure to unplug the power cord from the outlet before disconnecting the ground wire.
Be sure to plug or unplug the power cord by holding its power plug.
Securely plug the power cord into the outlet.
Do not plug or unplug the power cord with wet hands.
Install the power cord in a location where users cannot step on it, and do not place any object
on the power cord.
Do not bundle or tie the power cord.
Do not use a damaged power cord.
Do not overload the outlet.
Do not connect the power cords of this machine and other electric products to the same outlet.
If the power cord of this machine is connected to the same outlet as other electric products,
especially an air conditioning machine, copier, or shredder, this machine may malfunction due
to electrical noise. If you have to connect the power cord of this machine to the same outlet as
other products, use a commercially available noise filter or noise cut transformer.
Use the power cord included in this machine, and plug the cord directly into the outlet. Do not
use the power cords of other products for this machine.
Do not use an extension cord. If you have to use an extension cord, use a cord rated 15A or
higher.
Use of an extension cord may result in this machine malfunctioning due to AC voltage drop.
Do not turn this machine off or unplug the power cord during printing.
If you do not use this machine for an extended period of time due to holidays, trips, or other
reasons, unplug the power cord.
Do not use the power cord included in this machine for other products.
793
Summary of Contents for MB472dn
Page 1: ...User s Manual MB472dn MB472dnw 2015 03 45822152EE02 ...
Page 25: ...Horizontal 24 ...
Page 29: ...28 ...
Page 42: ...41 ...
Page 68: ...Scanning Data to a Computer Scan to PC Registering a Computer That is Connected 67 ...
Page 150: ...6 Click Scan 7 Exit Windows FAX and Scan 149 ...
Page 170: ...169 ...
Page 181: ...180 ...
Page 190: ...189 ...
Page 198: ...197 ...
Page 209: ...5 Click Cancel Topics Printing with Registered Settings 208 ...
Page 213: ...4 Change other settings if necessary and then click Print Printing starts 212 ...
Page 225: ...6 Follow the on screen instructions to set detailed settings 7 Click Submit 224 ...
Page 233: ...232 ...
Page 248: ...Printing with Google Cloud Print 247 ...
Page 265: ...3 Select OKI MB472 from Printer 4 Set options 5 Click Print 264 ...
Page 283: ...Selecting from the Transmission History and Reception History 282 ...
Page 290: ...289 ...
Page 303: ...302 ...
Page 308: ...2 Enter a fax number Using Direct Entry 3 Select Enter and then press OK 307 ...
Page 328: ...12 To continue deleting another number repeat the procedure from step 9 327 ...
Page 342: ...9 Press START Transmission starts 341 ...
Page 364: ...Sending an Internet Fax 363 ...
Page 401: ...No Name 14 Facedown stacker 400 ...
Page 404: ...Basic Operations on the Operator Panel Names and Functions Entering Characters 403 ...
Page 409: ...408 ...
Page 438: ...437 ...
Page 495: ...15 Close the scanner unit 494 ...
Page 501: ...9 Close the top cover 10 Close the scanner unit 500 ...
Page 505: ...9 Close the top cover 10 Close the scanner unit 504 ...
Page 507: ...4 Open the scanner unit 5 Press the top cover open button 6 Open the top cover 506 ...
Page 508: ...7 Close the top cover 8 Close the scanner unit 507 ...
Page 534: ...533 ...
Page 563: ...562 ...
Page 570: ...569 ...
Page 576: ...575 ...
Page 609: ...Search Memo indicates the factory default setting 608 ...
Page 614: ...AirPrint AirPrint Enable Memo indicates the factory default setting 613 ...
Page 643: ...642 ...
Page 669: ...9 Click OK 668 ...
Page 704: ...Quitting Network Card Setup 1 Select Quit from the File menu of Network Card Setup 703 ...
Page 709: ...13 Restart the machine 708 ...
Page 712: ...711 ...
Page 734: ...733 ...
Page 738: ...737 ...
Page 752: ...751 ...
Page 755: ...5 Push the tray back into the machine 6 Close the tray 754 ...
Page 780: ...Side view Side view if the second tray unit is installed 779 ...
Page 786: ...19 Close the scanner unit 785 ...
Page 809: ...Topics Checking That Connection is Established Correctly 808 ...
Page 815: ...5 Insert the other end of the LAN cable into the hub 6 Turn the machine on 814 ...
Page 819: ...818 ...
Page 823: ...The IP address is set to this machine and this machine automatically restarts 822 ...
Page 826: ...The IP address is set to this machine and this machine automatically restarts 825 ...
Page 847: ...846 ...
Page 849: ...848 ...
Page 876: ...6 Click New Group 7 Register a group and then click OK 8 Click Save to device 875 ...
Page 888: ...13 Click Setup 14 Enter the administrator password of this machine and then click OK 887 ...
Page 891: ...13 Click Setup 14 Enter the administrator password of this machine and then click OK 890 ...
Page 920: ...Topics Registering a Destination Profile Using Scan to Shared Folder 919 ...
Page 961: ...12 Press until the top screen is displayed 960 ...
Page 963: ...14 Press until the top screen is displayed 962 ...
Page 974: ...973 ...
Page 982: ...The fax information is set to this machine 981 ...
Page 985: ...The fax information is set to this machine 984 ...
Page 991: ...990 ...
Page 994: ...993 ...
Page 1048: ...1047 ...
Page 1090: ...The IP address is set to this machine and this machine initializes the network settings 1089 ...
Page 1116: ...1115 ...
Page 1134: ...1133 ...
Page 1137: ......


