IP-7900-20/21/7700-20/21 Advanced Operation Guide
54
Set SMART PASS
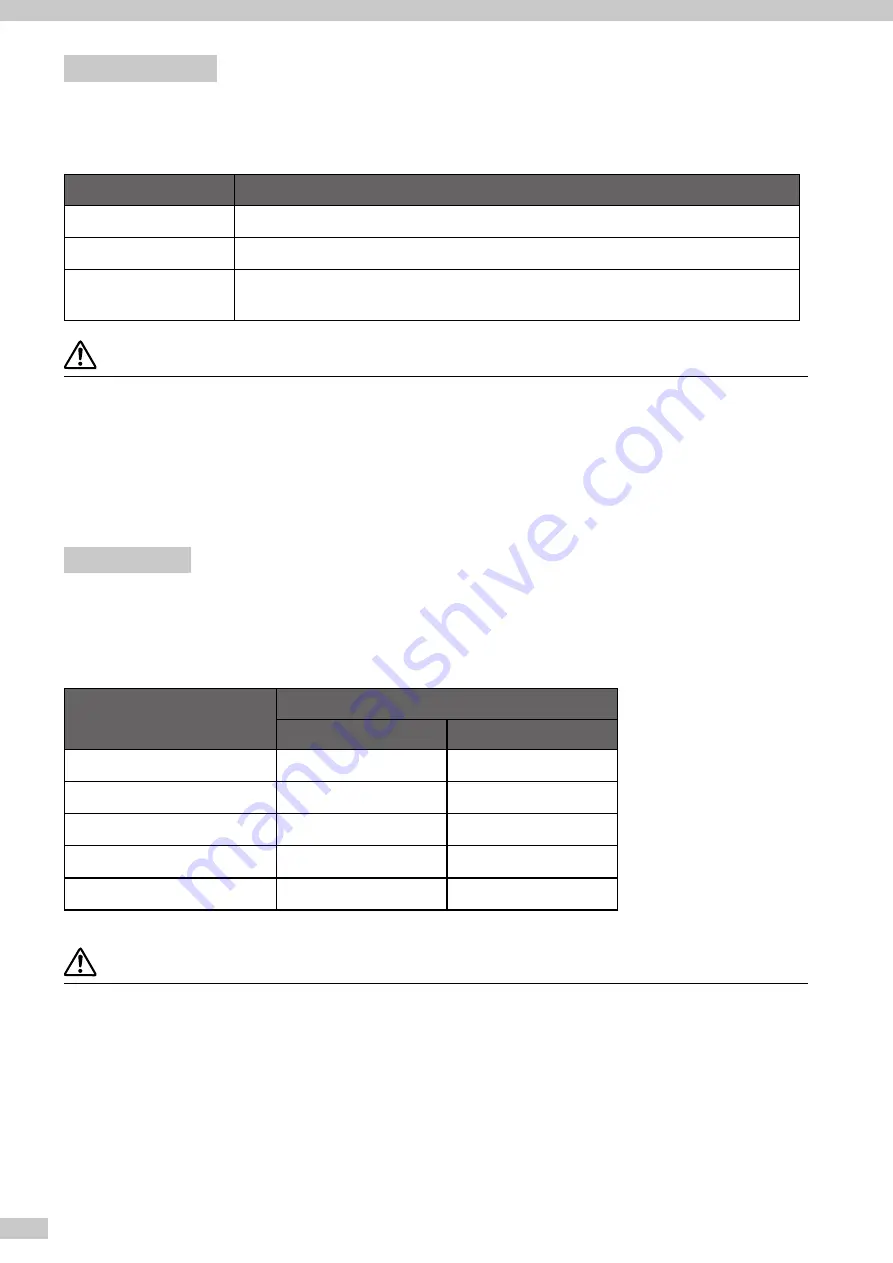
Set the auto correction level to enhance image quality by correcting unevenness or other print defects. Increase
the enhancing effect by setting the correction level to low, medium, or high for the maximum effect.
Smart pass
Explanation
LOW
Maximize productivity in each print mode. The image correction effect is rather low.
MEDIUM
Normally, use this setting for a good balance between speed and image quality.
HIGH
Use this setting when print defects are not corrected with “MEDIUM” to obtain a higher
image correction effect.
CAUTION
- The MEDIUM smart pass setting is recommended. Use the other settings according to your needs regarding productivity and
quality.
- Print speed with LOW setting is approximately 50% faster than with MEDIUM setting.
- Print speed with HIGH setting is approximately 25% slower than with MEDIUM setting.
- High density printing was performed with smart pass always set to HIGH.
- High density printing is always performed with smart pass set to HIGH.
- LOW setting changes automatically to MEDIUM if printing when the temperature is below 20 °C.
Set DENSITY
The print density can be set to
NORMAL
and
HIGH DENSITY
.
The following shows the relationship between the density level for
HIGH DENSITY
and each print mode, when
the density for
NORMAL
is assumed to be 1.0.
Print mode
Density
NORMAL
HIGH DENSITY
MAX SPEED
1.0
1.0 (*1)
HIGH SPEED
1.0
1.3
NORMAL
1.0
1.5
HIGH QUALITY
1.0
2.0
MAX QUALITY
1.0
2.0
*1 With
MAX SPEED
print mode, the density does not change even when
HIGH DENSITY
is set.
CAUTION
- The print speed does not change between NORMAL and HIGH DENSITY printing.
- Since a large quantity of ink is used with HIGH DENSITY, printing with this setting may generate ink bleeding or
drying
unevenness. In this case, select a slower print speed.


