6.INTERNET FAX
Sending Internet Faxes 97
6 INTERNET FAX
5
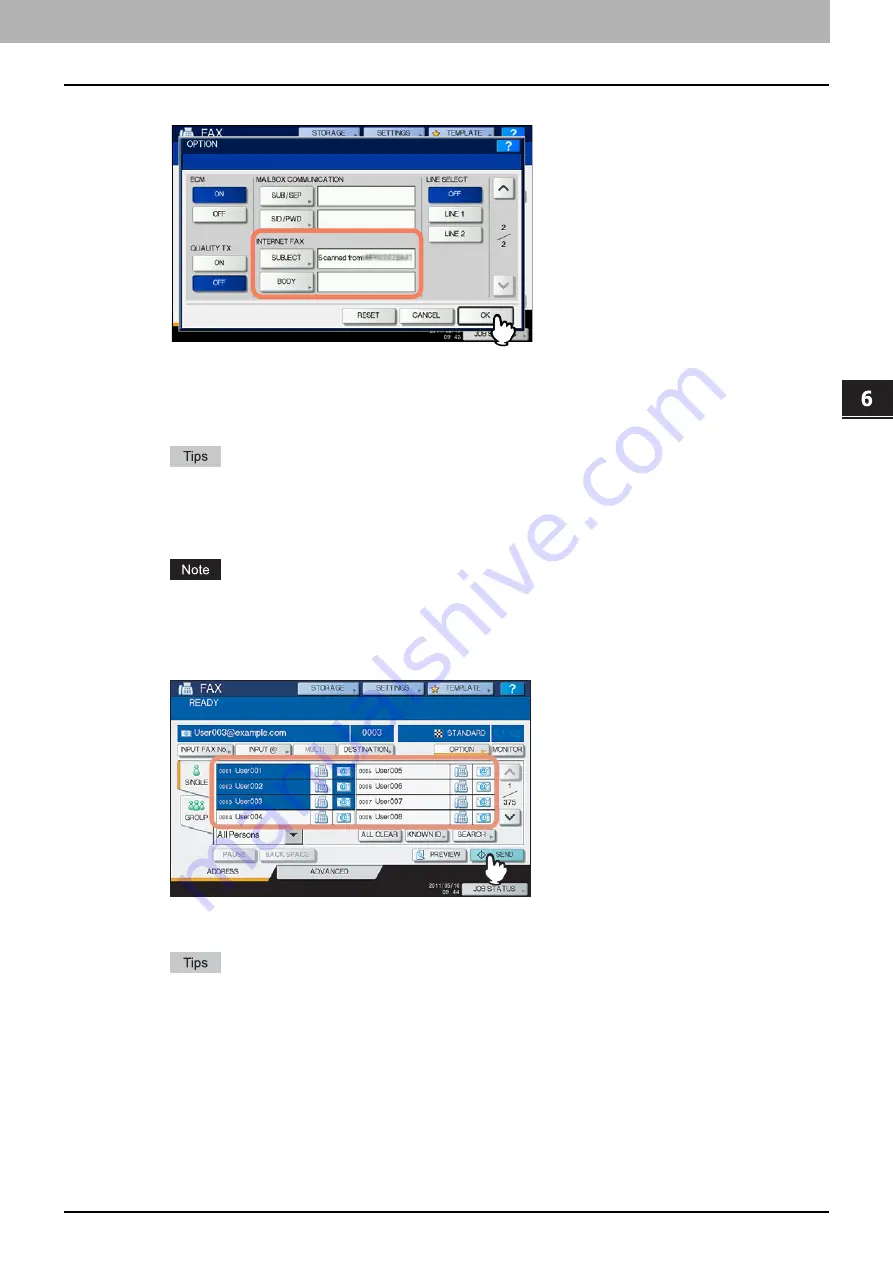
Specify the following items as required, and then press [OK].
[SUBJECT]
Press this button to enter the subject of the Internet Fax to be sent.
[BODY]
Press this button to enter the body message of the Internet Fax to be sent.
Pressing each button displays an on-screen keyboard. Enter each item using the keyboard and digital keys,
and then press [OK] to set the entry.
The administrator can change the body message from TopAccess. For details, refer to the
TopAccess
Guide
.
All the settings required for Internet faxing are mentioned in the above steps. Settings other than the above
apply only to fax transmissions.
6
Specify the e-mail addresses that you want to send to, and then press [SEND] or the
[START] button.
You can specify e-mail addresses in various ways. For details, see the following section:
P.52 “Specifying E-mail Addresses”
You can save the sent data as a file.
P.98 “Saving sent data as a file (Internet fax and file)”
You can also set advanced functions, such as 2-sided Scan and Priority Reserve.
P.102 “Setting advanced functions”
For the ES9460 MFP/ES9470 MFP/CX3535 MFP/CX4545 MFP, press [PREVIEW] and then [SCAN] to
preview the scanned data.
Summary of Contents for ES9160 MFP/ES9170 MFPES9460 MFP
Page 92: ......
Page 112: ......
Page 115: ...ES9160 MFP ES9170 MFP ES9460 MFP ES9470 MFP CX3535 MFP CX4545 MFP ...


