


- 88 -
Utilities common to Windows/Mac OS X
4
4.
Using Utilit
y Softw
are
3
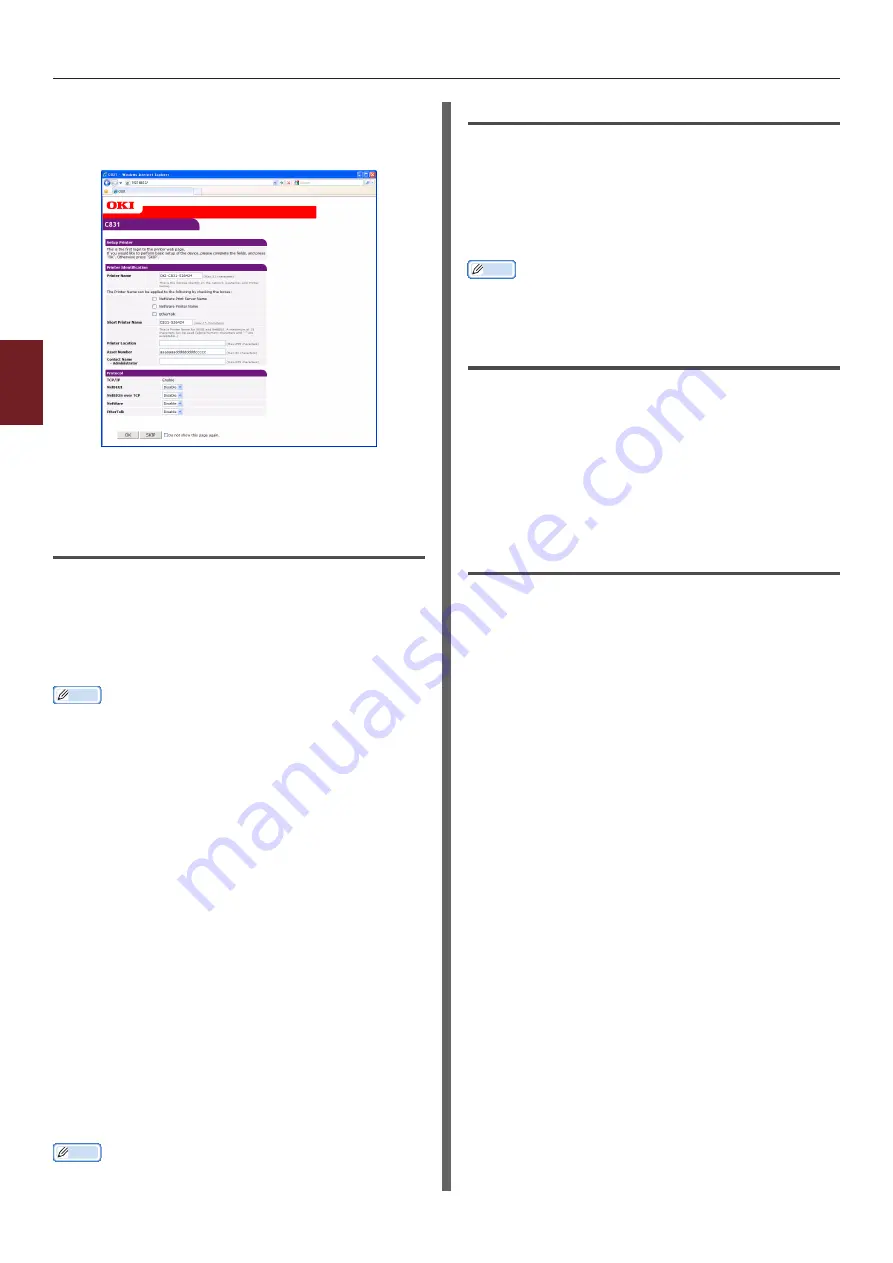
Click [
SKIP
].
If you have made changes to the settings on this
screen, click [
OK
].
The menus available only for the administrator
will be displayed.
Changing the Administrator’s
password
You can change the printer administrator’s
password from the web page.
The administrator’s password set on the web
page can be used when logging into the printer
through the operator panel or through the web
page.
Memo
● The password should be 6-12 characters long, and should
be in one-byte (alphanumeric) characters.
● The password is case sensitive.
1
Launch your web browser and log in as
the administrator.
2
Select [
Admin Setup
].
3
Select [
Management
]> [
Change
Password
].
4
Enter a new password in [
New Admin
Password
].
5
Reenter the password in [
Verify Admin
Password
].
The entered password will not be displayed. Write
down your password and store it in a safe place.
6
Click on [
Submit
].
The network system reboots to enable the new
settings.
Memo
● You do not need to restart the printer. Next time when
you log in as the administrator, use the new password.
Checking Printer Status
You can check the status of your printer from
the web page.
1
Launch your web browser and enter the
printer’s IP address.
The status of the printer is displayed.
Memo
● When logging in as the administrator, you can also click
on [
Status Window
] in order to view the simplified
display of the printer status.
Changing Printer Settings
You can change the main unit’s settings from the
web page.
1
Launch your web browser and log in as
the administrator.
2
Change the settings and click [
Submit
].
Getting the Date and Time
Automatically
You can get date and time information
automatically from an internet time server, and
reflect this on your printer.
1
Launch your web browser and log in as
the administrator.
2
Select [
Admin Setup
].
3
Select [
Network Setup
]>[
SNTP
].
4
Specify your time zone.
5
Select [
Enable
] from [
SNTP
].
6
Enter the SNTP server in [
SNTP Server
(Primary)
].
7
If required, enter another SNTP server in
[
SNTP Server (Secondary)
].
8
Click on [
Submit
].
The network system reboots to enable the new
settings.
Summary of Contents for C831n
Page 1: ......
Page 150: ...44902902EE Rev3...