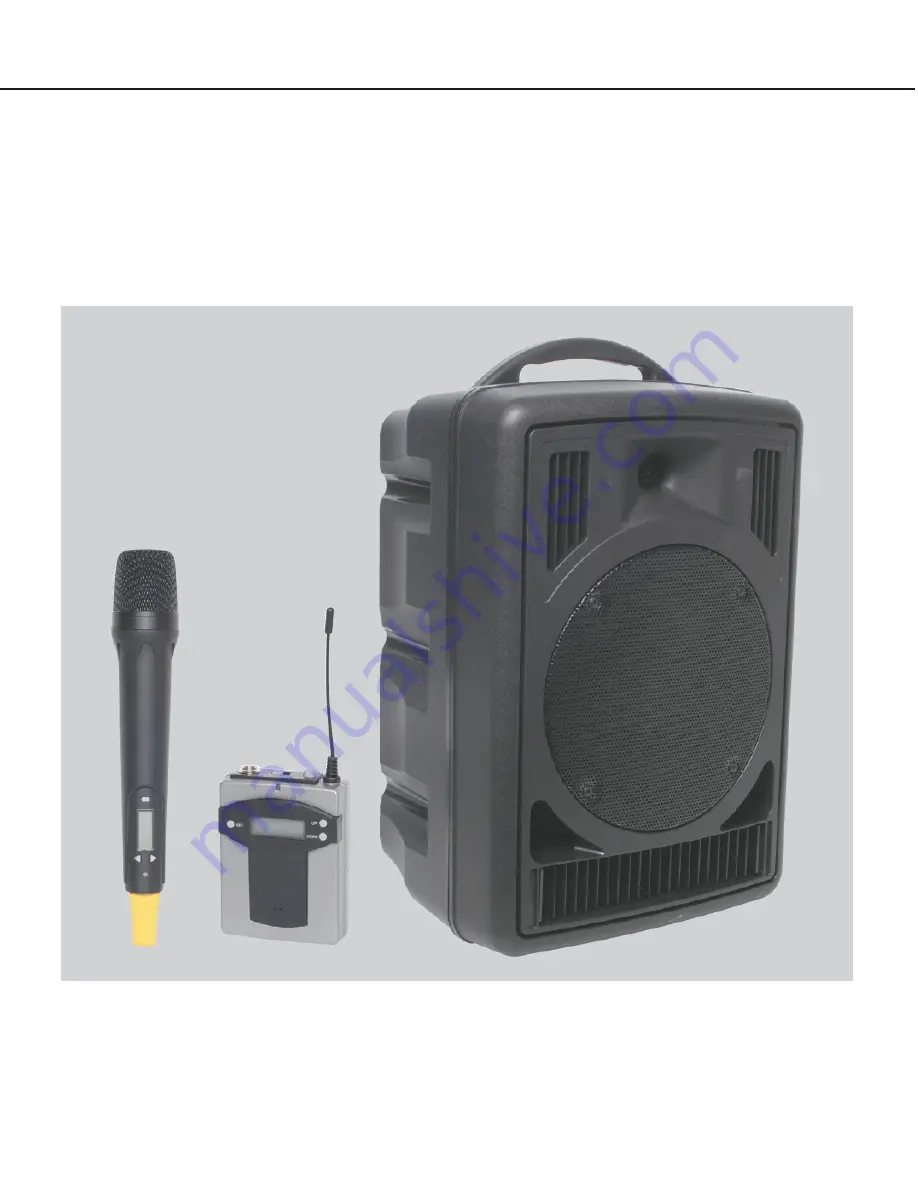
Okayo EJ-701TS Operating Instructions Manual Download Page 1

 Portable PA System

Operating Instructions

GPA-750 

                                                                     Basic PA System

GPA-750W


                                       PA System with UHF Wireless Mic

GPA-750WU/WE/WT

   PA  System with UHF Wireless Mic & CD Player

EJ-701TS 

                                          Wireless Handheld Microphone

EJ-7LT/EJ-7XT

                                                    Bodypack Transmitter

This operating guide also includes instructions for the following portable PA accessories:

DR-701 : Additional UHF wireless microphone receiver
TX-701 : Wireless Audio Link transmitter
EM-750 : Karaoke echo module 
HDC-809 : Bodypack charging pod
LM-90S : Lapel microphone to suit bodypack transmitter
HM-50S : Headset microphone to suit bodypack transmitter

Manufactured by E-J Electronics Co., Ltd.

Summary of Contents for EJ-701TS

Page 1: ...d Microphone EJ 7LT EJ 7XT Bodypack Transmitter This operating guide also includes instructions for the following portable PA accessories DR 701 Additional UHF wireless microphone receiver TX 701 Wireless Audio Link transmitter EM 750 Karaoke echo module HDC 809 Bodypack charging pod LM 90S Lapel microphone to suit bodypack transmitter HM 50S Headset microphone to suit bodypack transmitter ...

Page 2: ...h are fitted with a UHF wireless microphone receiver adjusted to receive the signal from the wireless audio link DR 701 Optional UHF wireless microphone receiver Installation of this module adds a second wireless micro phone to the Portable PA EM 750 Optional karaoke echo module For karaoke applications this module includes adjustable repeat and delay plus two local wired 6 35mm XLR combo mic inpu...

Page 3: ...es blanking panels fitted in the base models 2 CD MP3 player 3 Power switch charge indicator this panel is replaced when adding a wireless link or digital echo module 4 Level treble bass controls 5 Speaker out 8 6 Mic input 6 35mm 3 pin XLR 7 RCA line in out 8 240V AC input shown configured with 2 x UHF wireless microphones CD player 3 ...

Page 4: ...dule Figure 5 Audio Link Transmitter Module 1 Track program button 2 CD slot 3 Shuffle repeat button 4 Play pause button 5 Stop eject button 6 Power switch 1 LCD screen 2 TX audio indicator 3 AF audio level indicator 4 Frequency set button 7 LCD screen 8 Folder selection button 9 Search previous track 10 Search next track 11 CD level control 5 Up Down frequency adjustment buttons 6 Power switch mi...

Page 5: ...5 To program specific tracks for palyback press the track program button Select the song you wish to program on the disc using the next track l and previous track buttons l Press repeat to enter the track into the program Repeat as necessary To playback programmed tracks press the play pause button Note program will be reset whenever the track program button is pressed 6 For use with MP3 discs you...

Page 6: ... via this module Master volume adjusts overall system level from all inputs ie UHF CD MP3 player RCA stereo input and wired microphones Treble and bass controls effect all system inputs When set to half way sound output will be flat RCA stereo jacks are provided for an external audio source This allows connection of a CD player iPod or other audio source An RCA output is provided for use with exte...

Page 7: ... panel All PA models feature a blanking panel with the system power switch mounted on it see figure 2 This panel is optionally replaced by the TX 701 or EM 750 modules Fitting EM 750 Digital Echo Module 1 Ensure portable PA is NOT connected to mains power Disconnect all input cables 2 Unscrew the blanking panel and disconnect the power cables from the main board 3 Locate switch SW200 on the main b...

Page 8: ... the power switch for 2 3 seconds until the LCD screen displays OFF 9 When using with rechargeable NiMH batteries connect a DC 5V plugpack to the charging port on the base of the microphone Charging time is dependant on the capacity of batteries used typically 10 12 hours charging is required If battery icon is flashing when charger is connected ensure rechargeable batteries are inserted in the mi...

Page 9: ...LED power indicator 7 Power switch 8 Charging port connection Figure 9 Bodypack UHF Wireless Transmitter EJ 7LT EJ 7XT 1 Antenna 2 Mute button top 3 On Off switch top 4 3 5mm or 3 pin XLR mic input socket top 5 LED power indicator 6 Sensitivity selection switch side 7 3 5mm aux input socket side 8 Frequency set button 9 Up Down frequency adjustment buttons 10 Inbuilt mic 11 Charging jack 9 ...

Page 10: ...een will flash the currently selected channel number You can cycle through the channels by pressing the UP or DOWN frequency adjustment buttons Press the frequency set button again to lock in your channel selection 7 The battery status is displayed on the left of the screen When battery capacity is critical the icon will flash 3 times before switching the microphone off automatically 8 When using ...

Page 11: ...0 g Handheld Transmitter EJ 701TS Mic Insert Condenser or dynamic RF Output 10 mW Spurious Emission Less than 250 nW AF Controls Hi Low Mute switch Battery 1 2 V NiMH rechargeable x 2 or 1 5 V Alkaline x 2 Operating Life full charged 11 hrs NiMH or 14 hrs Alkaline Dimensions 46 x 264 mm ψ Weight with batteries 280 g Audio Link transmitter Module TX 701 RF Output 10mW Spurious Emission Less than 25...

Page 12: ...ge for Long periods Ensure battery is charged once per month there after to ensure long life and optimum battery reliability Remove batteries from transmitter when not in use Ensure replacement batteries are the same or equivalent to existing Batteries may explode under charge or unit may malfunction if incorrect batteries are used Ensure battery contacts are clean and free of corrosion before ope...

Reviews: