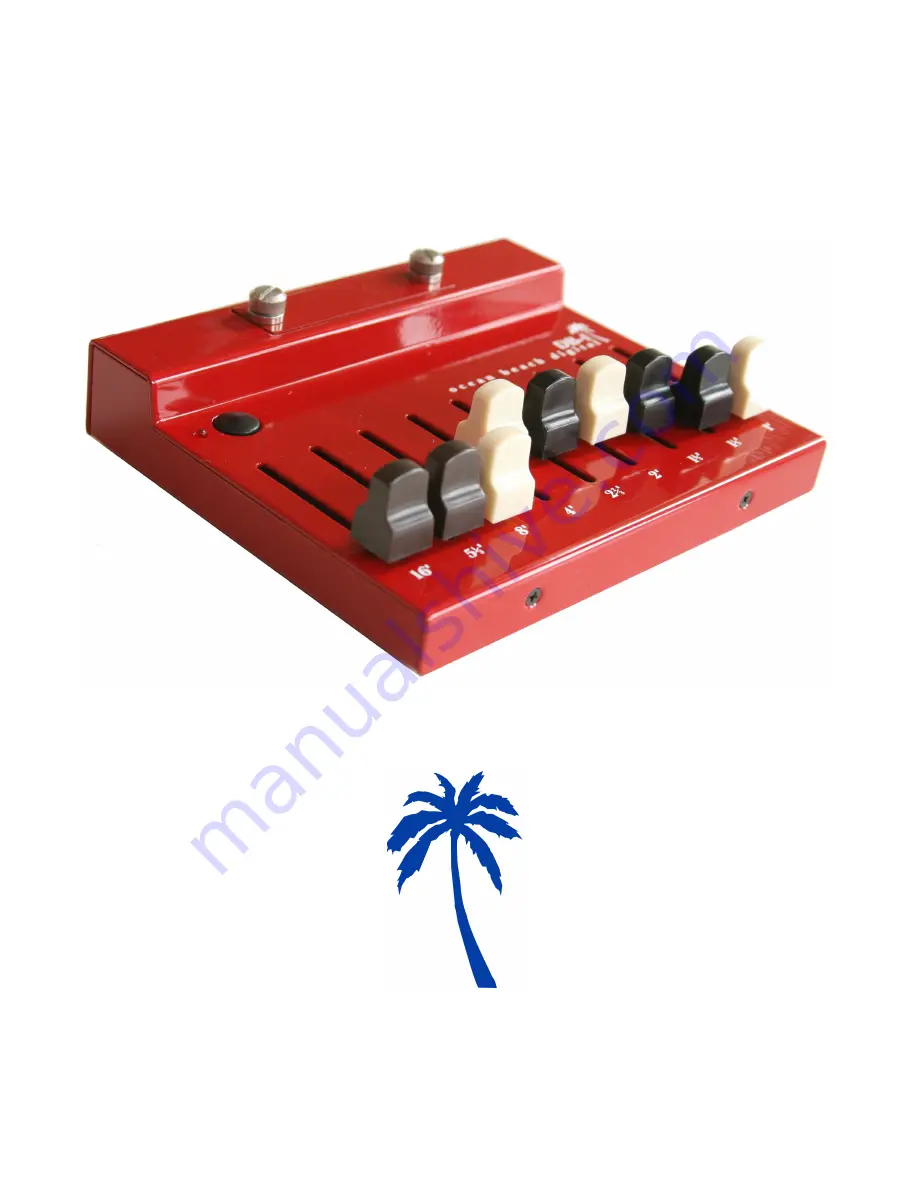
Drawbar Controller DB-1
User Manual
Ocean Beach Digital
www.oceanbeachdigital.com
Page 1: ...Drawbar Controller DB 1 User Manual Ocean Beach Digital www oceanbeachdigital com...
Page 2: ...Program Button Top Button Power Button DIP Switches Battery Door...
Page 3: ...ing up You will only need to configure your DB 1 Drawbar Controller s once and then these settings are stored permanently unless you change them later One quick note throughout this manual you will en...
Page 4: ...e DIP Switches Inside the battery compartment of your DB 1 Drawbar Controller there s a set of four small white switches called DIP switches For each Drawbar Controller in your setup you will need to...
Page 5: ...own lower manual for Electro 2 3 4 t w o D B 1 s o n e f o r e a c h m a n u a l each manual for C1 C2 upper for Electro Electro 2 3 4 Stage Stage EX Stage 2 MIDI channel must be programmed in Learn m...
Page 6: ...re as follows a DB 1 Drawbar Controller MAIN OUT to Nord MIDI IN b DB 1 Drawbar Controller MAIN IN from Nord MIDI OUT c DB 1 Drawbar Controller AUX OUT to external sound module optional d DB 1 Drawbar...
Page 7: ...IN from Nord MIDI OUT c Upper Drawbar AUX OUT to Lower Drawbar MAIN IN d Upper Drawbar AUX IN from Lower Drawbar MAIN OUT e Lower Drawbar AUX OUT to external sound module optional f Lower Drawbar AUX...
Page 8: ...ment take care not to accidentally bump any of the DIP switches into different positions And when whenever there s no battery in place you should use the protective battery terminal cover to prevent t...
Page 9: ...e LED begins to flash Release the button The LED will continue to flash indicating that you are in Learn Mode 2 Press and hold the TOP BUTTON While holding the TOP BUTTON play a few notes on the Elect...
Page 10: ...rear panel Hold this button down until the LED begins to flash Release the button The LED will continue to flash indicating that you are in Learn Mode 2 Press and hold the TOP BUTTON While holding the...
Page 11: ...e LED begins to flash Release the button The LED will continue to flash indicating that you are in Learn Mode 2 Press and hold the TOP BUTTON While holding the TOP BUTTON play a few notes on the Stage...
Page 12: ...n 6 Quickly press and release the Lower DB 1 Drawbar Controller s PROGRAM BUTTON The LED will stop flashing You have now taught each of the DB 1 Drawbar Controllers its MIDI channel This information h...
Page 13: ...the TOP BUTTON down similar to how MIDI channels are programmed Many of the Nord s front toggle panel functions work by sending either 0 or 127 for some MIDI CC so you can program the TOP BUTTON to d...
Page 14: ...eful if you want to have the drawbars set to one registration and then bring up a patch set to some other registration You can play the patch with the stored registration and then instantly change the...
Page 15: ...organ preset to resynchronize automatically with the DB 1 drawbar positions whenever the preset is selected sorta like the B and Bb presets on an old console organ The DB 1 can remember up to four MI...
Page 16: ...quickly press and release the small white PGM button on the rear panel The LED will stop flashing slowly and will resume flashing only when MIDI is sent or received Clear Memory The things learned in...
Page 17: ...I Mode field and select NE The DB 1 s DIP switches should be configured for Single DB 1 controlling Nord Electro Another excellent and very popular virtual tonewheel system is GSi VB3 The DB 1 s defau...
Page 18: ...the DB 1 s MAIN MIDI OUT to your sound module or virtual tonewheel software This will allow you to use the DB 1 s internal MIDI Merger to merge your drawbar movements into the MIDI stream generated b...
Page 19: ...Nord has a MIDI indicator LED of its own and it should also flicker when you move the DB 1 s drawbars If not double check your cable connections the DB 1 s MAIN OUT should be connected to the Nord s...
Page 20: ...IDI Interface the default setting U USB MIDI must be changed to P DIN MIDI For Electro and Electro 2 make sure that the MIDI channel is set to 1 16 and not off For Electro 3 make sure the MIDI channel...
Page 21: ...is set to Sr Send and Receive For C2 Organ make sure the Swell Channel is set to 1 16 and not OFF make sure the Great Channel is set to a different channel than the Swell channel and not OFF make sure...
Page 22: ...er and birth defects or other reproductive harm Wash hands after handling Disposal of Waste Equipment This symbol on the product or on its packaging indicates that this product must not be disposed of...
Page 23: ...e purchaser s responsibility In the event that Ocean Beach Digital determines that the product requires repair because of user misuse or regular wear it will assess a fair repair or replacement fee Th...
Page 24: ...DB 1 Manual fw ver 2 00 rev f Ocean Beach Digital 4876 Santa Monica Ave 162 San Diego CA 92107 864 DRAWBARS 864 372 9227 www oceanbeachdigital com...