The power modes
Introduction
This section describes the power switches and the main power modes of the machine.
The table in this section describes, among other things, the low-power mode and the
sleep mode. These modes are energy-saving modes. You can set the timers for these modes
in the Settings Editor on the controller. Furthermore, you can set a calendar timer in the
Settings Editor. Then the machine will wake up from the sleep mode at the indicated
time. You can use the calendar timer for example to make sure that the machine is ready
for use at the beginning of your working day. The machine can warm up before you start
your working day. Please refer to the online help on the Settings Editor for more infor-
mation about these timers.
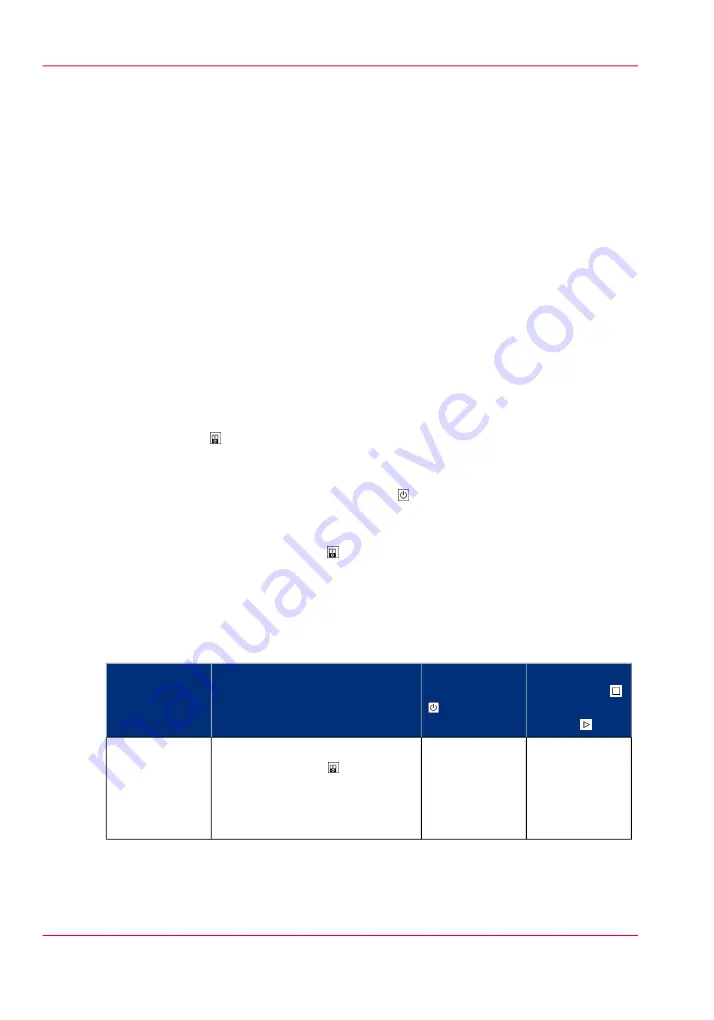
Description of the power switch and the On/Off button
The machine has the following switch and button to control the power supply.
• Power switch
The power switch is located at the back side of the machine. The power switch connects
and disconnects the machine to the mains power.
• On/Off button with amber and green LEDs .
The On/Off button on the machine
‘Introduction to the main system components’
allows you to toggle between the stand-by mode and the sleep mode. This is
only possible if the power switch is in the '1' position and the start-up phase is
completed.
Description of the main power modes
The main power modes
#
Status of the
Hold button
and Release
button
Status of the
On/Off button
Description
Power mode
Off
Off
The machine is completely off.
The power switch is in the 'O'
position. There is no power
consumption. The machine
cannot receive or print jobs.
Off
Chapter 3 - Power information
20
The power modes
Summary of Contents for VarioPrint 6000 MICR series
Page 1: ...o Oc VarioPrint 6000 Ultra Line Experience ultra speed User manual Operating information...
Page 7: ...Chapter 1 Preface...
Page 14: ...Chapter 1 Preface 14 Online support for your product...
Page 15: ...Chapter 2 Introduction...
Page 18: ...Chapter 2 Introduction 18 Available documentation...
Page 19: ...Chapter 3 Power information...
Page 25: ...Chapter 4 Overview of the system components...
Page 38: ...Chapter 4 Overview of the system components 38 The paper modules...
Page 39: ...Chapter 5 Working with the operator panel...
Page 178: ...Chapter 5 Working with the operator panel 178 Create a transaction setup...
Page 179: ...Chapter 6 Optional finishers and other devices...
Page 237: ...Chapter 7 Keeping the printer run ning...
Page 251: ...Appendix A Miscellaneous...


