Using Objet Studio
5–28
DOC-00500 Rev. F
To change the
Advanced
setting:
1. Click
Advanced
in
the
Tools
menu.
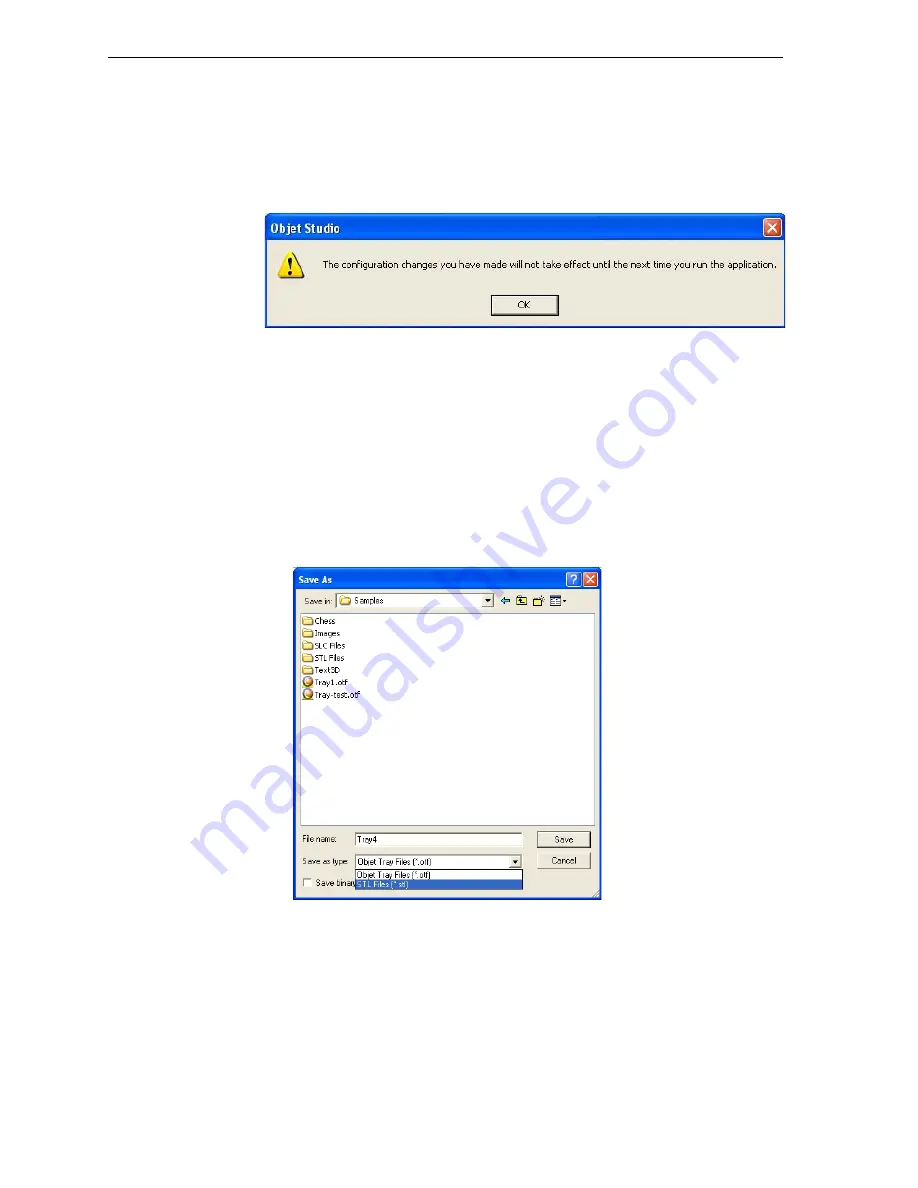
The
following
message
is
displayed,
reminding
you
that
the
change
will
only
take
effect
the
next
time
you
open
Objet
Studio—even
though
the
check
mark
in
the
Tools
menu
appears/disappears
after
you
make
the
change.
Figure 5-37: Configuration-change message
2. Close
and
re
‐
open
Objet
Studio
to
access
the
Advanced
mode
features.
Save Tray As…
In
addition
to
saving
the
tray
as
an
otf
file,
for
producing
it
with
an
Eden
3
‐
D
printer,
you
can
save
a
group
of
objects
positioned
on
the
tray
as
an
stl
file.
You
can
then
use
this
file
as
any
other
stl
file,
both
in
Objet
Studio
and
in
other
applications.
You
can
also
display
this
and
other
stl
files
as
“floating”
objects,
without
the
build
tray.
This
is
useful
for
inspecting
objects
from
every
angle.
To save the build tray as an
stl
object:
1. From
the
File
menu,
select
Save Tray As…
Figure 5-38:
Save As
dialog box
2. At
the
top
of
the
dialog
box,
select
the
appropriate
folder.
3. At
the
bottom
of
the
dialog
box,
enter
a
file
name.
4. Open
the
Save
as
type
pull
‐
down
menu,
and
select
STL Files (*.stl)
.
5. Click
Save
.


