Using Objet Studio
5–12
DOC-24000 Rev. C
Repositioning
Objects
You
can
select
and
manipulate
objects
on
the
build
tray
after
selecting
the
following
icons
or
menu
options.
After
using
these
repositioning
icons
once,
they
are
disabled,
unless
you
first
click
the
Sticky
Mode
icon
.
After
clicking
this
icon,
the
repositioning
icon
used
remains
active
until
you
click
the
Sticky
Mode
icon
again
to
release
it.
Another
way
of
repositioning
objects
on
the
build
tray
is
by
using
the
icons
on
the
Transform
toolbar
that
nudge
the
selected
object
in
different
ways.
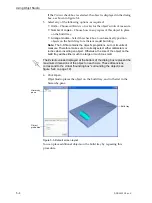
Viewing Object Properties
After
you
manually
manipulate
an
object
with
the
mouse,
its
new
properties
are
displayed
in
the
Transform
tab
of
the
object
properties
dialog
box.
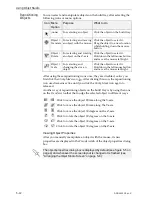
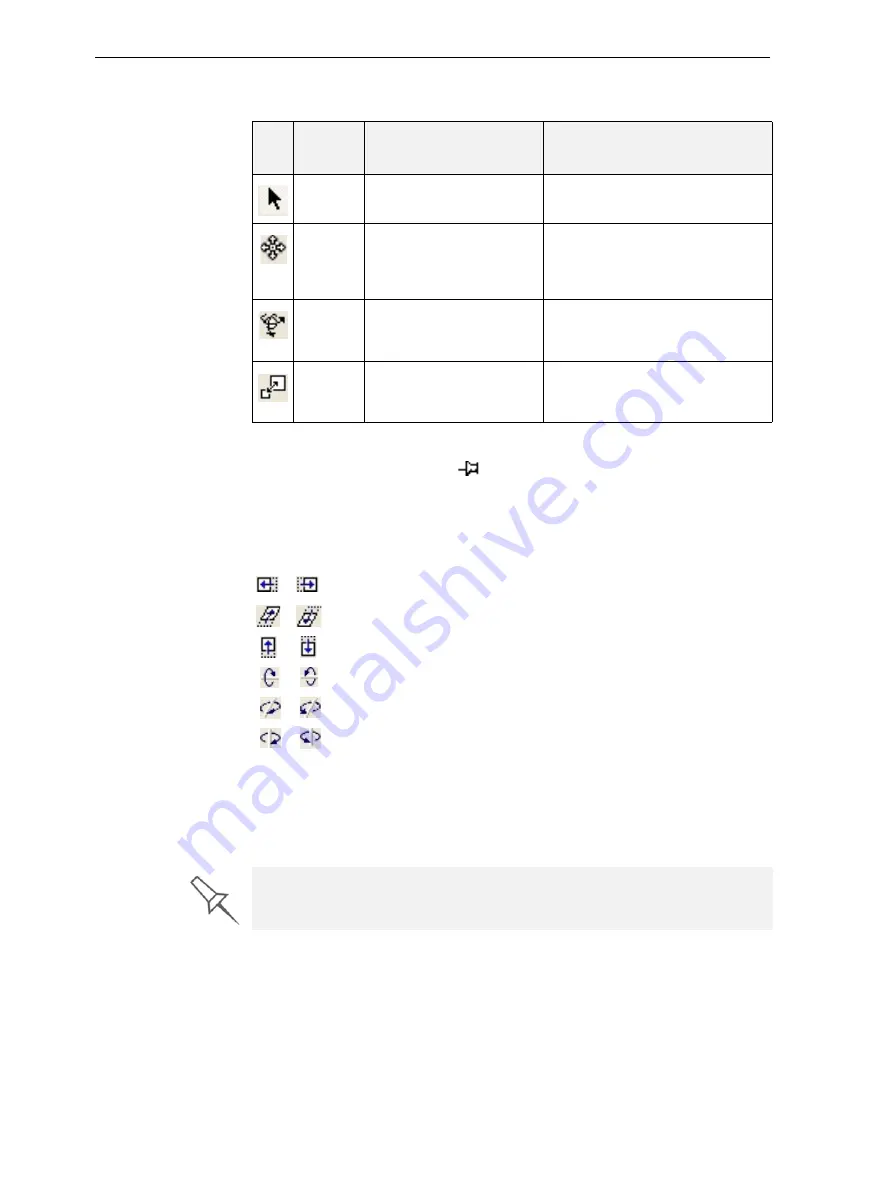
Icon Menu
Option
Purpose
What to do
(none)
For
selecting
an
object.
Click
the
object
on
the
build
tray.
Object
>
Translate
For
selecting
and
moving
an
object
with
the
mouse.
Click
the
object
to
select
it.
Drag
the
object
to
a
new
location
while
holding
down
the
mouse
button.
Object
>
Rotate
For
selecting
and
rotating
an
object
on
the
Z
‐
axis.
Click
the
object
to
select
it.
Hold
down
the
left
mouse
button
and
move
the
mouse
left/right.
Object
>
Scale
For
selecting
and
changing
the
size
an
object.
Click
the
object
to
select
it.
Hold
down
the
left
mouse
button
and
move
the
mouse
left/right.
Click
to
move
the
object
20
mm
along
the
X
‐
axis.
Click
to
move
the
object
20
mm
along
the
Y
‐
axis.
Click
to
move
the
object
30
degrees
on
the
Z
‐
axis.
Click
to
rotate
the
object
30
degrees
on
the
X
‐
axis.
Click
to
rotate
the
object
30
degrees
on
the
Y
‐
axis.
Click
to
rotate
the
object
30
degrees
on
the
Z
‐
axis.
The object-properties dialog box is displayed by default (see figure 5-5 on
page 4) and whenever the screen layout is changed or refreshed (see
“Arranging the Objet Studio Screen” on page 5-6).


