


NXP Semiconductors
UM10276_1
TED-Kit 2 User Manual
All information provided in this document is subject to legal disclaimers.
© NXP B.V. 2010. All rights reserved.
User manual
Rev. 1.29 — 20 August 2010
10 of 79
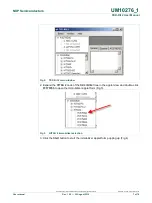
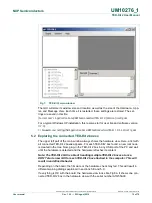
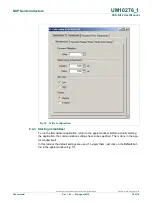
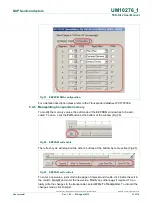
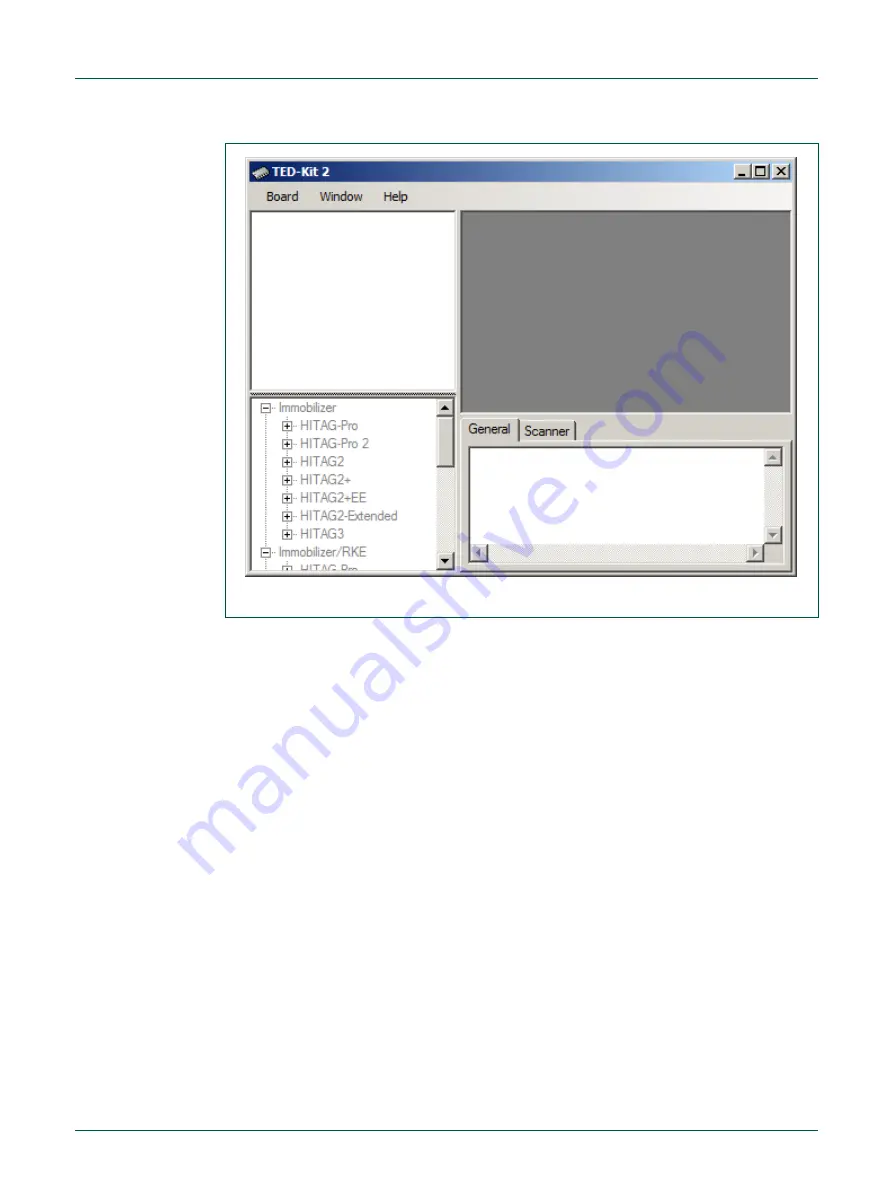
Fig 7. TED-Kit 2 main window
The GUI will store its window size and location as well as the size of the Hardware-, App-
let- and Message View. Each time it is restarted, these settings are restored. The set-
tings are saved in this file:
[Current User’s Application Data]\NXP Semiconductors\TED-Kit 2\[Version]\config.dat
For a typical Windows XP installation, this resolves to (for user
Me
and software version
3.1.0
):
C:\Documents and Settings\Me\Application Data\NXP Semiconductors\TED-Kit 2\3.1.0\config.dat
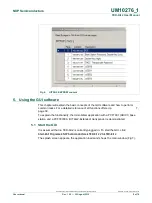
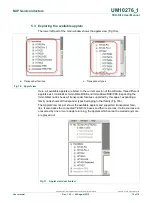
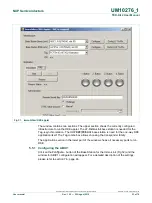
5.2 Exploring the connected TED-Kit 2 boxes
The upper left part of the main window always shows the hardware view. Here, a list with
all connected TED-Kit 2 boxes appears. For each TED-Kit 2 box found, a new root node
is created in the tree. Now, plug-in the TED-Kit 2 box in any USB port of the PC and wait
until the hardware is detected and the hardware refreshes its content.
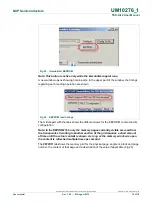
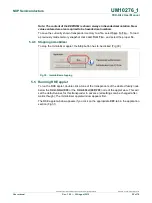
Note: The TED-Kit 2 GUI is able of handling multiple TED-Kit 2 boxes at once.
DON’T start a new GUI for each TED-Kit 2 box attached to the computer. This will
result in undefined behavior.
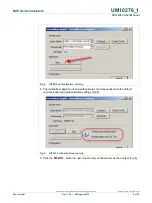
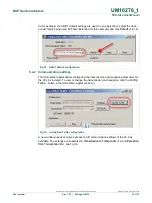
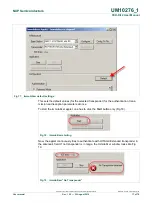
Depending on the board, the firmware or the hardware check may fail. This will result in
different warning dialogs explained in sections 5.8 and 5.9.
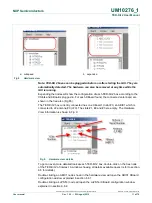
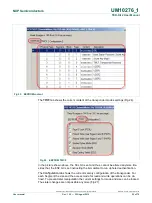
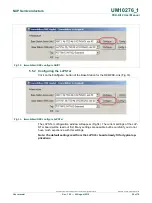
If everything is OK with the board, the hardware view looks like Fig 8a. It shows one con-
nected TED-Kit 2 box in the hardware view with the serial number A1Q55A99.


